How to Measure Standing Room in a High-Roof Van Before You Build
Measure standing room in a high-roof van from the finished floor to the lowest thing above your head in the spot you’ll use. Cargo height gets you started. Flooring, insulation, ceiling panels, and fan trim can take away the last bit of clearance.
Start with a van that matches the roof, wheelbase, and model year you want. Then subtract your planned finish layers and check the standing areas separately. The spot in front of the stove matters more than the tallest point at the back.
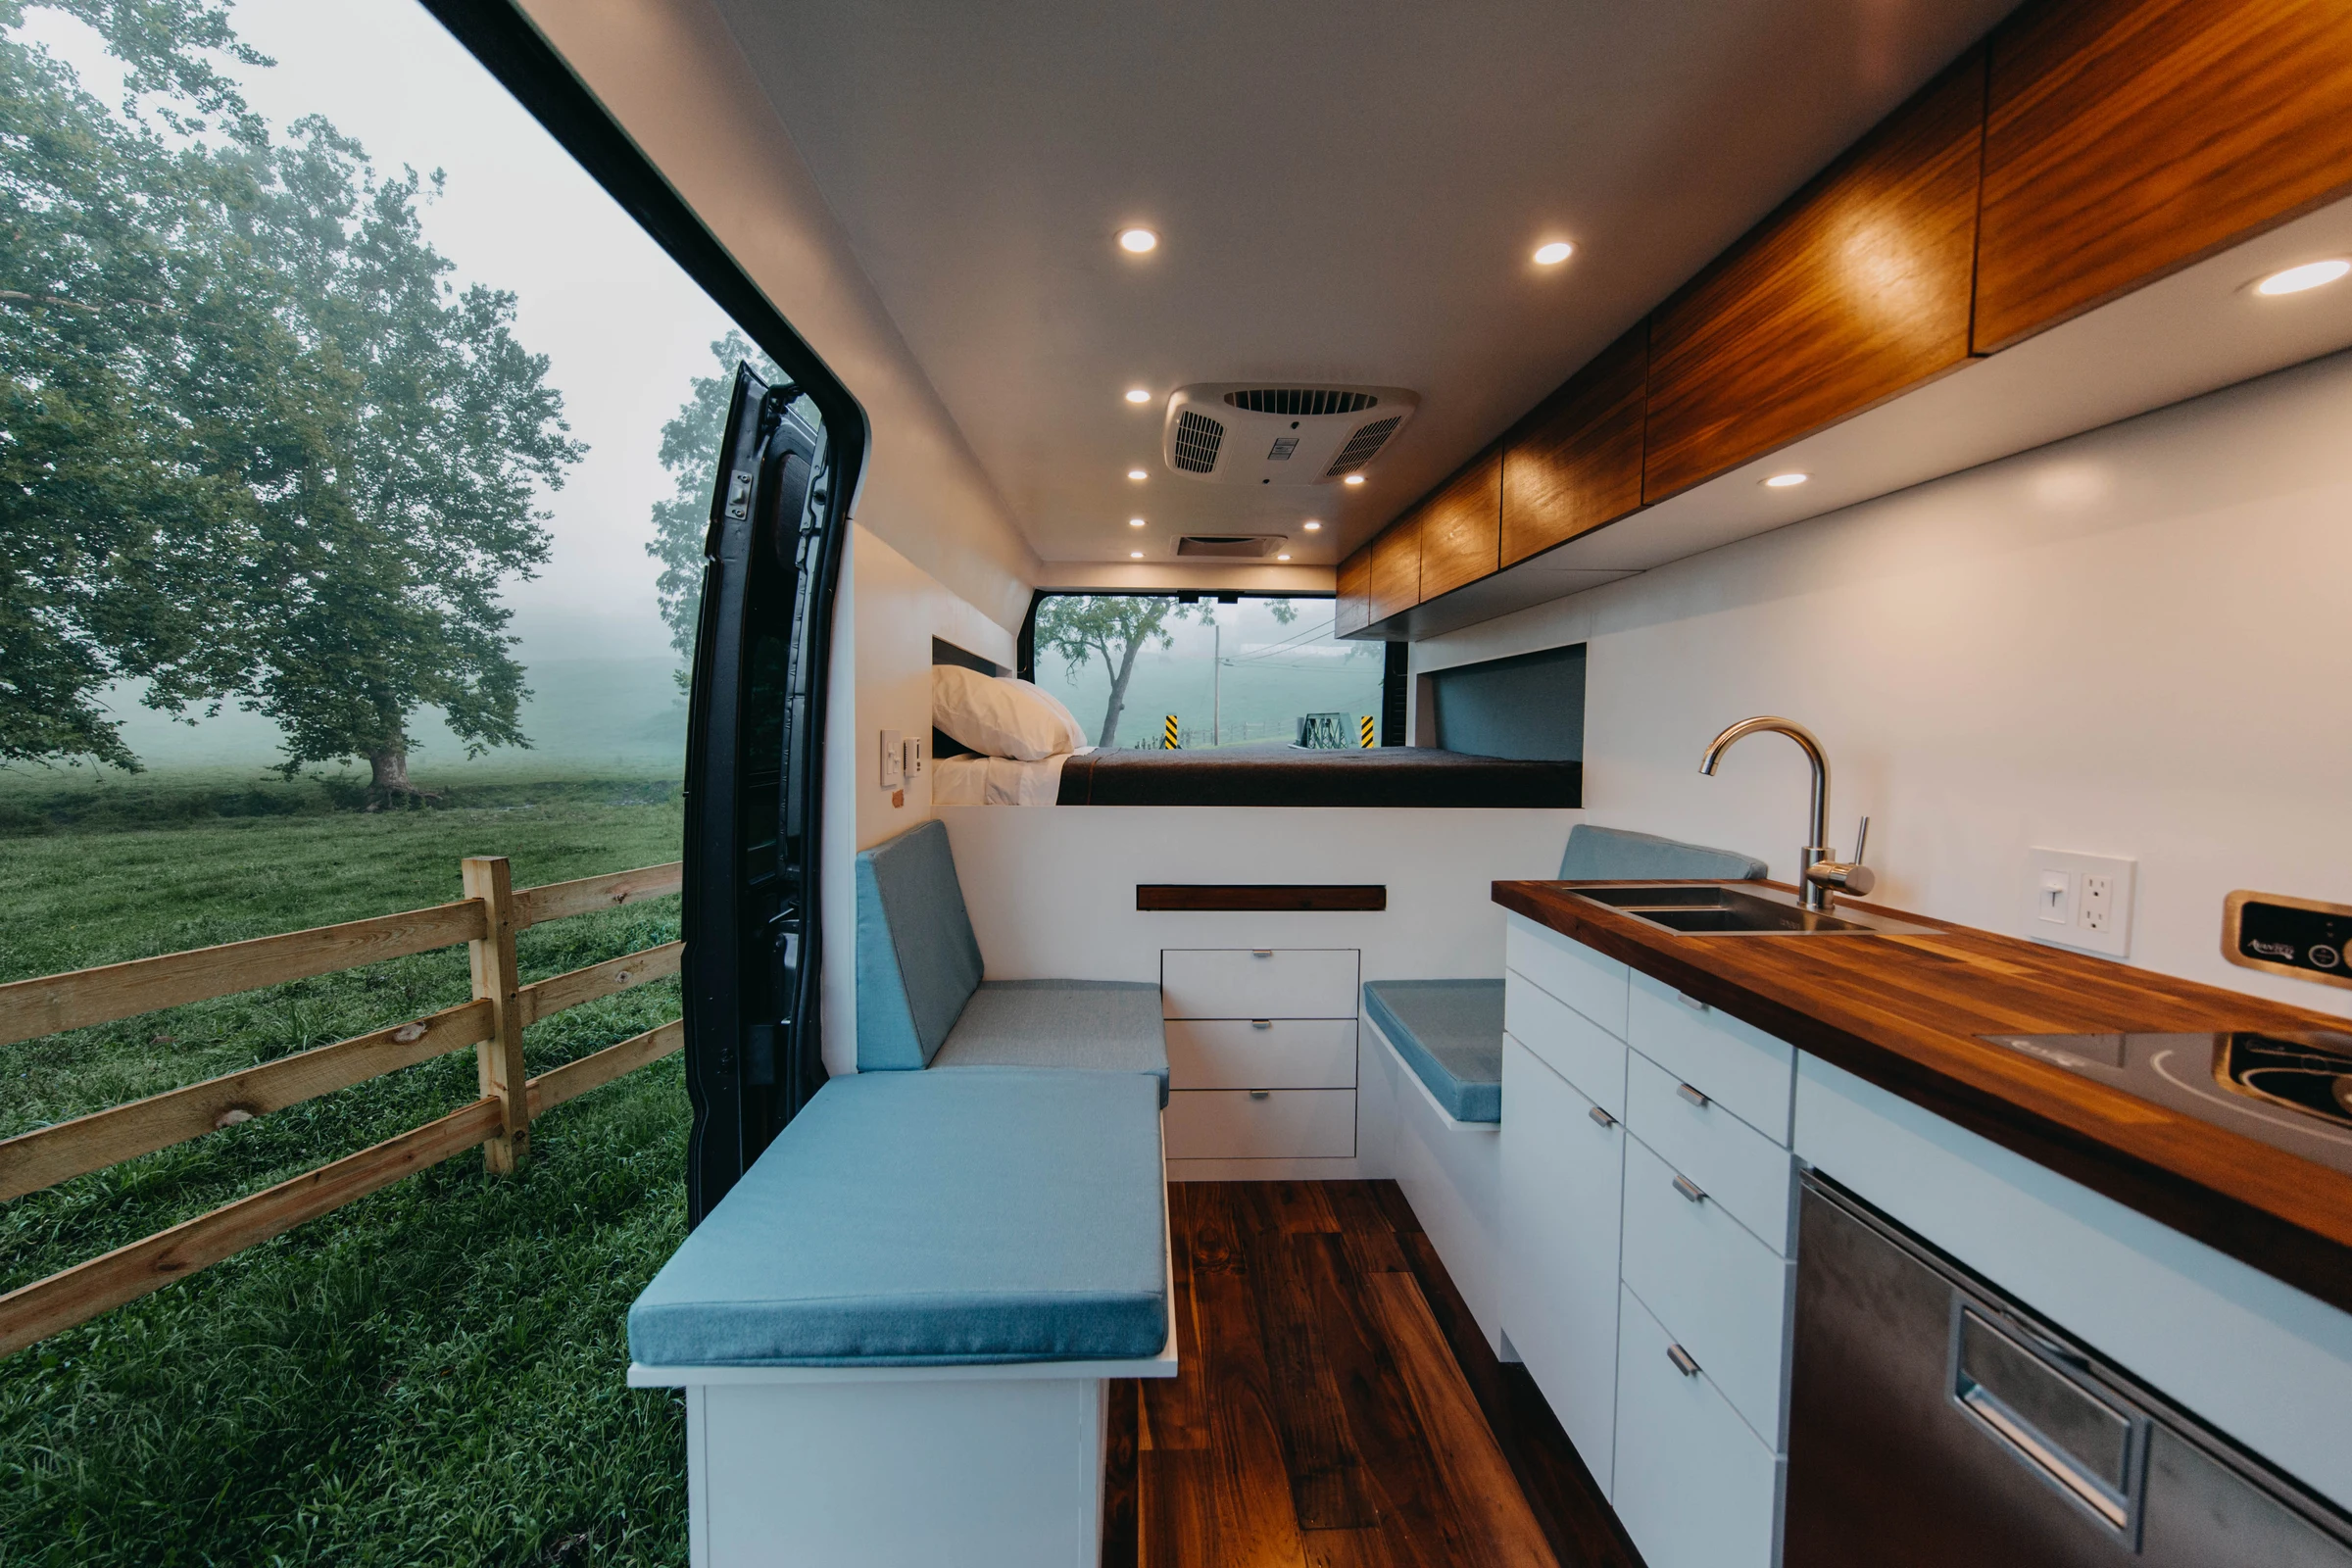
Measure from the floor you will stand on
Start at the metal cargo floor. If it is ribbed, account for the top of the floor build where your feet will be. Measure vertically to the nearest roof rib, trim, or equipment at that point. Repeat in the cooking area, by the side door, and where you will change clothes.
Make a quick sketch and number the points you measure. Take one reading down the center and another where you’ll stand in front of the galley. Roof curvature can make those readings different. Repeat at a roof rib if the finished ceiling will sit below it. With the numbers marked on the drawing, you can see whether moving a work surface would help.
Manufacturer dimensions help you compare bare vans. Start with the Sprinter cargo van specifications and the 2026 Ford Transit technical specifications. Match the model year and roof configuration. Our Sprinter vs. Transit comparison covers other differences between the platforms.
Keep a separate measurement for the side door. You may have enough room to stand once inside and still need to duck when stepping in. That difference matters if you’ll move in and out repeatedly while making meals. Measure from the step or floor you’ll actually use to the underside of the doorway trim.
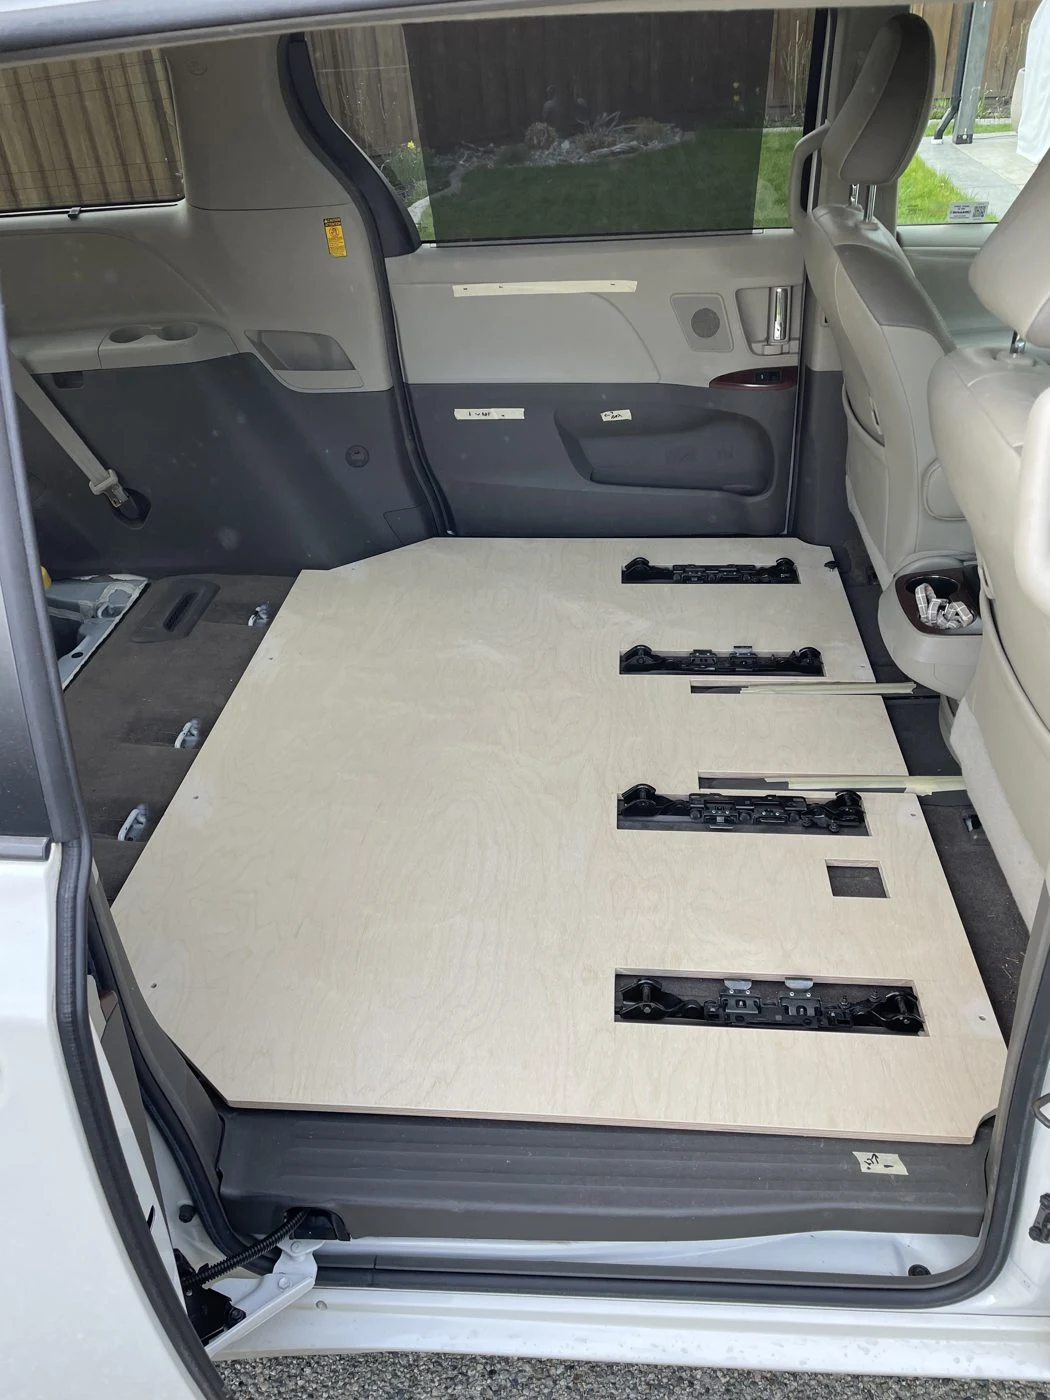
Mock up the floor and ceiling
For example, if you measure 79 inches of bare clearance and your floor takes 1 inch and your ceiling takes 1.5 inches, you have about 76.5 inches left at that point before any protruding fixtures. That is an illustration. Check the actual material stack, especially where furring strips or insulation change the thickness.
Write down the thickness of every layer before you add the figures. For the floor that may mean a leveling layer, plywood, and the finished surface. For the ceiling, include any battens and trim that sit below the roof ribs. Where a light or fan sticks down farther, record that lower measurement separately.
Stand on a scrap board that matches the floor thickness and mark the planned ceiling height with tape. Wear the shoes you expect to use inside. Then reach up or lean forward as you would while cooking. Comfortable standing room depends on movement as well as a tape measure.
For a second check, mark the planned height at several points instead of stretching tape across the van at just one level. Practice turning from the stove to the sink or reaching for the closest overhead cabinet. If you can stand still comfortably but hit a fixture when you turn, you’ve found a layout problem a spec sheet won’t show.
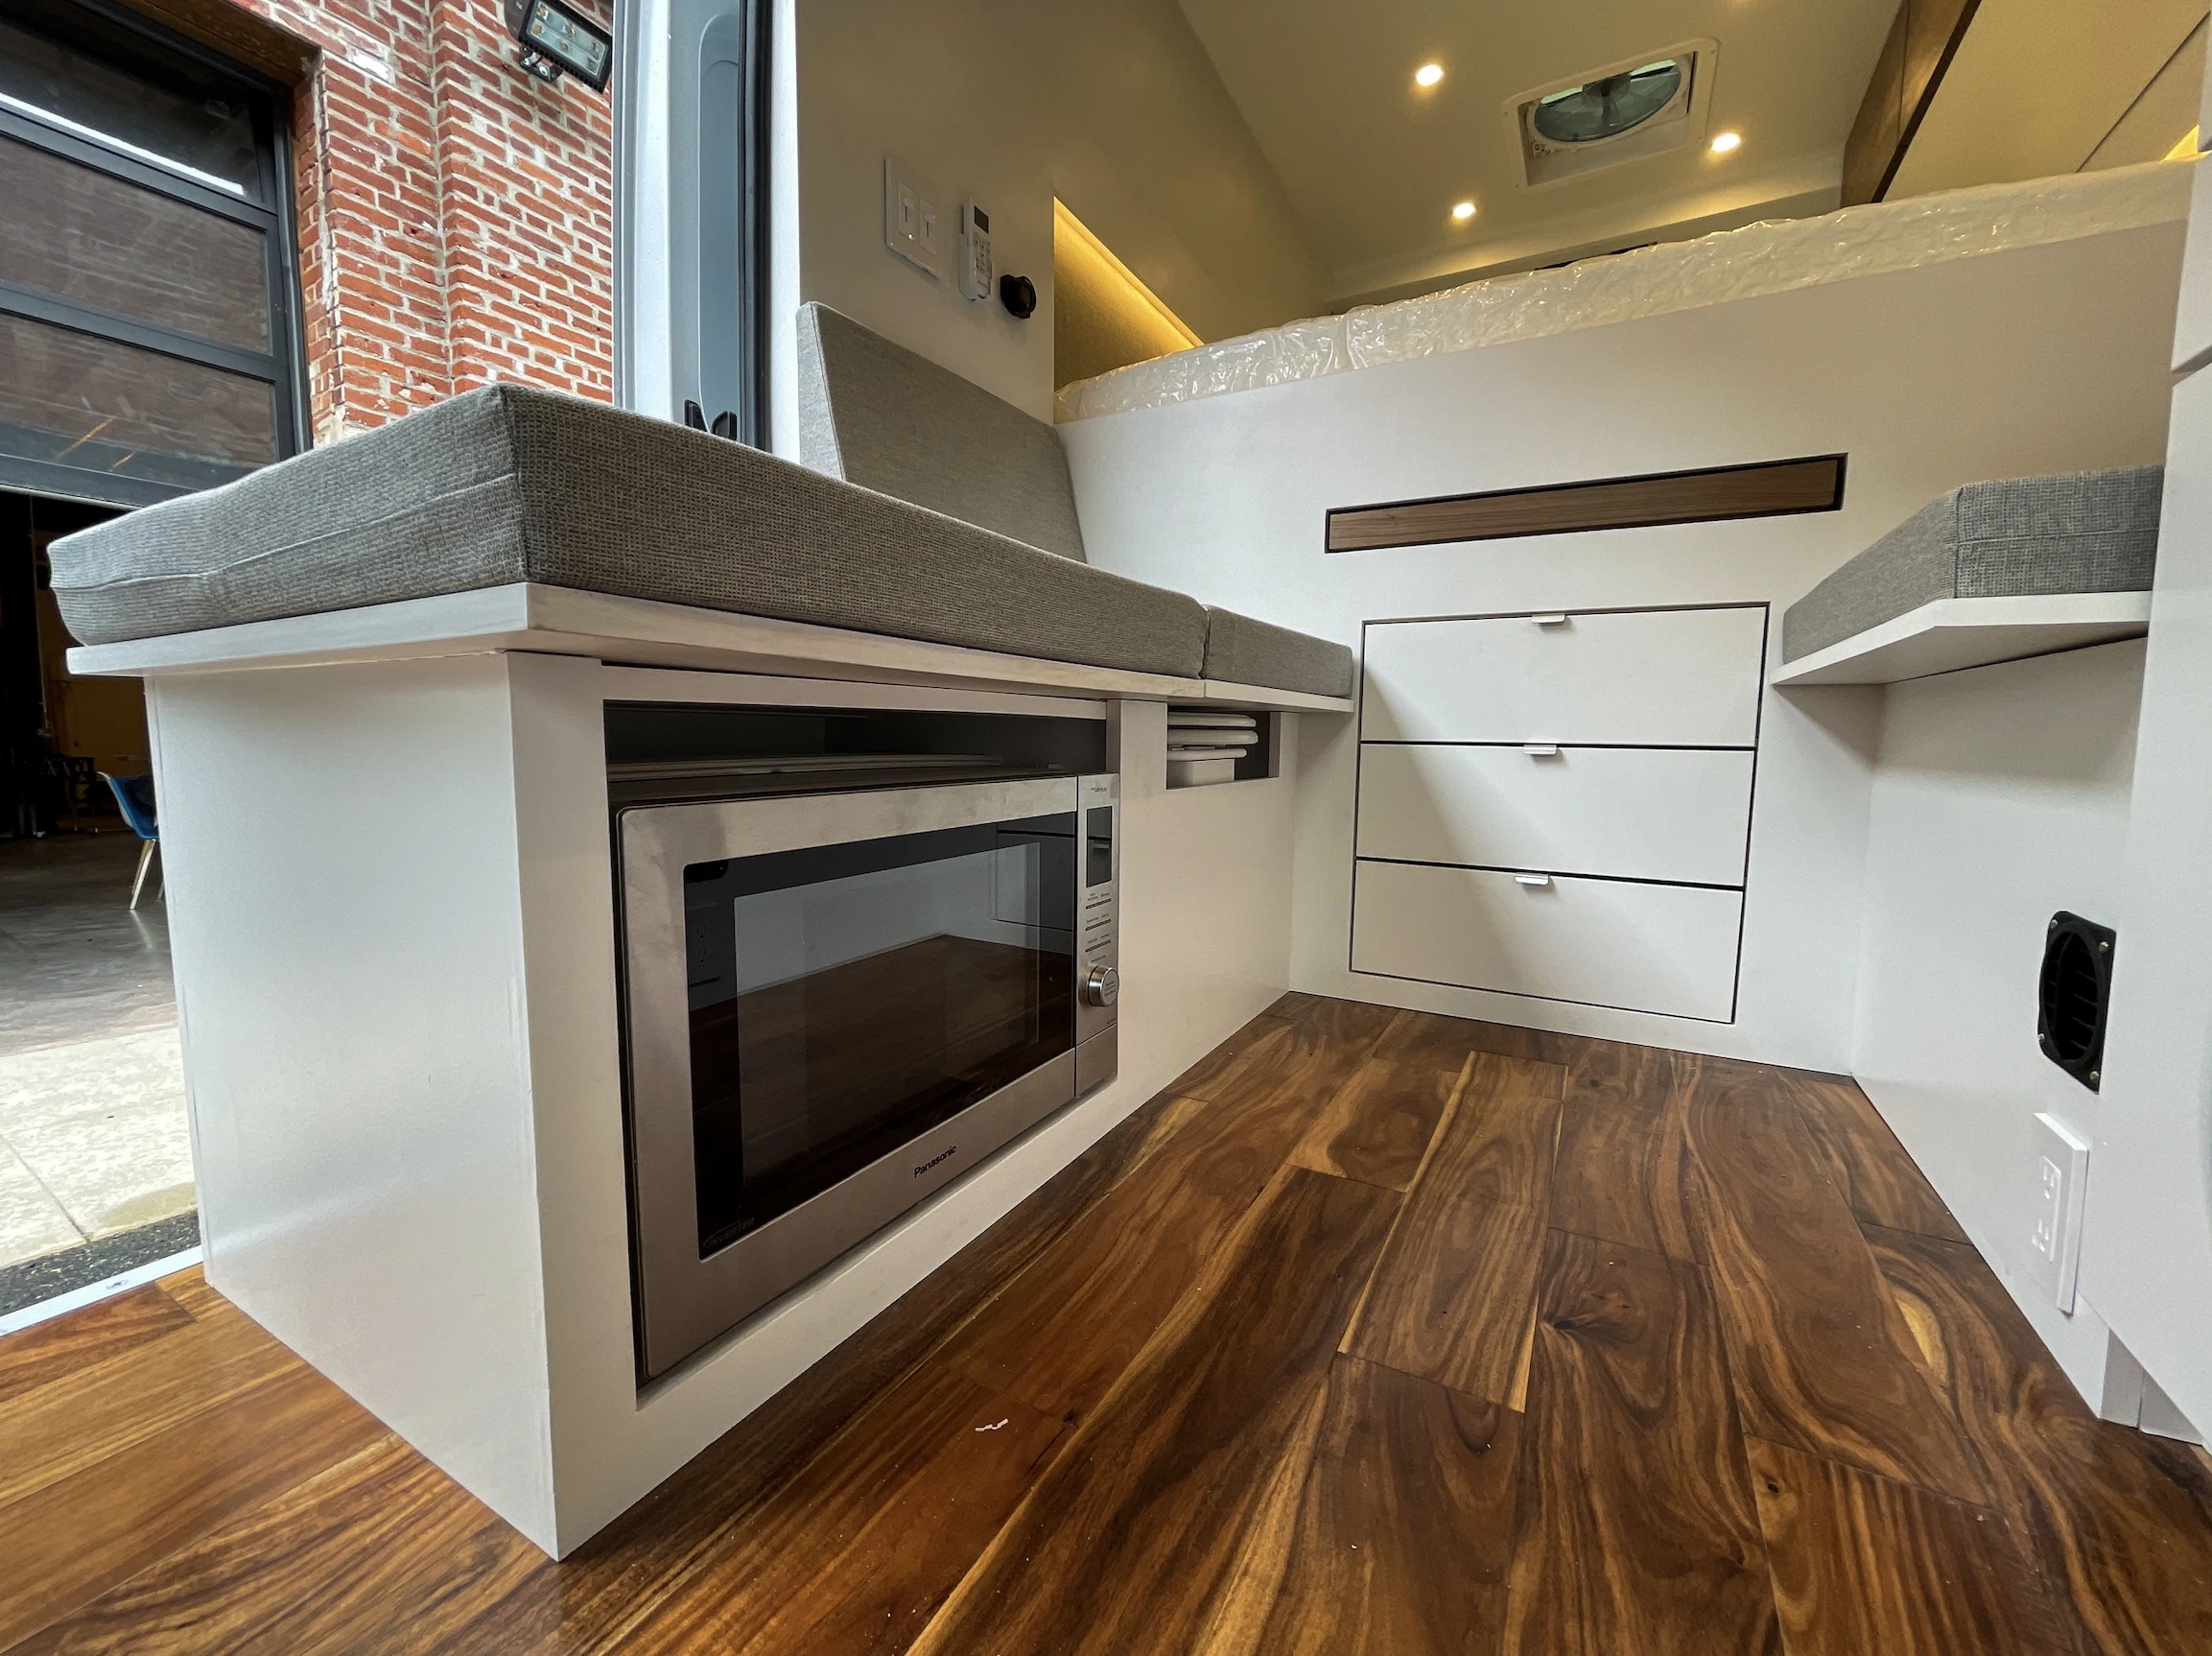
Write down the lowest useful number
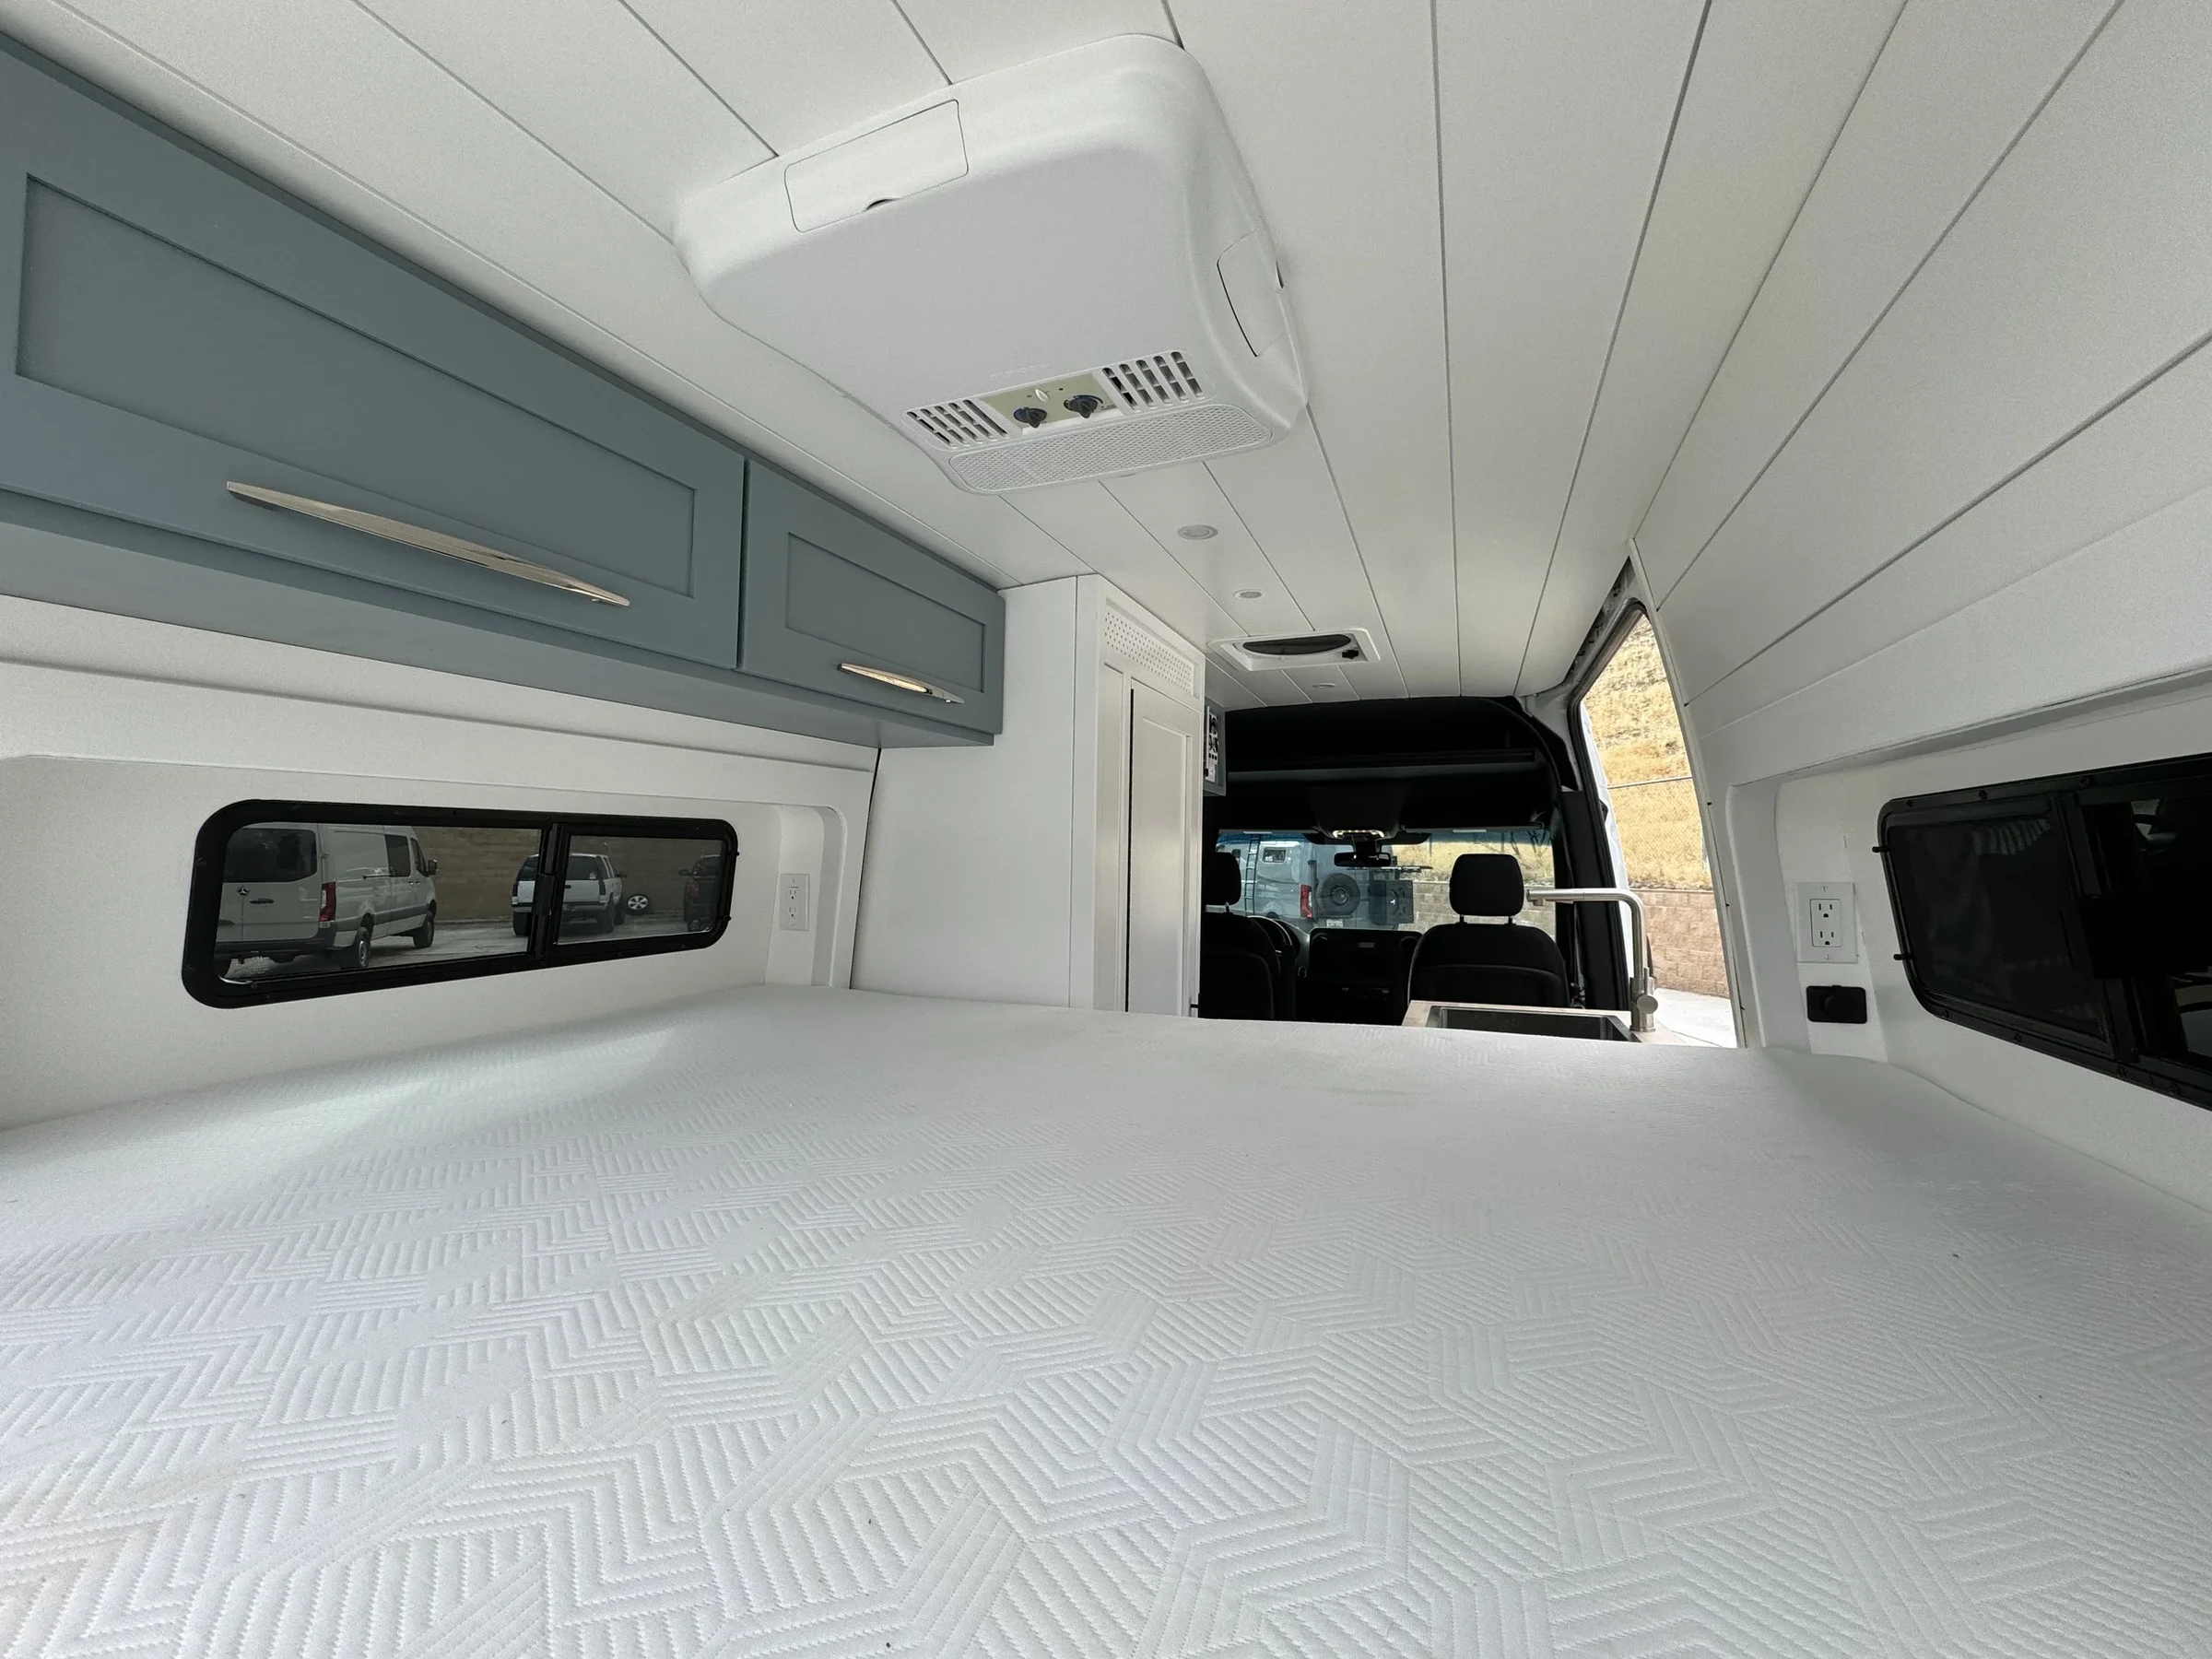
Record clearance in each standing zone before choosing fixtures. If one light or roof vent trim is the low point, it may be easier to move the fixture than to give up thickness across the whole ceiling. Leave yourself a little room for the finish choices that are still undecided.
Think about who’ll use the van most. Someone taller may want more room at the stove, even if a lower ceiling over the bed or rear storage is fine. Keep your sketch and use it when you pick floor and ceiling materials. A thicker finish may be worth it in one area and cost you too much clearance in another.




COMMENTS
Please note that all comments will be checked by our team before being approved.