15 Van Build Mistakes That Can Ruin Your Campervan Conversion
I first moved into a van back in 2017, the year we completed our very first van build. We bought our trusty Vauxhall Movano on April 3rd, the day of my girlfriend Rose’s birthday, and began the six-month-long process of turning a bare metal shell into a comfortable travelling home.
The conversion was tough, and we learnt a lot of things the hard way (apparently it’s called character building).
All Images © Vincent Vanlife
The power and the benefits of hindsight are two things that everyone should have hard-wired into them before they embark on any kind of project, that way they would get it done in half the time and with a lot less cursing and angry biscuit breaks.
I say this a lot in our how to build a campervan e-book, and sometimes a guide on how not to do something or a manual that covers things to watch out for that might trip you up can be just as helpful as a book that tells you how to do things the right way. I know that that logic sounds incredibly flawed, but stick with me on this one.
Van build mistakes, 15 of them
I’m going to list 15 of the most annoying, the most absurd, and the easiest van build mistakes that you might make while completing your own campervan conversions.
These will more than likely be things that we did wrong and had to rectify ourselves, but there are also a few things that we’ve picked up from our ‘friends in the field’ (fellow vanlifers, not people who live in a field…although that could be the same thing!).
Buckle up and get ready to cringe. And please, don’t make the same mistakes that we did!
1. Check Your Van Thoroughly Before Purchasing
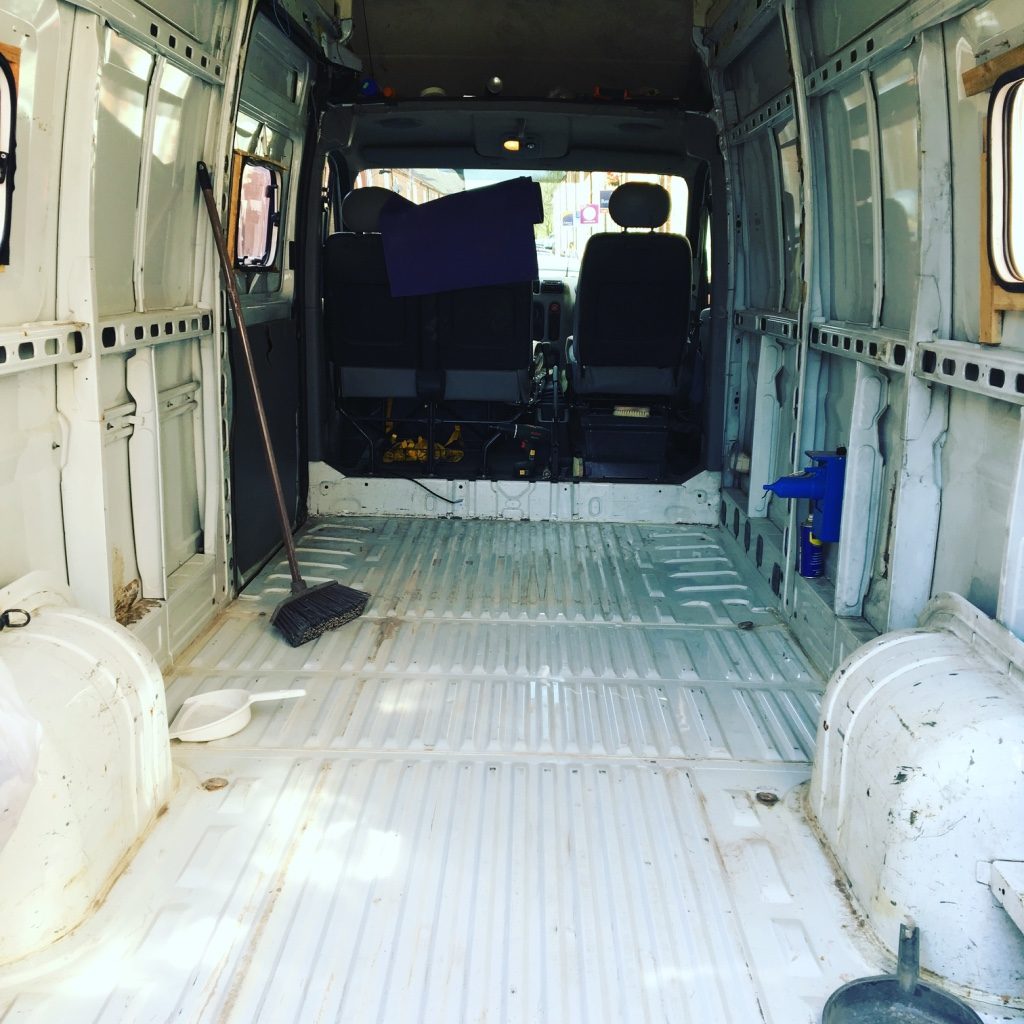
So many people start their van builds off with good intentions, only to fall afoul of problems with the base vehicle itself. Buying a van shouldn’t be the hard part of the conversion, but it can be the trickiest bit, especially if you’re buying second-hand.
We had zero ideas about vehicles or the things to look out for when purchasing a second-hand motor, so we took our mechanic friend Andy along for the ride whenever we went to look at a potential rolling home. It’s a good job we did too, as we would have never spotted some of the key warning signs like expertly covered over rust spots and signs of wear and tear that don’t match up with the ‘40,000 miles on the clock, runs like a beauty’ sales pitch.
Here a few things to look out for when buying a second-hand vehicle, courtesy of our mate Andy (everyone say, “Thanks, Andy!”)
- Pull the driver’s seatbelt down and look for any fray marks or signs of wear. The clock might say it’s only done 10,000 miles, but the seatbelt will show the true story.
- Check the bonnet is cold before the engine starts up. If it’s warm, then it’s more than likely that the van has trouble starting and the owner has had to get it going before you arrive to make it look like a good purchase
- Stick your hand under the exhaust pipe while the motors running. If your hand is covered in black specks, you’ve got a problem.
- Look for covered over rust spots. Some rust is ok and larger pieces can be sorted out, but it depends on how much money you want to put into the bare shell.
- Get on the floor and look underneath the van to make sure A) all of the necessary components are there (no massive gaps), and B) the components aren’t rusted to a crisp.
- Finally, make sure there is a list of all replaced parts and an MOT history. Follow these rules, and you should give your van build a fighting chance.
2. Insulate Your Floor Properly
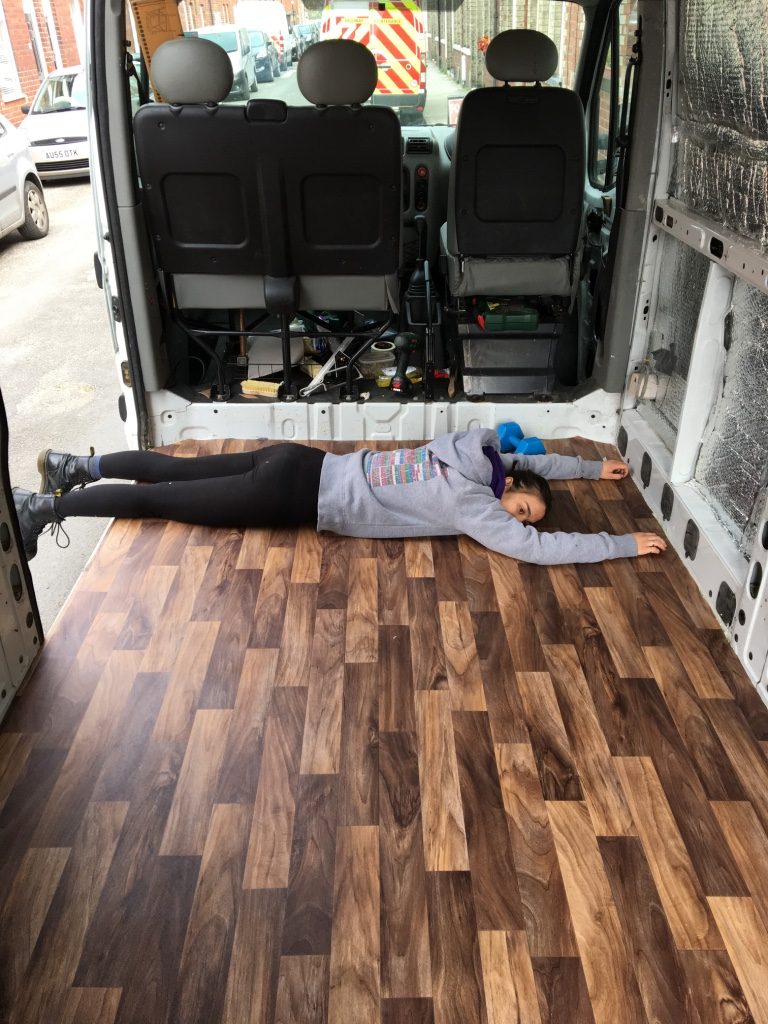
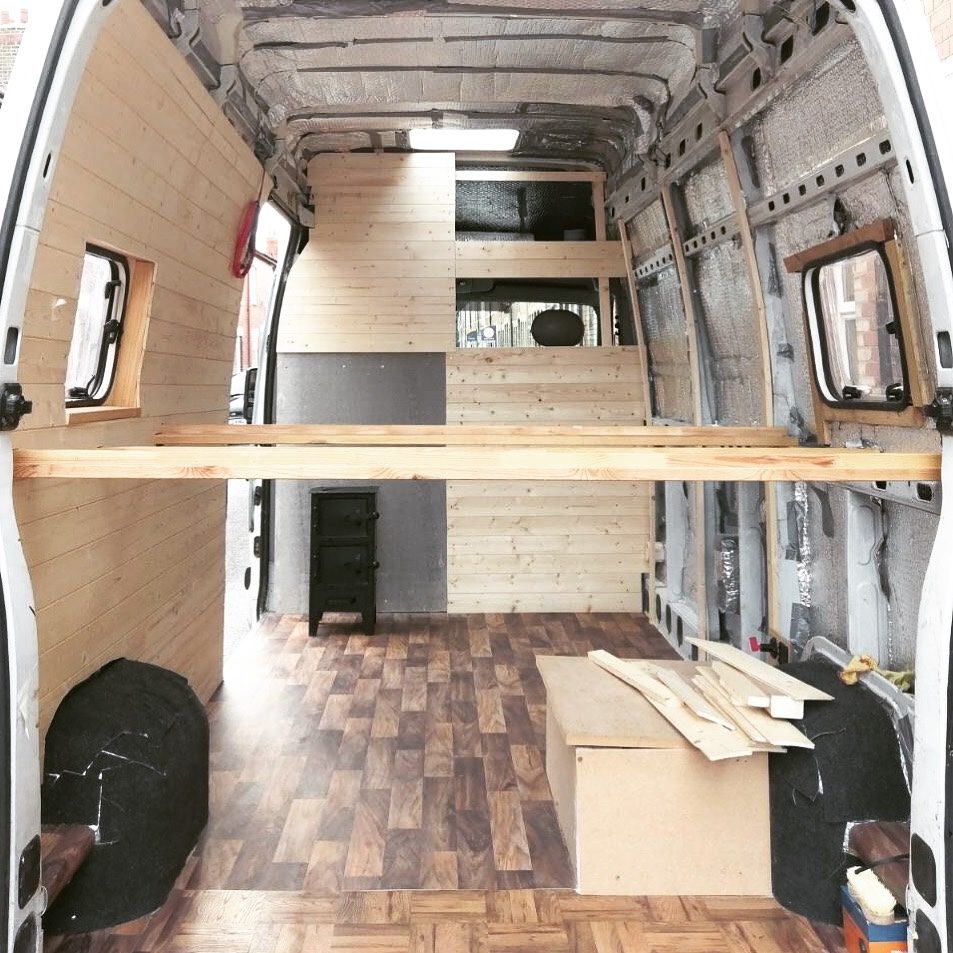
We bought a Vauxhall Movano Maxi Roof van because we wanted as much space as possible. We wanted to be able to stand up without our heads hitting the ceiling and to have a tall enough space for Rose to do yoga in (she can do a headstand without touching the roof!).
Because we were so conscious of maximising our available space, we went for minimal floor insulation, using just general purpose insulation (silver bubble wrap) under the wooden flooring that we screwed down into the metal. This, as you might have already guessed, was not a clever idea.
I’m going to go back on that last statement, as it’s not entirely true. In hot countries like Sardinia or Portugal, it’s perfect. The lino on the floor does get hot if in direct sunlight, but the van remains nice and cool and not unbearable to sit inside. In cold countries like the one we come from, however, it feels like you’re standing in an ice bath during Winter if you’re not wearing slippers.
We didn’t notice this at first as we had a coal fire in the van build while we lived in it full-time in cold and rainy England, and the year that we removed it in favour of a diesel heater was the year that we spent the Winter in Portugal, and I can’t remember a day that I was cold there at all.
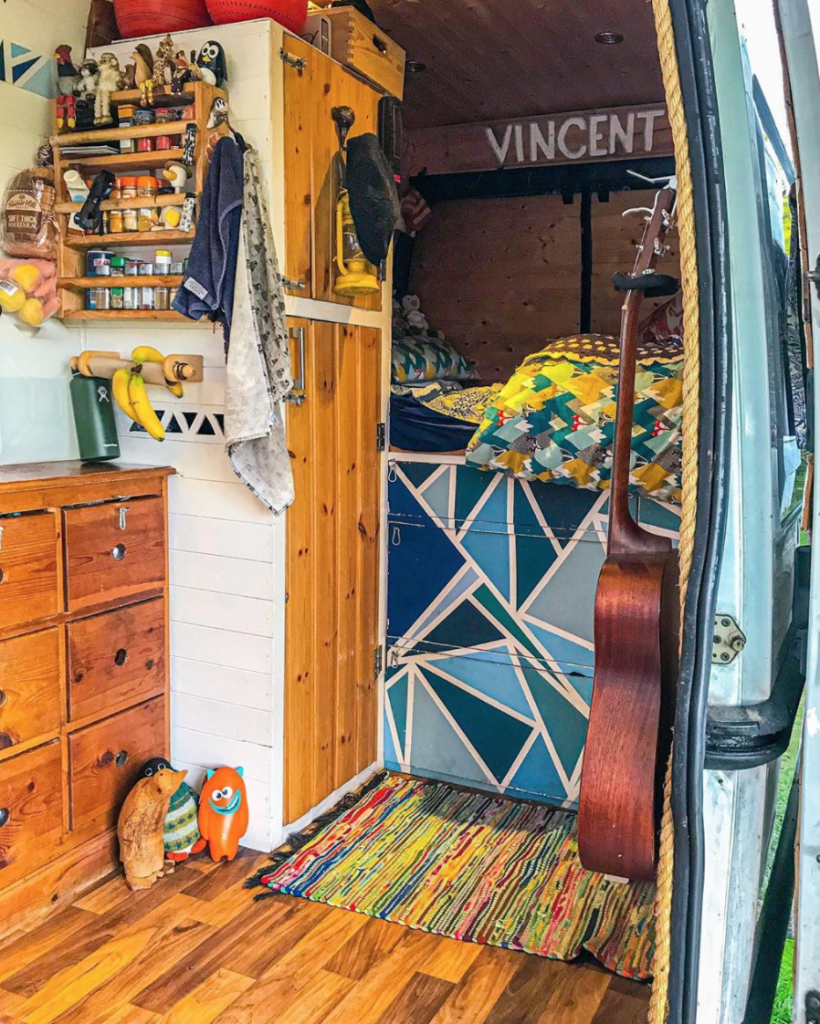
It was only when we returned back to England in 2019 for our December MOT (a check that British vehicles have to have to make sure that they’re safe to drive) that we realised our massive mistake.
After placing yoga mats and bits of carpet down, we managed to keep our precious heat in, but it would have been much easier to use something like Kingspan under our flooring boards rather than turning our van into an exercise studio every November.
3. Think Carefully About Where You Place Your Water Storage
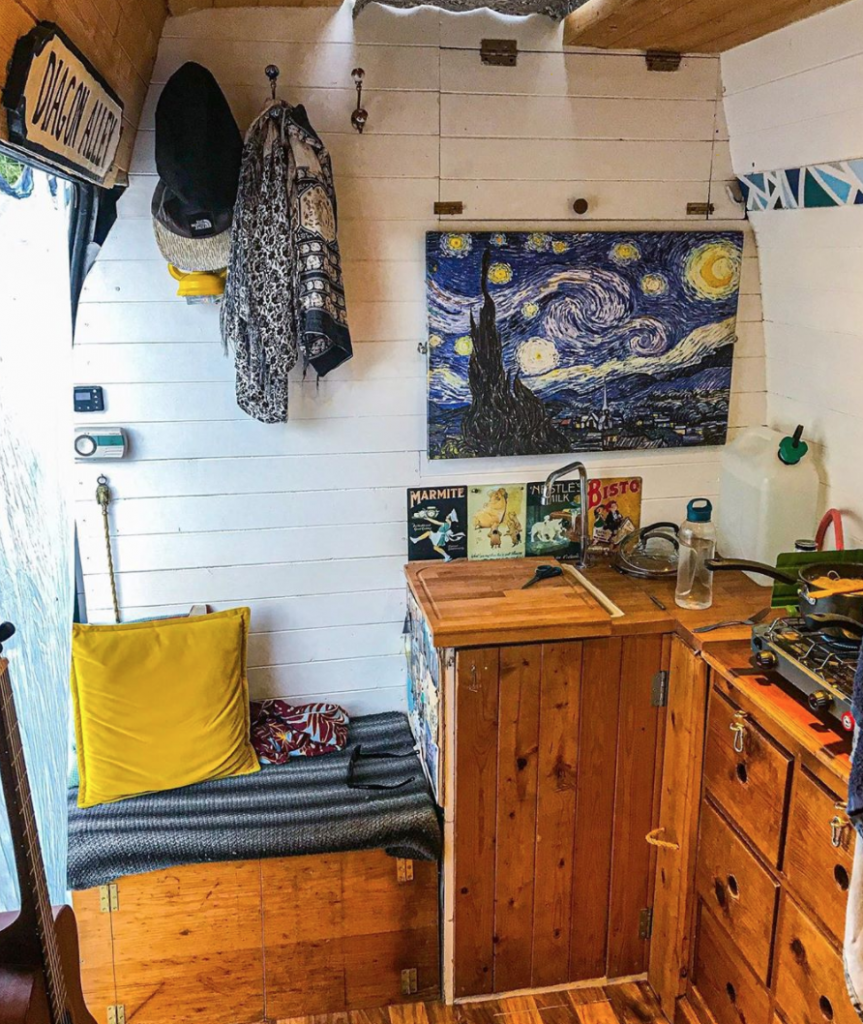
This might seem like another odd point to make, but after living in a van for coming up to three years, trust me when I say that it IS important. A lot of people say that the corner of their van is wasted space, and that there isn’t much that you can put in there apart from storage.
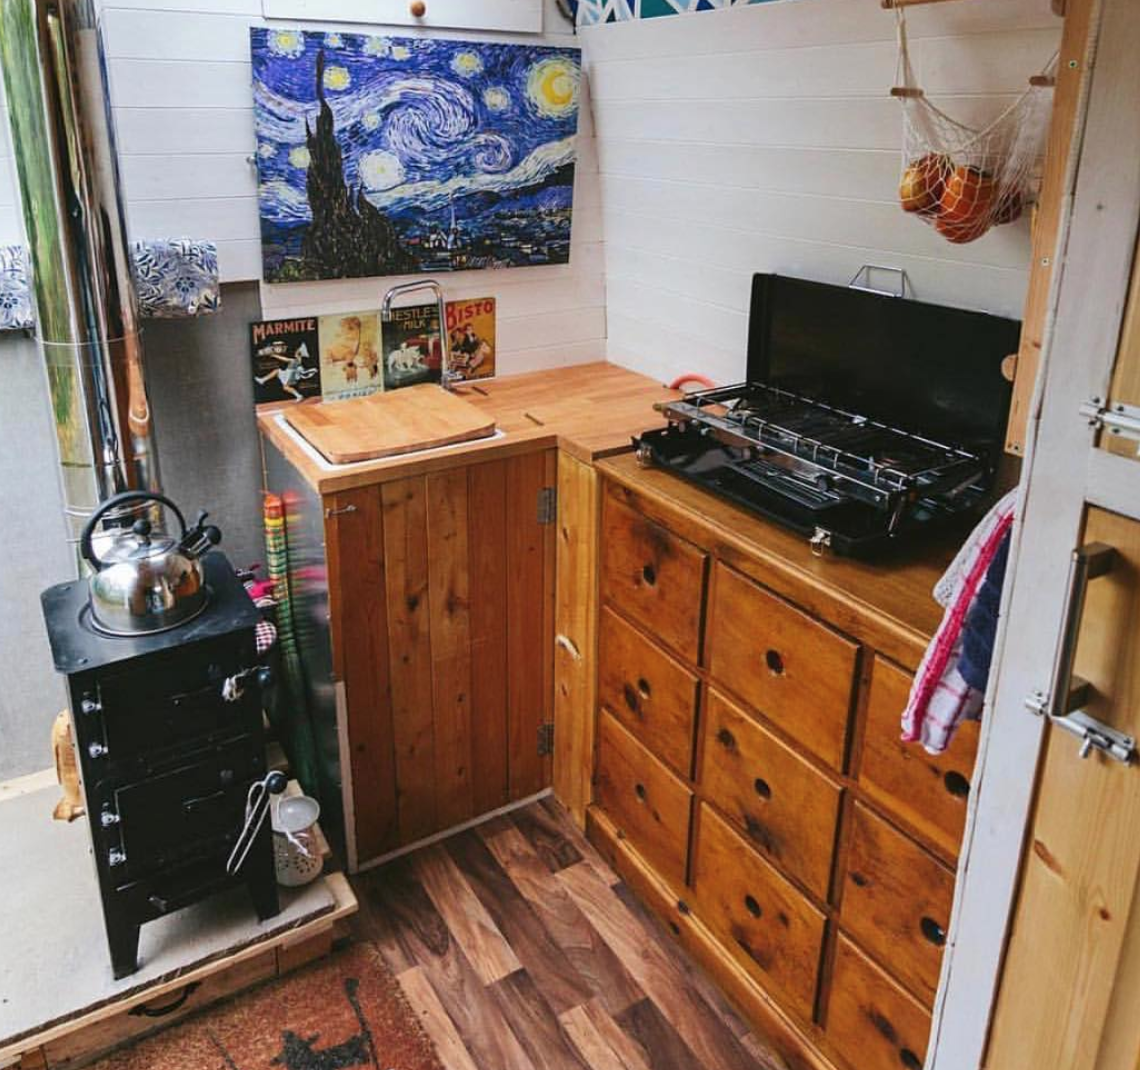
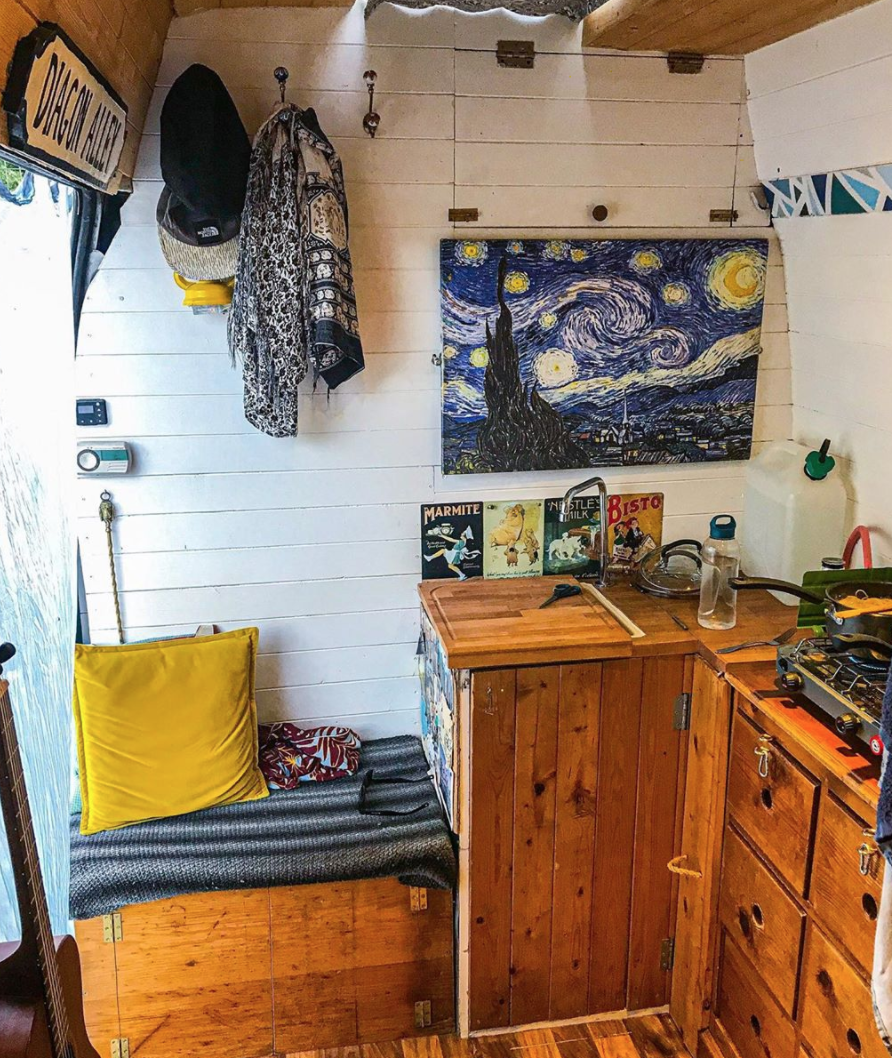
Our van build was designed in a way so that we could hold a 15KG bottle of gas as well as two 25L canisters underneath our sink: one for wastewater, and one for fresh.
Some motor homes have the option of filling their water supply from the outside, but we didn’t want to cut any more holes in the side of our van than was truly necessary. We decided to opt for removing bottles from the inside by hand, and while it’s not much of a farce to lift them out of the van from their current position, it would have made much more sense to build the container storage unit by the sliding-door so that we could lift them in and out much without feeling like we’re doing a weight training session with Dwayne ‘The Rock’ Johnson.
That would have meant that our kitchen layout would have also changed, and we could have had our burner right by the side-door which would have been great for those times that I accidentally burn toast when looking on my phone or when Rose forgets that the cake is in the Omnia Oven. (We’re a bit scatterbrained to say the least).
4. Don’t Try To ‘Make Do’ Without The Proper Van Build Tools
When we started our van build, we thought that we could do all of the intricate cuts with a hacksaw. We were very wrong. After messing around with the same piece of wood for about three hours, we went onto the Argos website and bought a jigsaw on same-day delivery. The cut that we had been working on for so long and wasted three pieces of wood in the process only took 2 minutes with the proper saw, and though we had to spend a bit more money on a new piece of kit, it was totally worth the amount of time and lost fingers it would have taken to complete the job with hand tools.
Soon after this discovery, we also ditched the sandpaper and bought a sander, and then we ditched the chisels and bought a router. Most of this stuff wasn’t ‘the most expensive top-of-the-range’ gear either – our electric sander cost us about £15 and it’s brilliant!
Spending a little more money to save yourself bags of time won’t only make your van build process be more efficient, but it will also make you a lot happier too!
5. Don’t Cut Wood When You’re Feeling Tired
Or operate any dangerous machinery for that matter (fingers don’t grow back!). It doesn’t matter how many times you’ve measured your piece of wood or how many similar cuts you’ve made throughout the day – if you’re tired, then you’re going to make a mistake.
That last piece of cladding that you need to complete your wall might end up becoming a seven-day-wait for the next batch to arrive because you messed the end join up. USE YOUR HEAD (not to cut things; I’m talking about thinking).
We had to convert our van around our work schedule, which often meant working late into the night and spending every moment of sunlight over the weekend to get parts of the van build completed. It meant that we sometimes had to force ourselves to carry on, and that meant that we (I in particular) made mistakes.
Take your time, measure twice, and take regular breaks when you’re feeling stressed or have done too much. When you feel tired, put the tools down and walk away. You’ll save yourself a lot of hassle and a lot of money by not having to correct silly mistakes.
6. Treat Any Rust Before You Lay Down Your Flooring
Thankfully, this isn’t something that we had a problem with, but we do know a few couples who completed a van build and then had to spend lots of money on hidden rust issues or had to scrap their builds entirely, which as you can imagine, must have been a pretty heart-wrenching thing to do.
Always check the floor guys; walls can be fixed to a degree by soldering in new panels, but the floor is crucial if you’re going to….well…stand or live in your van without falling through onto the road. There’s not much more to say about this one – just do your homework and double-check EVERYTHING.
One other thing that you should also look out for is if the previous owner (if it’s a second-hand van, that is) has made any holes in the floor when screwing down fixtures for gas heaters and the like. You want to have as few holes in your floor as possible before your start laying down lino or boards, so get the fibreglass out and cover over anything that doesn’t need to be there.
7. Take Time Deciding Your Van Build Bed Layout
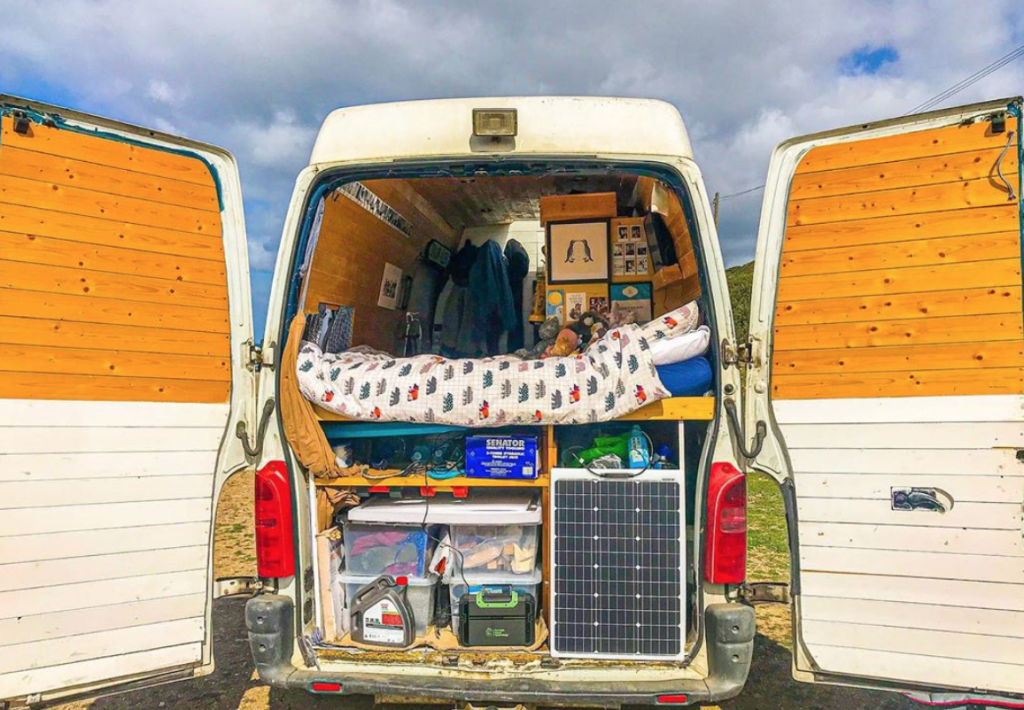
Don’t just go with a rock ‘n’ roll bed because it looked cool in that VW that you saw on a movie, and don’t assume that a static bed is the best option even in a big van. Planning is key when it comes to choosing the right campervan bed, and there are so many different layouts that you can choose from including beds that lower down from the ceiling – the possibilities are endless.
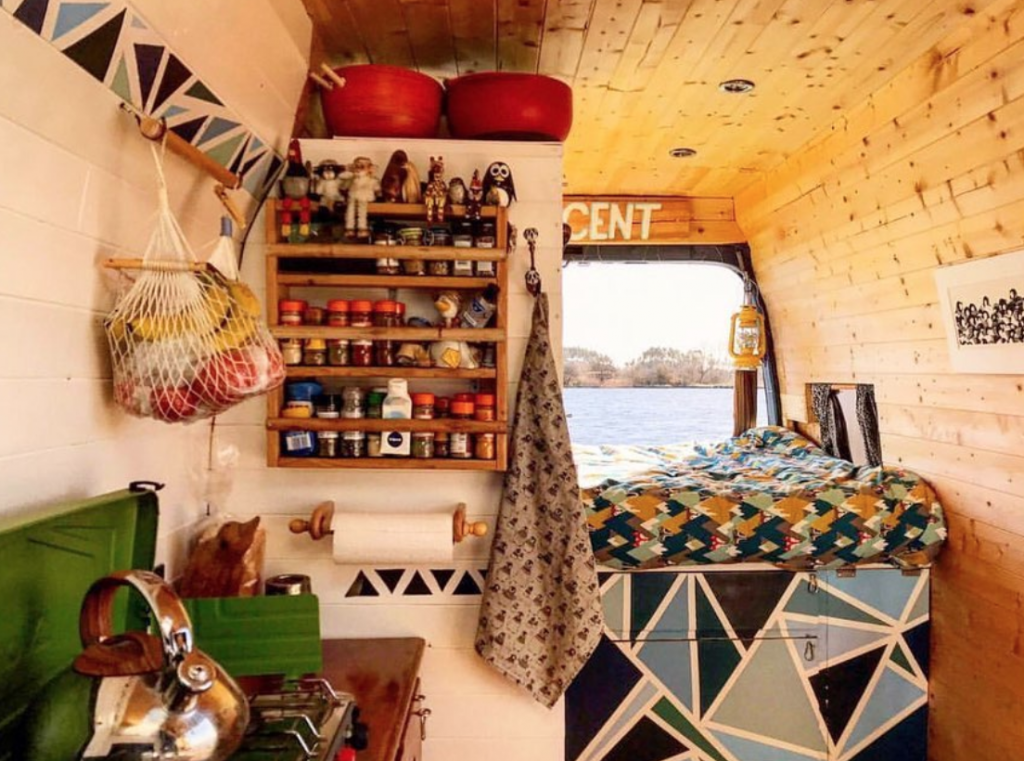
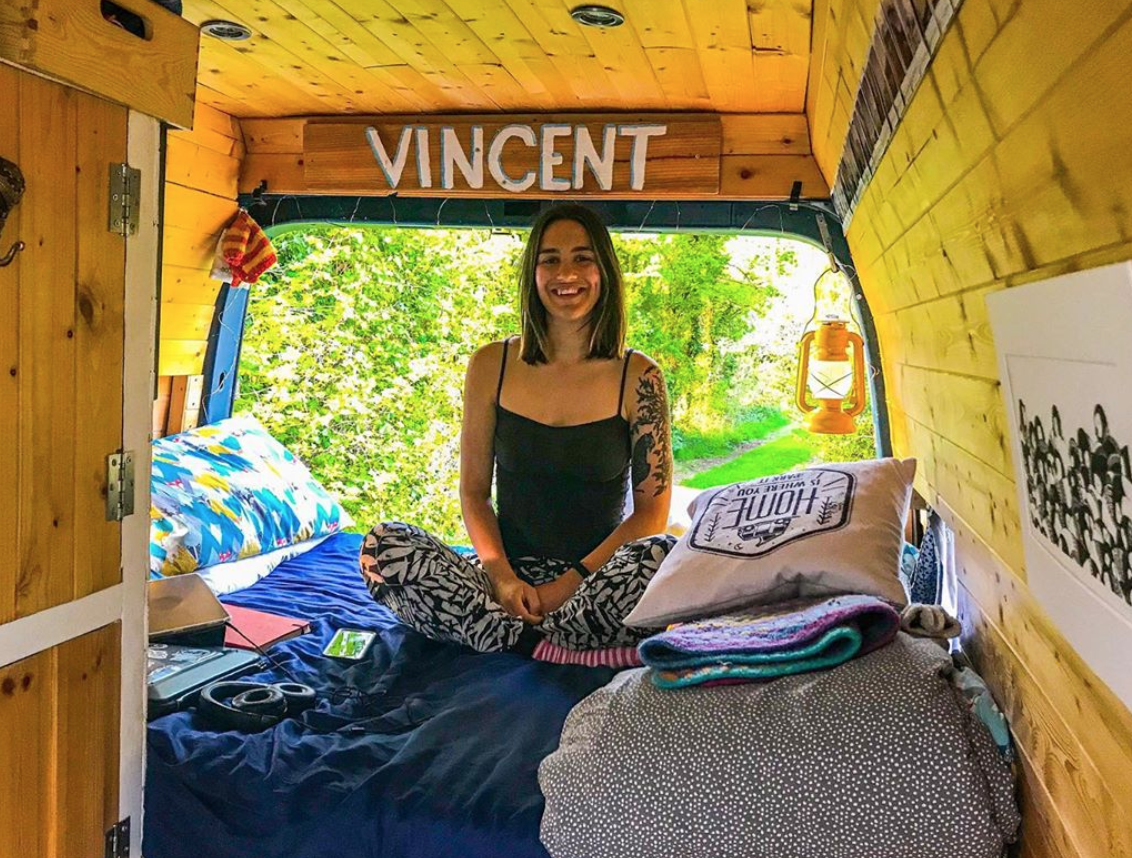
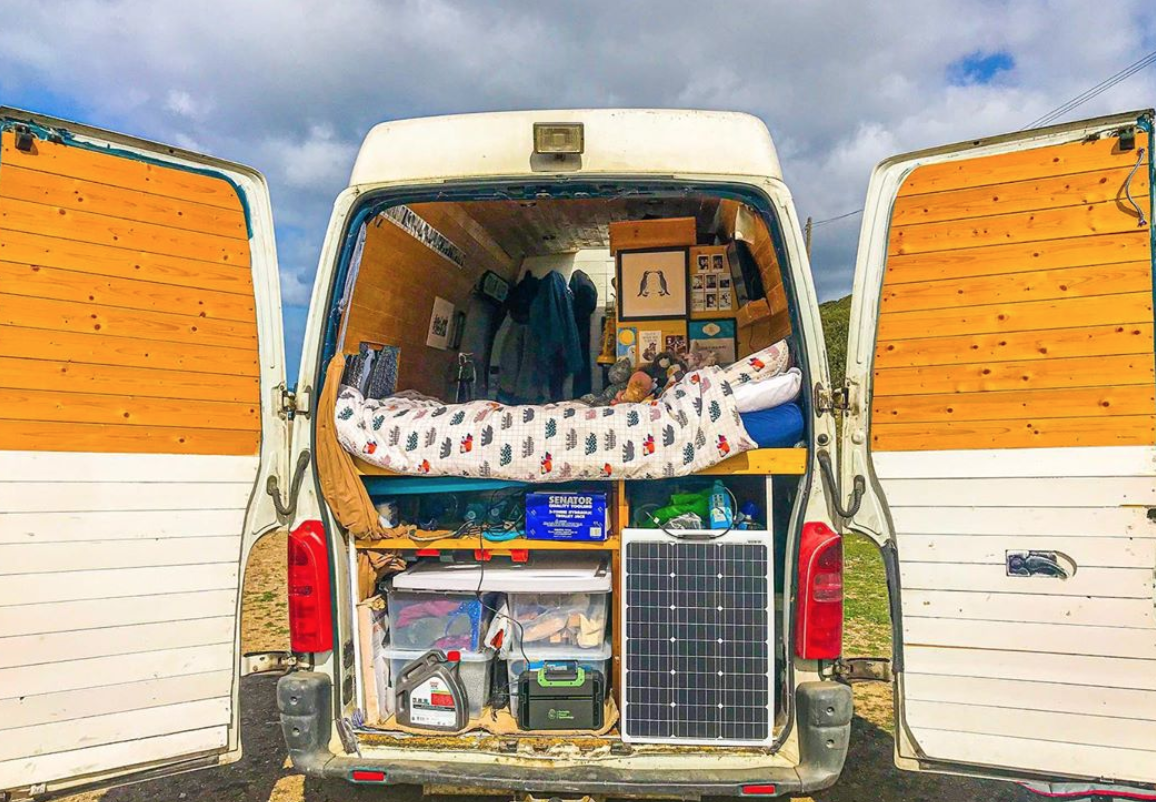
Rock ‘n’ roll beds are great if you want a seating area and a bed but don’t have the space for both, but you lose a lot of storage if you go for this option. Out static bed unit houses drawers in the front half and a ‘garage’ area in the back for skateboards, tools, ladders, our electric system, winter clothes, and much, much more.
Our van is wide enough for a double bed to fit in widthways, and we chose to build our bed like this so that we wouldn’t eat into too much space in the kitchen area.
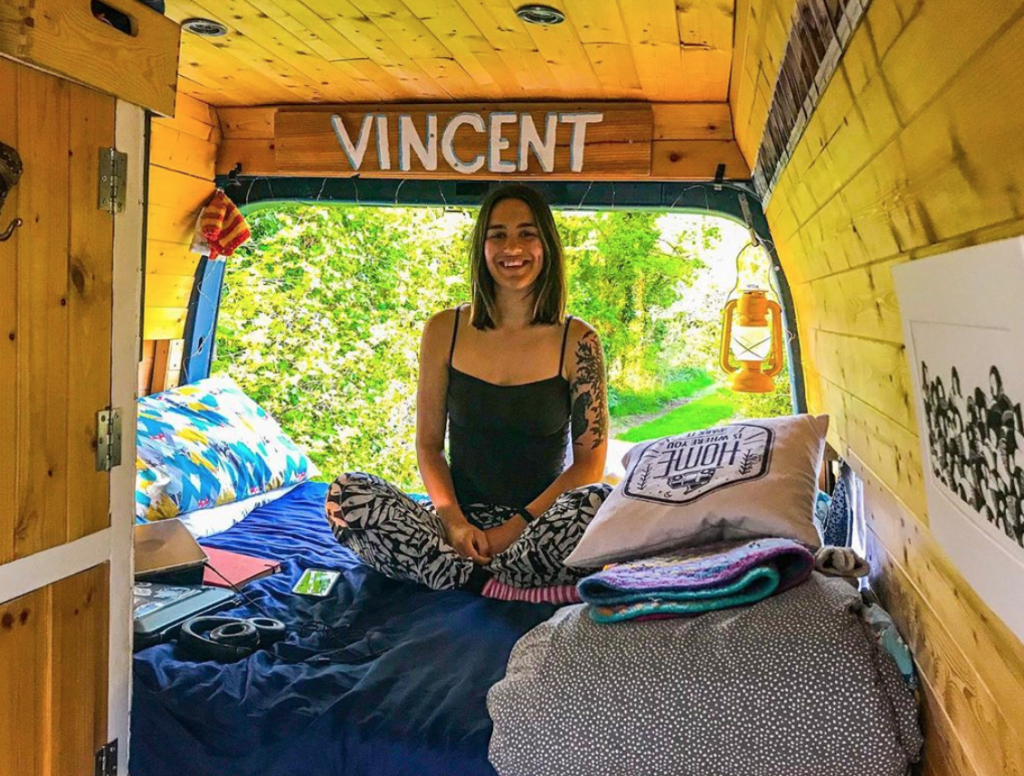
Our advice – Lay in your van BEFORE you start building your bed. Make a bed out of cardboard boxes so that you’re laying at the correct height if you have to, just be certain that A) you’re going to be able to fit comfortably in your chosen space, and B) your bed idea will give you enough storage space once built.
Every millimetre counts in a bed build, and it can be the difference between you having a good night sleep or waking up tired every day. We’ve had to make a few adjustments to the cladding around our feet over the years as our sleeping positions have changed which wasn’t a hard job at all, but redoing the entire bed would have been a nightmare!
8. Think About Airflow
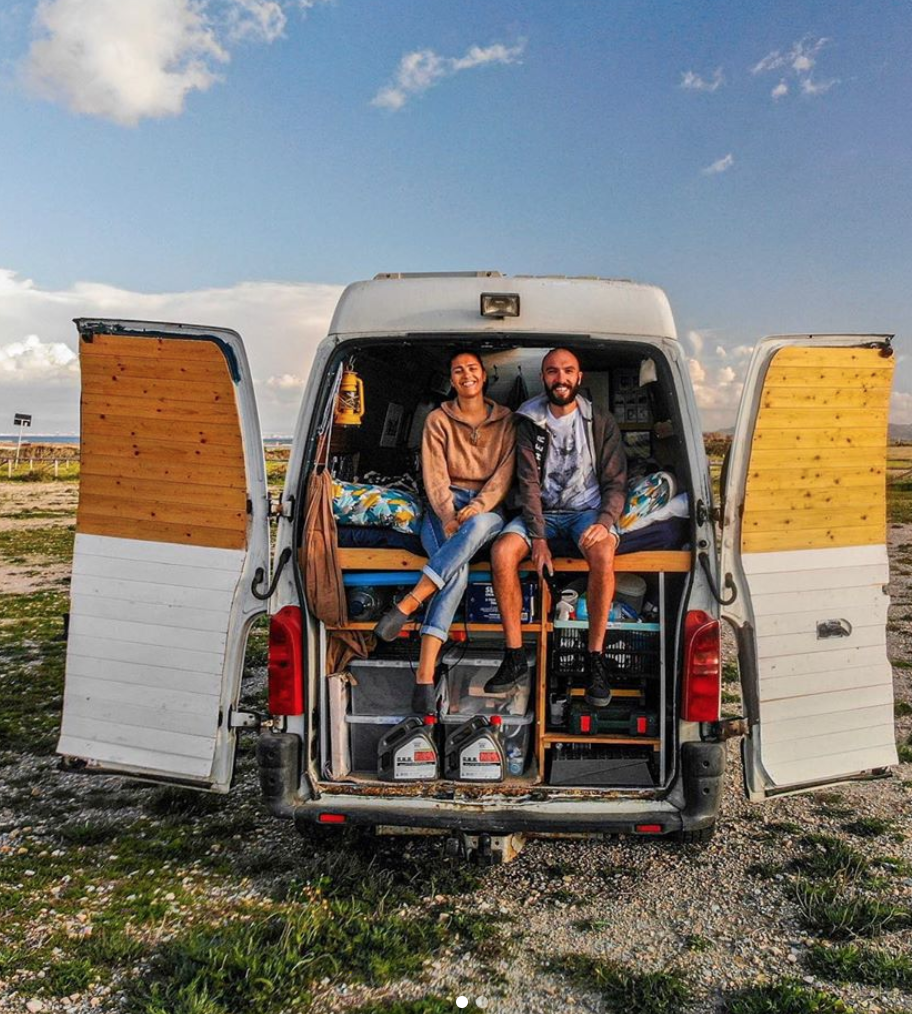
It’s not talked about, because no one want’s to admit that they’ve got damp inside their van build. Heck, people don’t even want to talk about the fact that they have it in a house!
When we discovered that we had black spots on the wood under our mattress, we felt like we had failed. It was a pretty sad moment, but rather than flinging the van into the nearest river, we set about thinking as to how we could improve the airflow in our conversion to keep air circulating.
That’s how damp occurs, and here’s how you can combat it.
- Keep air flowing under your mattress by using DRY-Mat from Ship Shape Bedding. It’s a semi-rigid webbing that is used under the mattresses on ships to stop water particles form collecting, and it works wonders in a tiny space such as a van or tiny home conversion.
- Cut an air vent in the side of your van. It doesn’t have to be a big one, but having fresh air circulating around your van is a great idea, even when your windows (if you have any) are closed.
- Cut decorative holes in any partitions so that air can flow freely around your build. Avoid stacking too many belongings in one area and blocking airflow, and, if necessary, drill small holes in solid surfaces so that air doesn’t have a chance to build up.
- Make sure you take stock of the next item in our list
9. Get A Good Heating Source
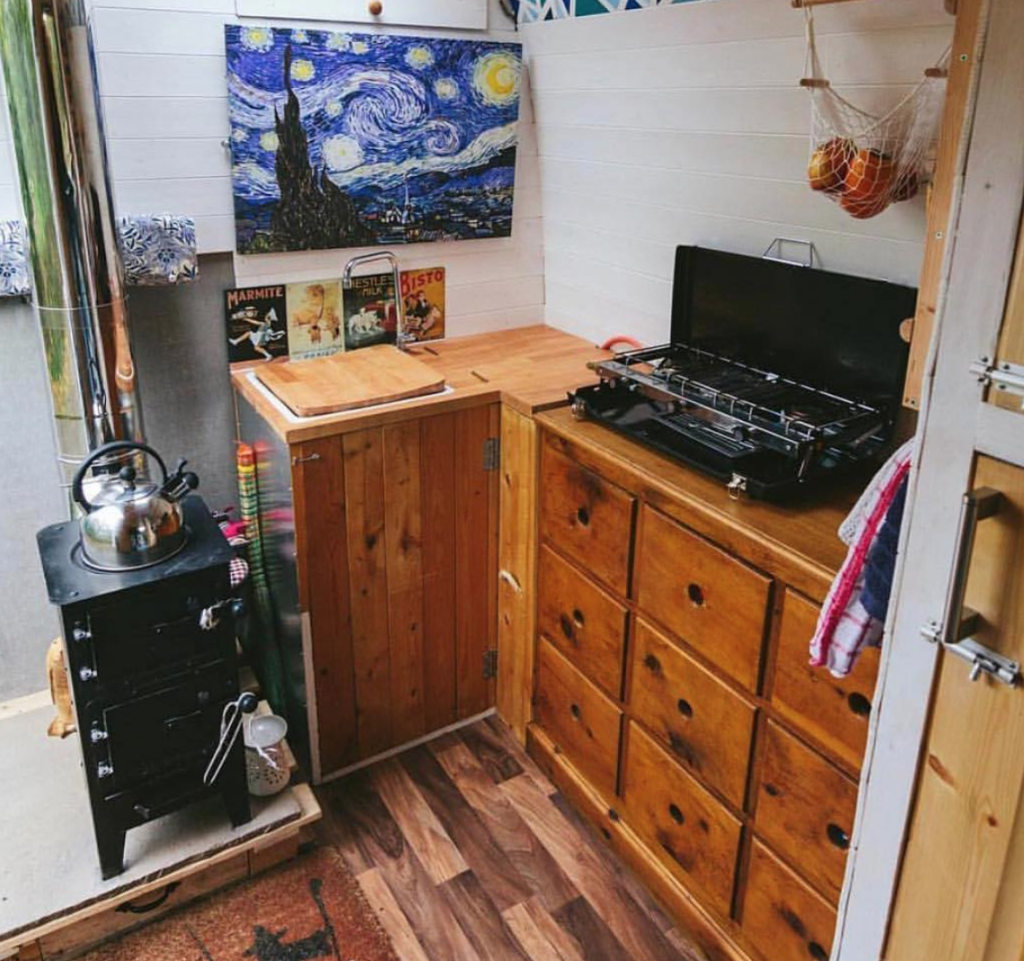
A good heating source will not only help prevent the build-up of damp in your van, but it will also make your metal box on wheels feel much nicer during the colder months. Our coal fire filled the van with a lovely dry heat that didn’t feel clammy, and it helped to keep everything nice and dry.
Our diesel heater does the same thing, but while having instant heat is much nicer than having to mess around building kindling towers with numb fingers, it just doesn’t look as interesting!
Heaters don’t have to cost the earth, and while some of the more expensive options have two or three air outlets for warming up certain parts of your van, we’ve found that a small heater with one outlet keeps the space nice and toasty just the same.
We paid £500 for our heater, and while that might seem expensive, it’s about a quarter of what the leading brands charge. We can set it to come on at certain times of the day, and it only uses 0.1L of diesel an hour on the lowest setting, which is the main one that we use. Don’t rely on hot water bottles or hand warmers; you’ll be miserable when the snow hits!
10. Always Keep On Top Of Your Overall Van Build Weight
We’re not talking about watching what you eat, although that could have a direct effect on this point too! Some people don’t realise that they can’t let their conversions get over a certain weight. If your license states that you can only drive a vehicle under 3.5T, then you need to make sure that it never gets to that point.
That’s a lot of weight, the kind that you might experience if you moved stone around all day for a living, so you shouldn’t have too many problems unless you want to put a water fountain in your kitchen. What’s more, some vehicles can be physically unsafe to drive if they go over a certain weight (suspensions start to give in and all sorts, which will cause you no end of problems).
If you do go over the specified weight, then the authorities have the power to make you remove any number of items until you get below your weight allowance. You won’t be allowed to take your items away with you, and you’ll be fined a hefty amount too.
Having a van build that’s too heavy will not only make it unusable and ruin your plans, but you might end up losing some of your favourite van life essentials in the process. Always weigh your conversion when you’re finished. Make sure there’s a full tank of fuel, all your water is topped up, and that you and any other passengers are buckled up. And if you’re close to the borderline, then maybe lay off the cake a little bit.
11. Install Your Electrical Wires Before You Clad Your Walls
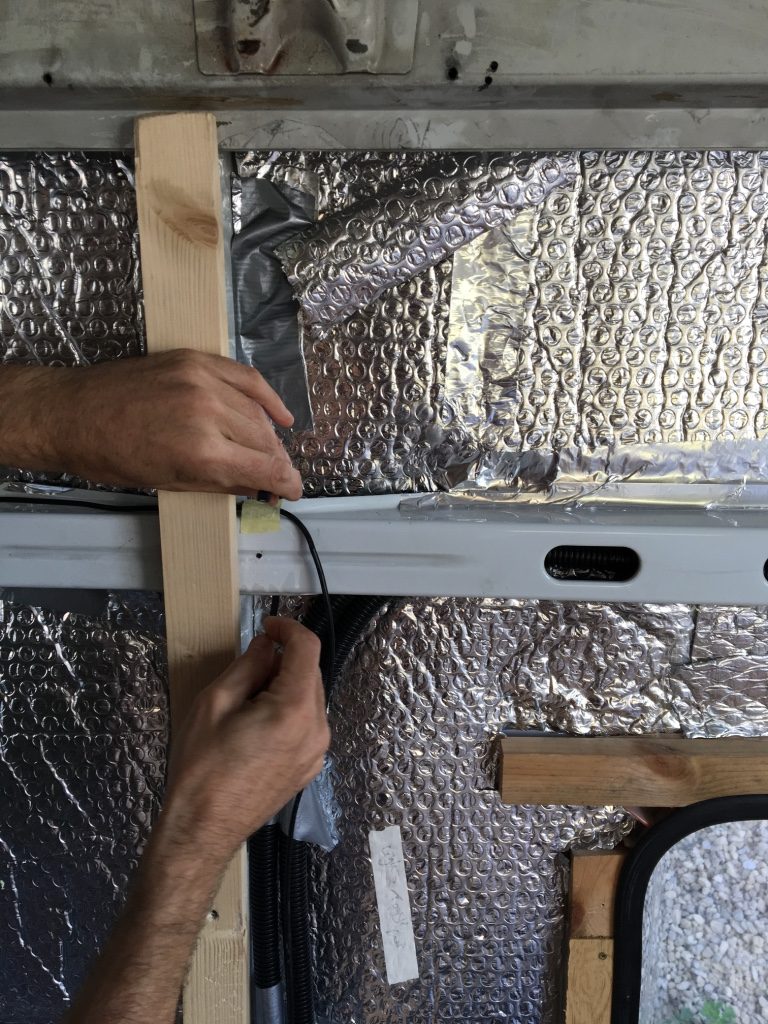
Time and time again we see people clad their walls first and then think about having to slot wires in for their electrics.
This is a BAD idea.
You wouldn’t make a cake and then spend hours trying to thumb the chocolate chips into the middle without trying to break the outside, would you? (I’m talking about cake a lot because I’m so hungry!)
Plan where your wires are going to go and hook them all up BEFORE you start covering them over with insulation and wooden boards. It’s impossible to see what you’re doing when your working blind behind a big bit of rock wool, and if you put all of your cables in first, then you can run them through conduit and make sure they’re 100% safe before you start putting other materials on top of them.
Your electrics need to be all in working order before you start sealing off sections of wall or putting up home furnishings, and make sure that any switches or light bulb fixtures are easily accessible when the build is complete, otherwise you’ll have to start taking your van apart to keep on top of simple maintenance tasks.
12. Plan Your Van Build Electrical System Carefully
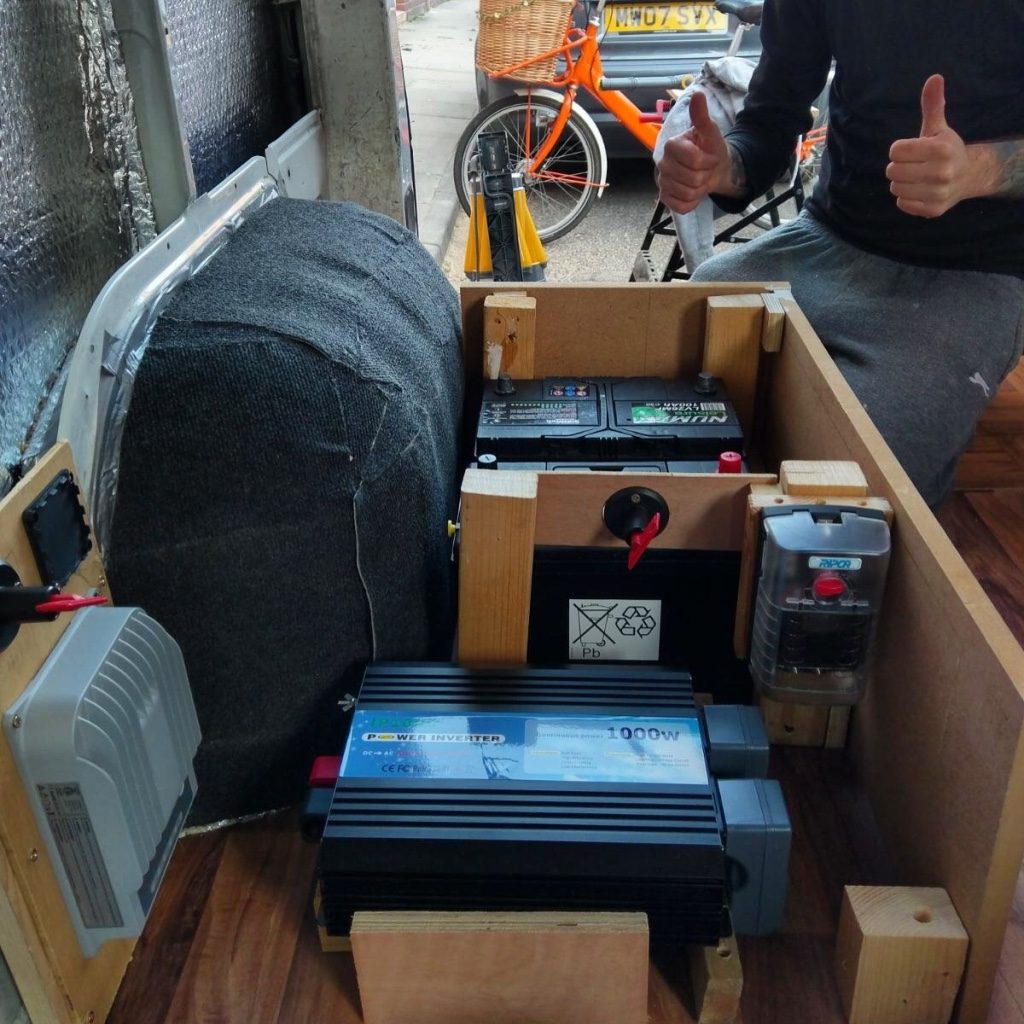
Our e-book has around 100 pages on the electrical system. It’s the most complicated part of the van build and one that you need to get right if you’re going to spend a lot of time living off grid.
Calculating how many solar panels you’re going to need and what size inverter you should install for the devices that you rely on is important. It could be the difference between you being able to stay on a beach for 7 days or having to tether yourself to a campsite because you can’t work your food blender without a hookup.
Working out a wiring diagram is also something that might seem a bit overkill at first, but it’s crucial when it comes to trying to understand the forest of wires across your roof or the vast array of connectors that you have down by your fuse box and battery bank.
A wiring diagram will help you as a point of reference when trying to troubleshoot problems with your lights or power, and while I couldn’t tell you how to fix any electrical problem in any of the houses that I’ve lived in, I know the electrical system in our van build like the back of my hand.
Leave no stone unturned; make a note of everything and plan properly. You’ll be thankful that you did in the end.
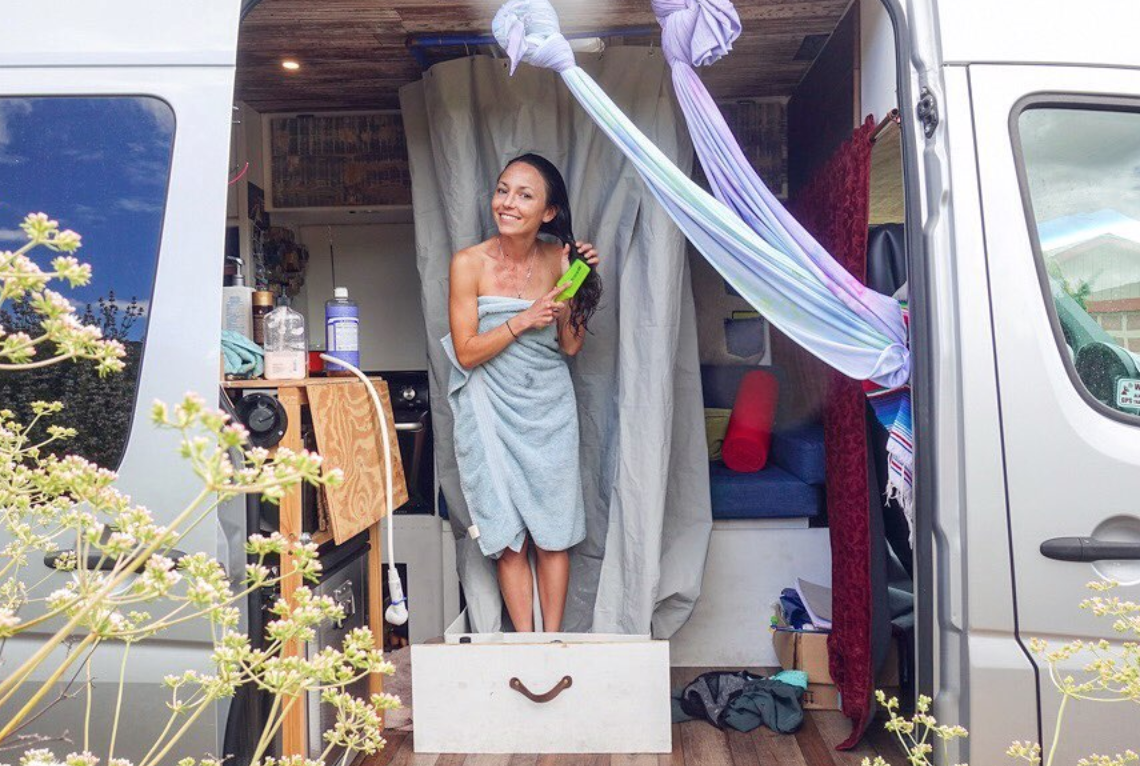
13. Do You Really Need That Shower That You’ve Included In Your Van Build Design?
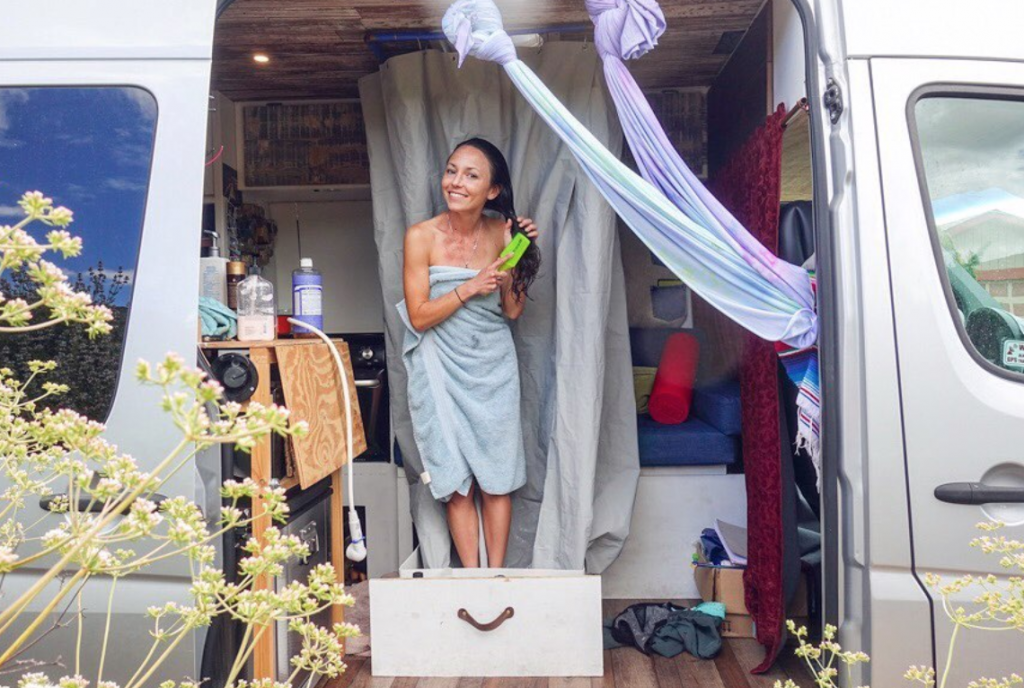
I know you might have had twice-daily showers when you lived in a house, but you honestly don’t need to be that clean. Ok, if you’re running on a daily basis or do a lot of exercises that make you sweaty, then you’re understandably going to want to keep clean.
Rose and I usually wash with about half a kettle of water each. It’s less wasteful than leaving a shower running, and you don’t have to carry as much water around with you which will make your overall weight skyrocket.
Water is one of the main things that you need for life on the road, and while it’s easy to come by in European countries that have camper van fill up spots everywhere, having a shower on board will mean that you’re constantly spending time in boring car parks filling up with H2O when you could be chilling on the beach or freshening up in a lake.
Don’t just build a shower into your build without thinking about it; they take up a LOT of space, not to mention a lot of power to operate.
There are lots of gyms that have showers that you can use if you’re exploring your own country, and with products like the Rinsekit on the market, you can save yourself oodles of room and just shower naked with the bears instead.
14. Measure Twice Before You Install A Window
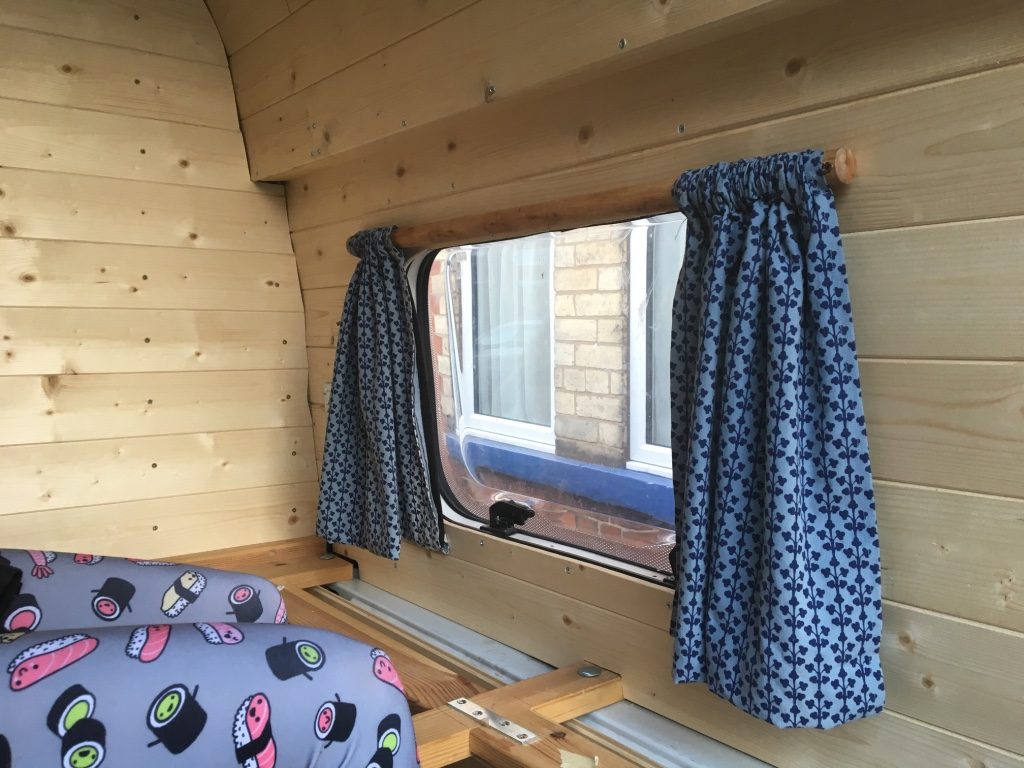
We’ve seen this happen so many times.
“Did you measure?”
“Yes.”
“Are you sure it’s right?”
“Yes.”
“Does it fit?”
“….No.”
Cutting bits out of your van build can be stressful, especially as you can’t magically add the parts back on that you’ve taken away!
When making any kind of hole, it’s better to measure twice and cut less than you first intended if you’re still not sure, that way you can make smaller cuts until you finally get the measurements right.
If you’re installing windows and you get the sizes wrong, then you’re going to end up with a gigantic hole in the side of your van and cold toes due to the incessant draught.
15. Drawers, Not Cupboards
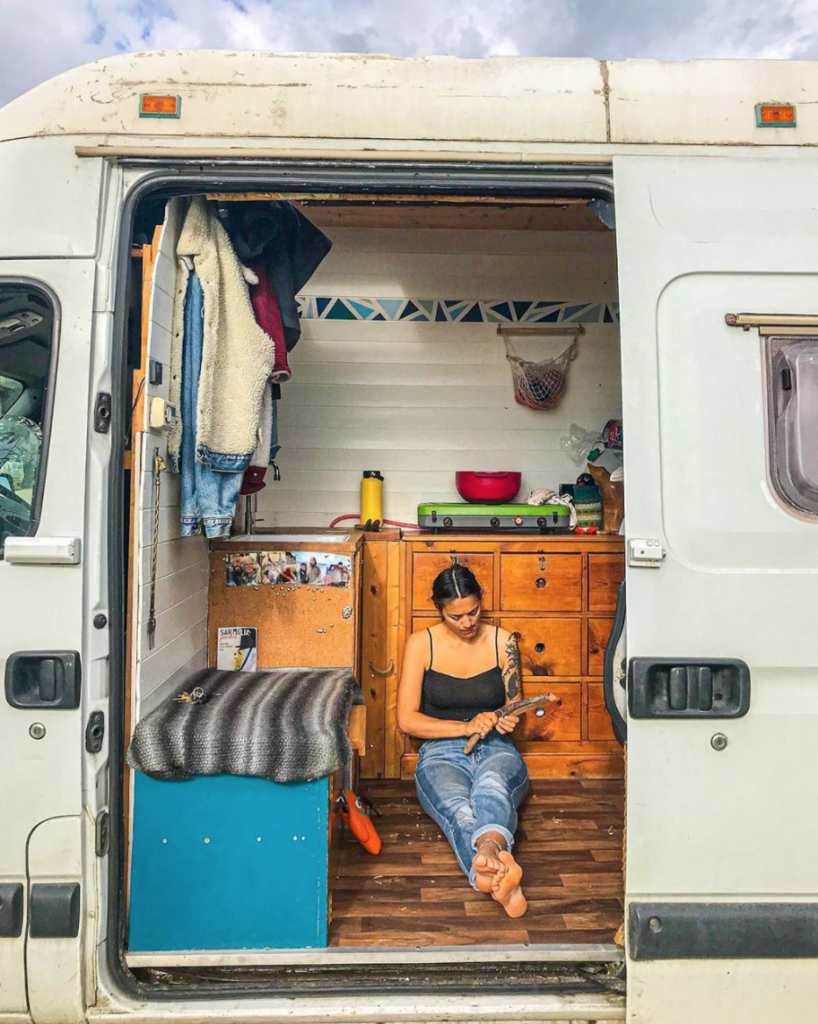
The last point on our van build mistakes guide is one that divides a lot of conversion enthusiasts, but I’m settling it right here and now.
Drawers are better than cupboards, and that’s final.
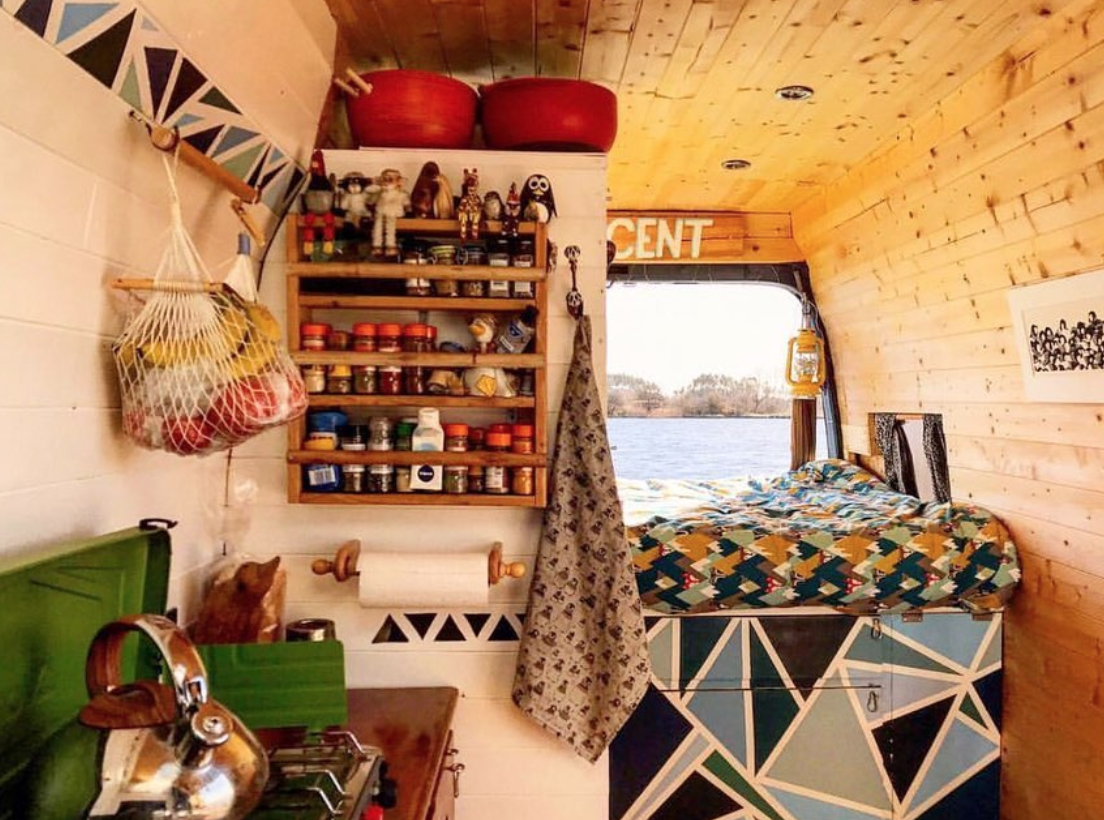
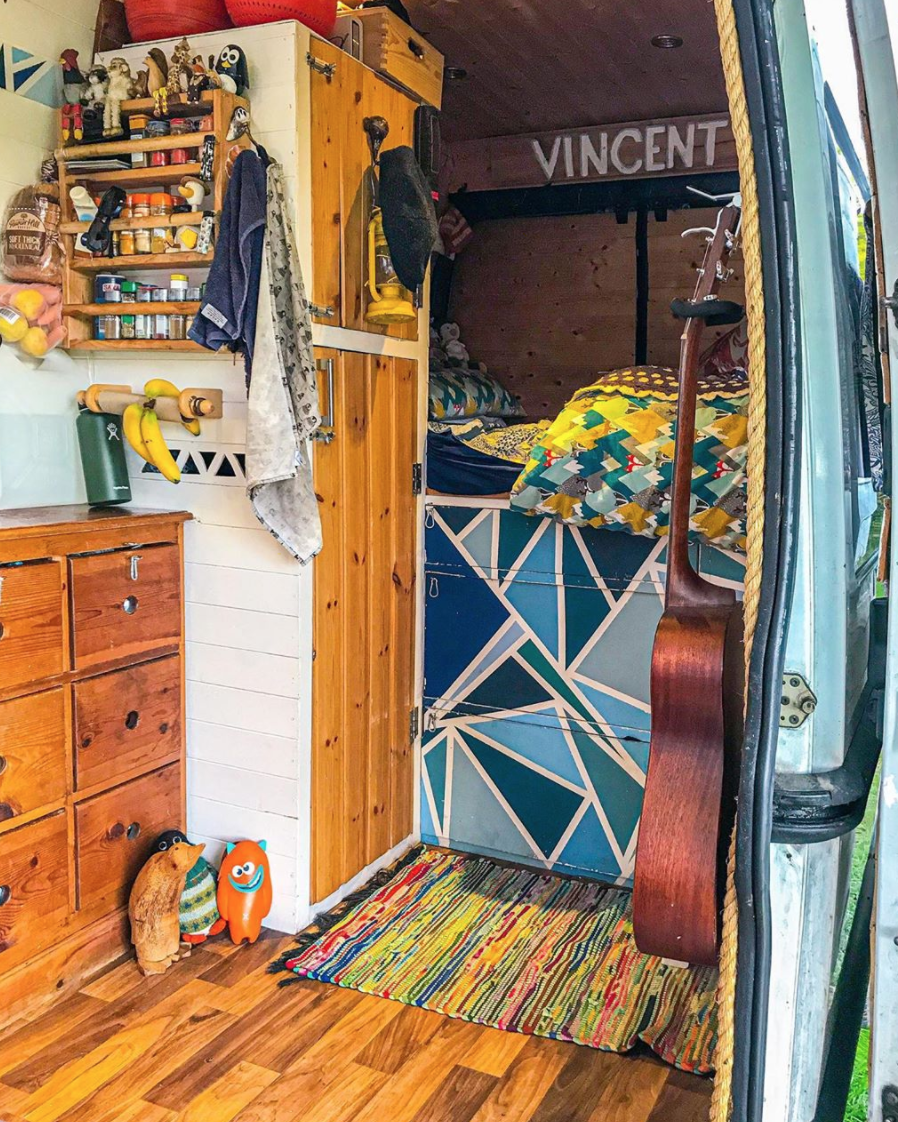
Drawers give you much more scope for organising your belongings, they can be built to any size or shape, and your storage items won’t slide around or break when you hit a pothole or swerve around a corner. We see so many builds where the owners wish they had built smaller drawers instead of huge cupboards that they have to climb into to find a jar of pickles.
The same can be said for clothes too. Drawers give you the ability to create certain dividers for different items, and they’re just so much easier to manage.
Overhead cupboards might look like a great idea on photos, but they’re not as practical as you might think. Apart from making your build feel less roomy and creating something that you might possibly knock yourself out on, they just aren’t a good option if you pride yourself on having a neat and tidy home.
Imagine having a bag that’s slightly open in an overhead compartment on an aeroplane, and you’ll have an idea of the pandemonium that can ensue with spices and jars on a trip down a mountain pass.
Final Thoughts
If there’s one thing that I want you to take away from this article, it’s that you need to plan as much as you can and to not cut corners.
My uncle always says ‘fail to prepare; prepare to fail’, and while it’s the kind of cheesy line that follows ‘teamwork makes the dreamwork’ in the list of things that make me physically enraged, I have to agree with him. Give yourself the best chance at completing a comfortable and homely build first time around, and try not to make any of the mistakes that we and the unnamed people on this list made along the way.
Use our hindsight to make your lives a lot less stressful, and happy building!
Remember, if you’re looking at converting your own van, then you can pick up a copy of our How To Build A Camper e-book for all of the advice on how to do things the right way!
Join us on Facebook, Twitter, and Instagram and share your pictures of your conversions no matter what stage they are at!
More Content From The Van Clan Team!
- Here are the best campervan toilets for your van build…
- …and here are the best camper van batteries for your van build…
- …and finally, the best campervan cookers for your van build.



COMMENTS
Please note that all comments will be checked by our team before being approved.