11 Of The Best Tips On How To Build A Campervan Yourself
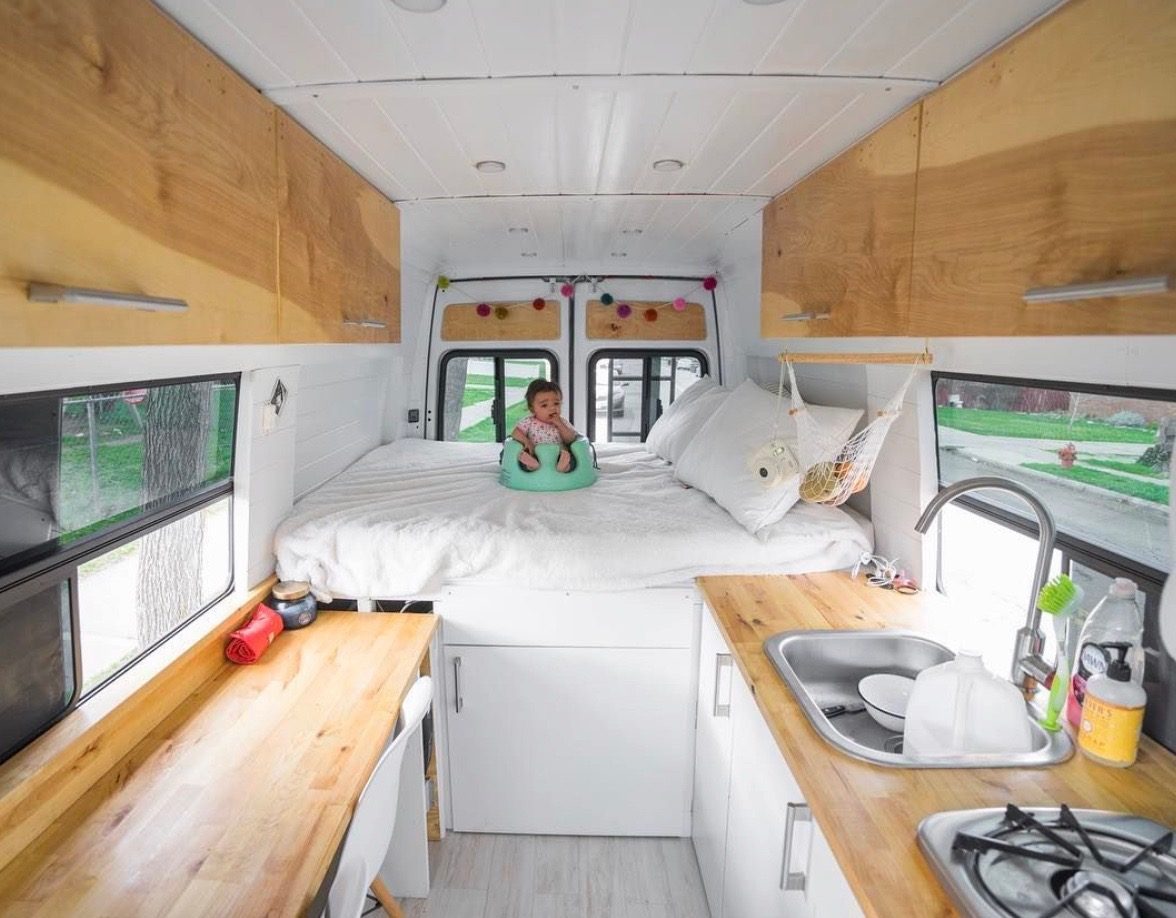
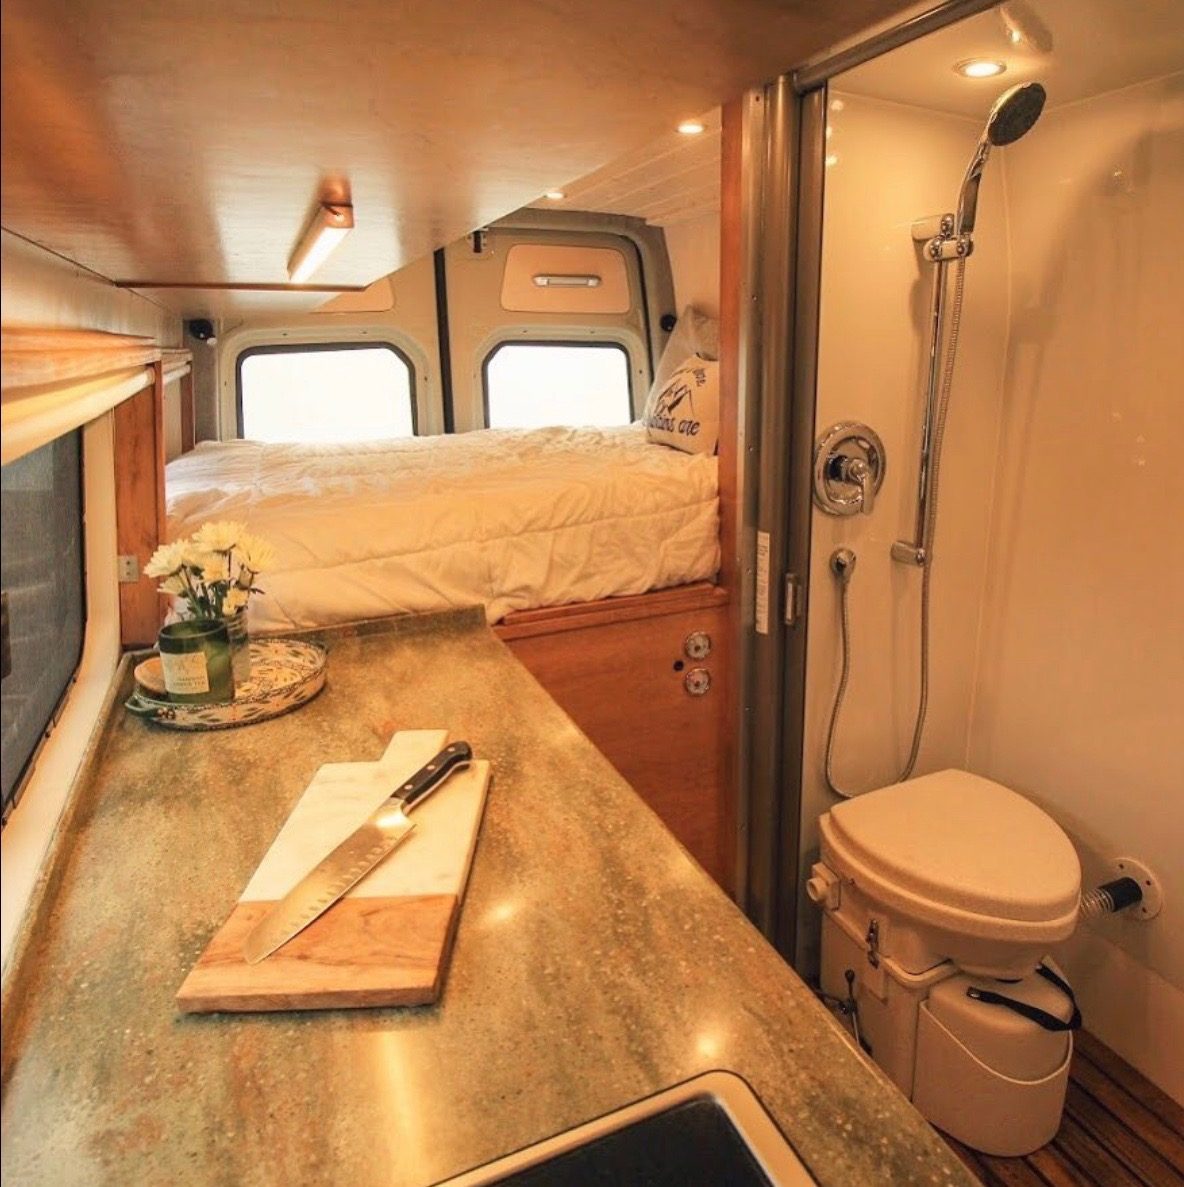
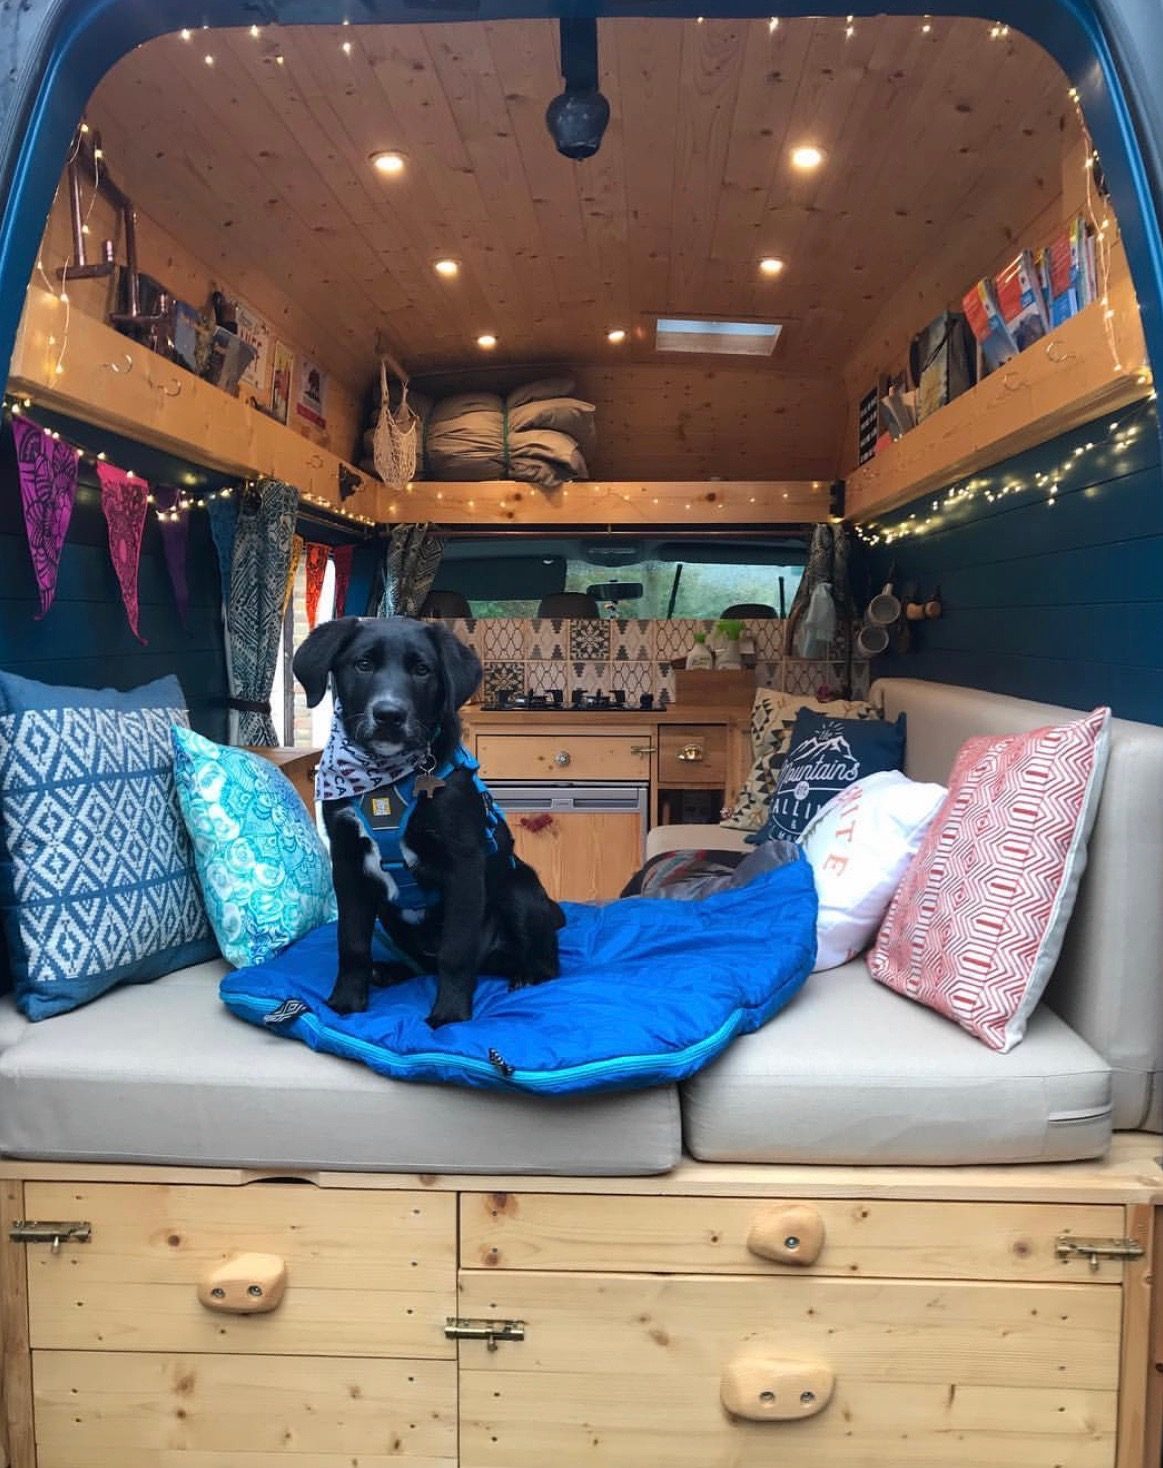
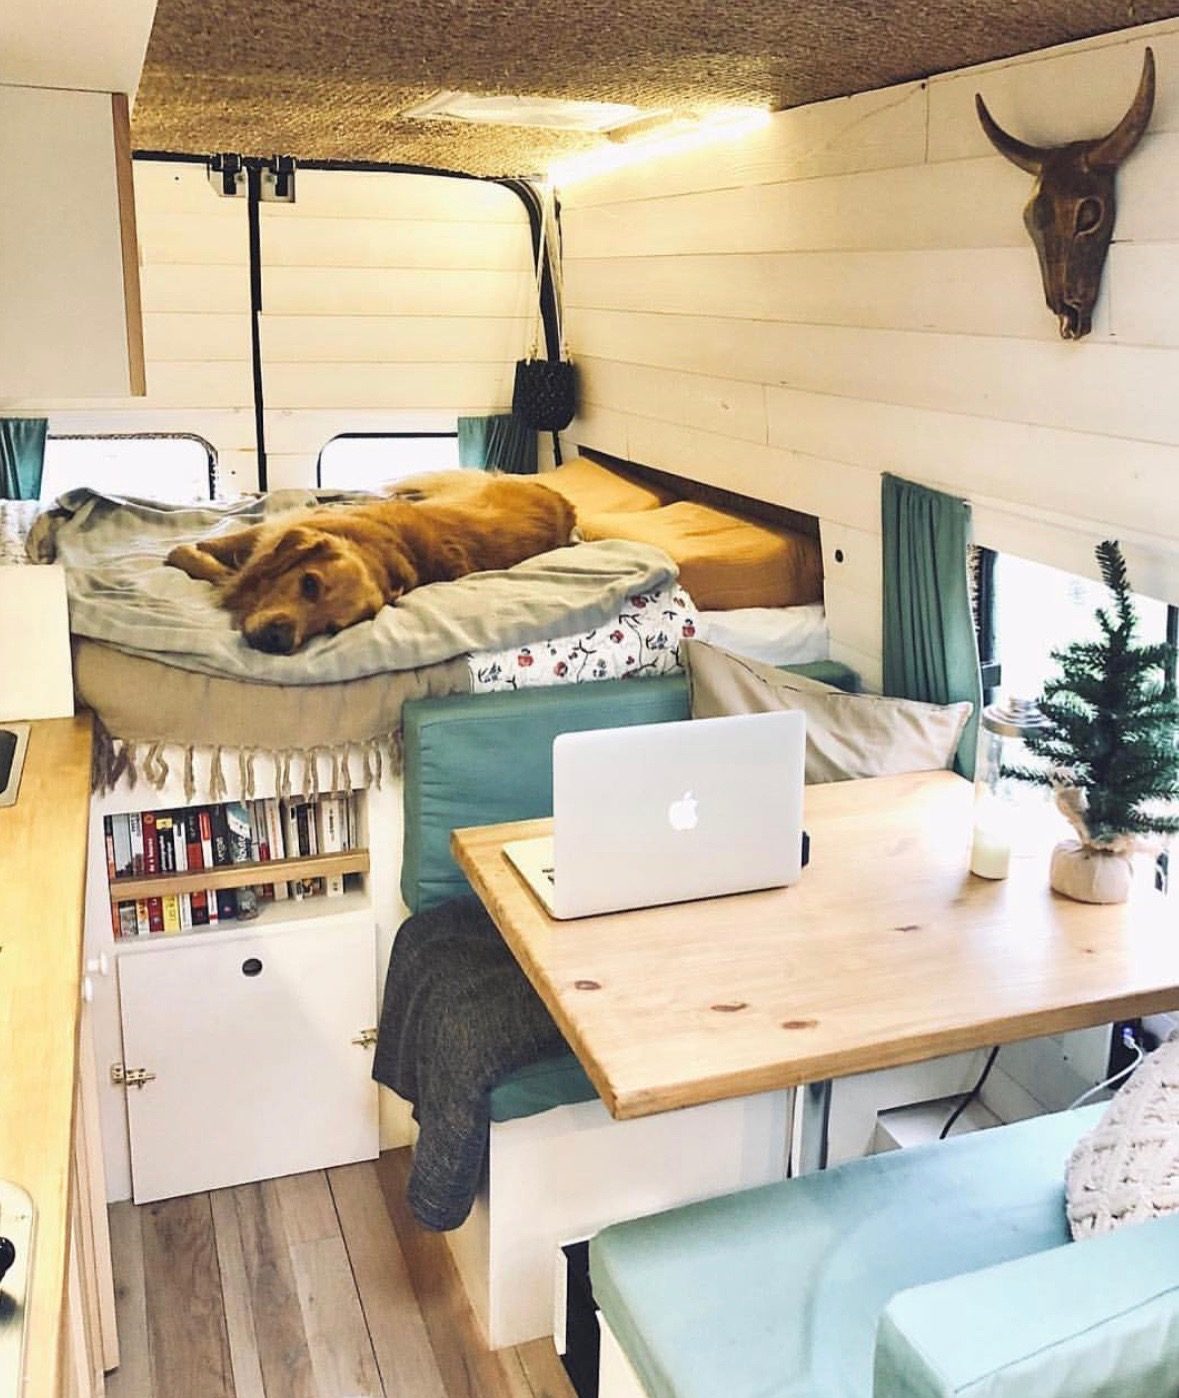
Are you desperate to live the van life but hate Formica worktops and beige walls? Well, maybe you should complete your own camper conversion. By building your own campervan you can add anything you can dream of into your own tiny home– wood cladding, Moroccan style tiling, all white everything, multicoloured everything, fixed bed, log burner, check; the possibilities are endless. Whatever it is, if you can build it you can have it, and there are also lots of great ideas out there on our Van Lifers and Weekend Warriors Facebook group! But first, get stuck into this article as we show you how to build a campervan, DIY style.
Essential Tips On How To Build A Campervan
Build An Inspiration Board
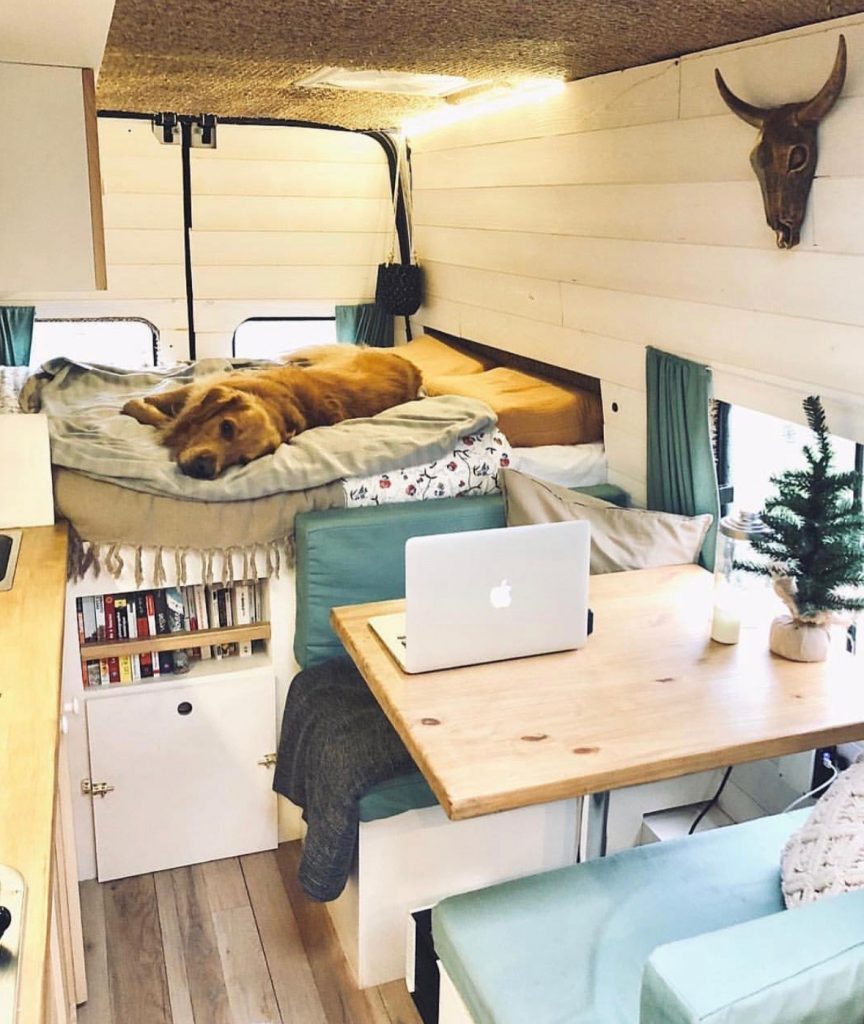
Before you can build a camper van, you’re going to want to make an inspiration board. Be it on your Van Life Instagram, Pinterest, or a good old fashioned physical mood board, it’s important to gather inspiration photographs of other self-converted vans. There is a wealth of beautiful photographs out there online so utilise it! When you’re lusting over someone else’s build, try to think about what it is, specifically, that you like about it. Is it the layout, colour scheme or materials used? These are all things you’re going to need to think about in your own build, so use other people’s vans to discover what you like the best.
Get Sketching
Once you’ve bought your van, it’s a good idea to accurately measure the whole thing. This way you can draw to-scale models of different potential layouts for your future camper. Play around with the layout and key features, as you’re working to scale you will actually be able to see how much you can squeeze into your new tiny home and where components such as the fridge, bed and toilet can go. If there are certain items that you know you want in your camper conversion, such as a fridge, then get the measurements for this so that you know exactly how much space it will take up. It’s a good idea to do this for as many items as possible so you can design around them and utilise the space. When you want to build a campervan, accurate measurements are so important as every inch of space counts!
Mark Out the Layout
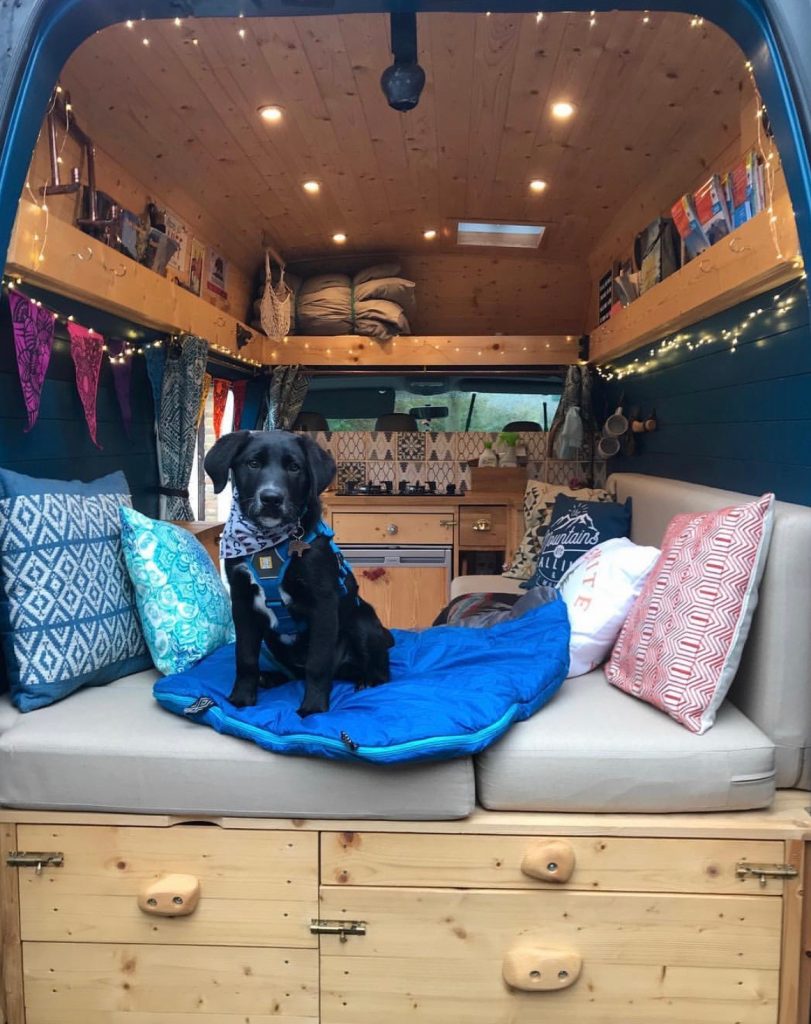
Once you’ve chosen your final design it’s time to get inside your van. Bring your sketchbook, a measuring tape, and some masking tape, and accurately mark out the measurements of your design. If you want to be really swanky, grab a load of cardboard boxes to get a 3-D idea of your layout. By doing this you can really start to get a feel for how much space you have and what your camper will feel like once it’s complete. It’s at this stage before building commences that you’ll want to make any changes to your design. If you think your bed needs to be wider or that you need more floor space, now is the time to go back to the drawing board and alter your design. If you’re going to build a campervan from scratch then you want to be sure that you are completely happy with the layout and design.
Gather All Equipment and Materials Needed
To build an adventure bus there are certain tools that are essential to the job- a saw, a drill and drill bits/screwdriver heads, sandpaper or an electric sander and a measuring tape are the bare minimum. How fancy you go depends on your budget but, remember it can be done relatively cheaply! Once you’ve got all of your equipment it’s time to shop for the materials that are going to make your unique campervan. It’s best to buy everything in stages, just in case you change your mind on any aesthetics once you’ve started your conversion. At the first stage, you’re going to want to buy any windows or skylights that are being installed, all electrical components, and all materials needed to make the interior shell of the van- including the insulation that goes behind the walls. Once the electrics, windows, interior walls, ceiling and floor are installed then you can move onto the ‘furniture’ inside the camper.
Fitting Your Windows or Skylight
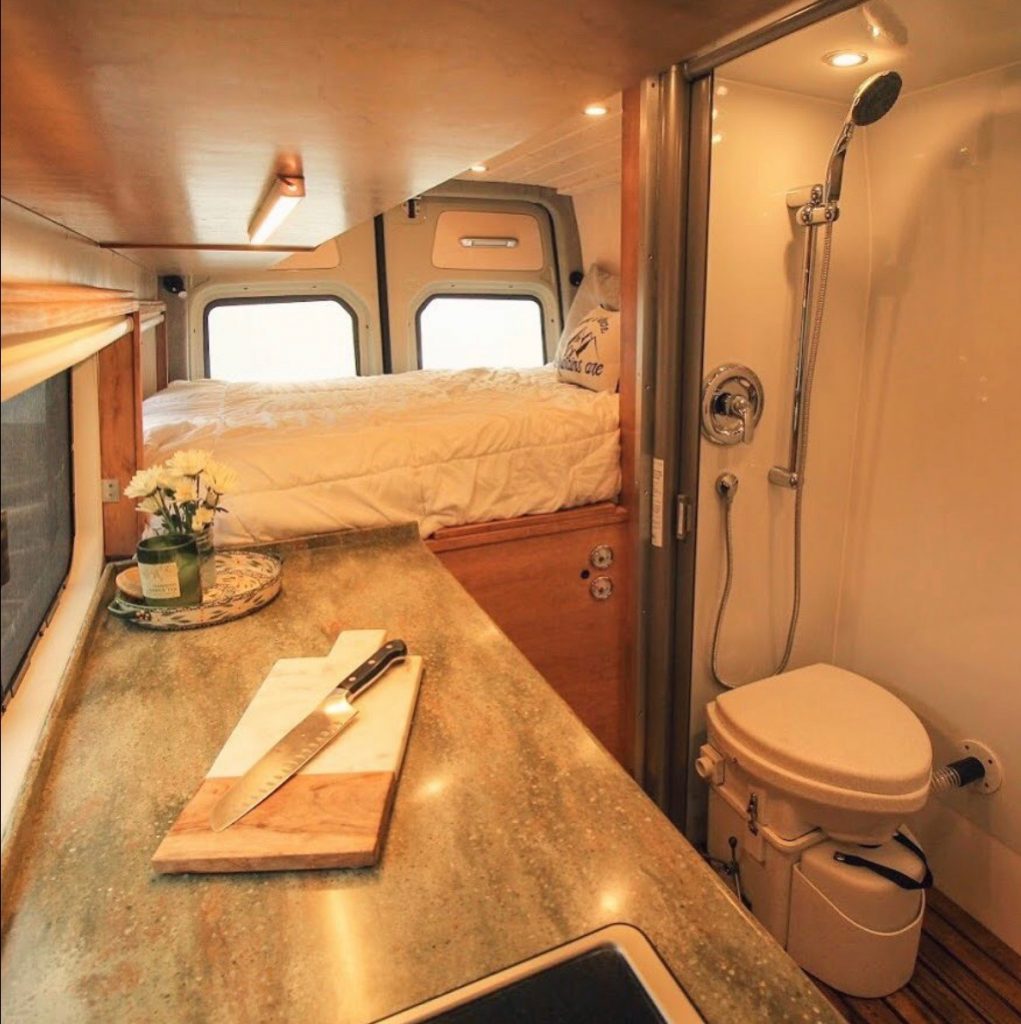
The first thing to do when you build a campervan is to install any extra windows or skylights that you might want to add to your tiny house; alternative living doesn’t mean that you have to live in the dark ages! It’s a good idea for some of these to be able to open so that you can let air into your van and let steam out when cooking. To install windows or skylights, you first need to cut a hole in your van. It is essential that you ensure your measurements are accurate before doing so as you do not want a hole that is too big- a leaky campervan is not fun! Then you want to install the window and secure it to the van. If you’re installing a skylight you can go round all screws and joins with waterproof sealant once it’s in to safeguard against rain.
Laying The Floor
The next thing to do when you build a campervan is to lay the floor. You’re going to want to lay a basic floor in the form of some cheap wooden boarding and some insulation before laying your chosen flooring type over the top. The easiest flooring to lay is Lino and it can be really good quality, is cheaper and lighter than a wooden floor and is easy to wipe clean when in use. Other alternatives are wooden floorboards or vinyl floorboards which are a middle ground between wooden floorboards and Lino. Carpet isn’t a good idea as it’s so difficult to clean. If you want the softness of a carpet then you can always get a rug! Remember to make sure the flooring is flat and level as this will affect the rest of your build.
Building A Frame for the Walls and Ceiling
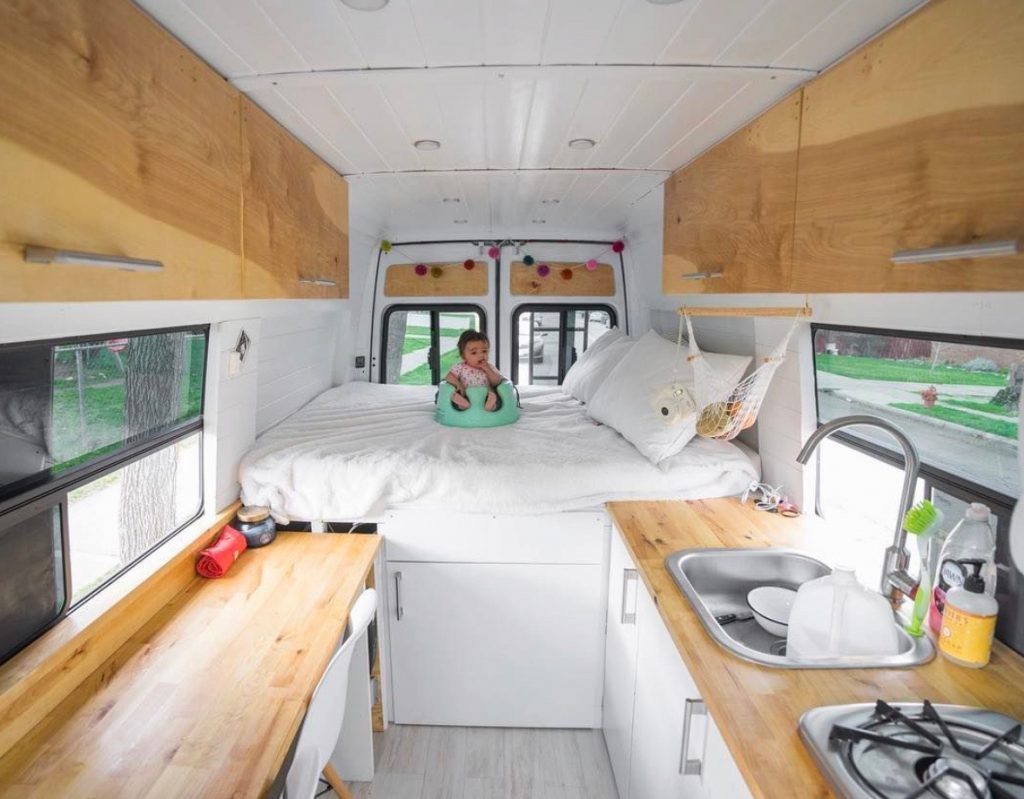
Building the frame for your camper is one of the first steps to build a campervan. It is a fairly easy step- using wooden batons, build a frame directly onto the metal frame of the van. The frame will be used to attach the interior walls to and means that you are not screwing these directly onto the metal frame of the van but into the softer wood, making this an easier job. The one thing to ensure when building your frame is that you do not screw through the actual walls of the van to the outside. Add your insulation inside each section of the frame, depending on your chosen types of insulation either now or as you build the walls.
Installing Your Electrical System
Installing your electrical system is one of the most important aspects when you build a camper. However, for many people out also seems like the most difficult job to tackle and therefore one you may want to put off until the end of your build. Unfortunately, unless you want your wires exposed or inside tubing on the outside of your camper’s interior walls, the wiring is a task you must approach before the walls of your camper go up, as running wires behind already built walls is extremely difficult. To install your electrics you’re going to need: wiring, leisure batteries, an inverter, a fuse box, isolator switch, fuses and, if you’re using solar, a solar regulator, solar charge monitor and solar panels. On top of this, you will need plug sockets, switches, lights and any other van life essentials that you may want to fit into your electrical system. There are many resources online to help you set up your electrical system, in the form of e-books (check out our own in our online shop for just £9.99), YouTube tutorials and articles. Do your research before you fit the system and everything should run smoothly.
Building The Interior Walls and Ceiling
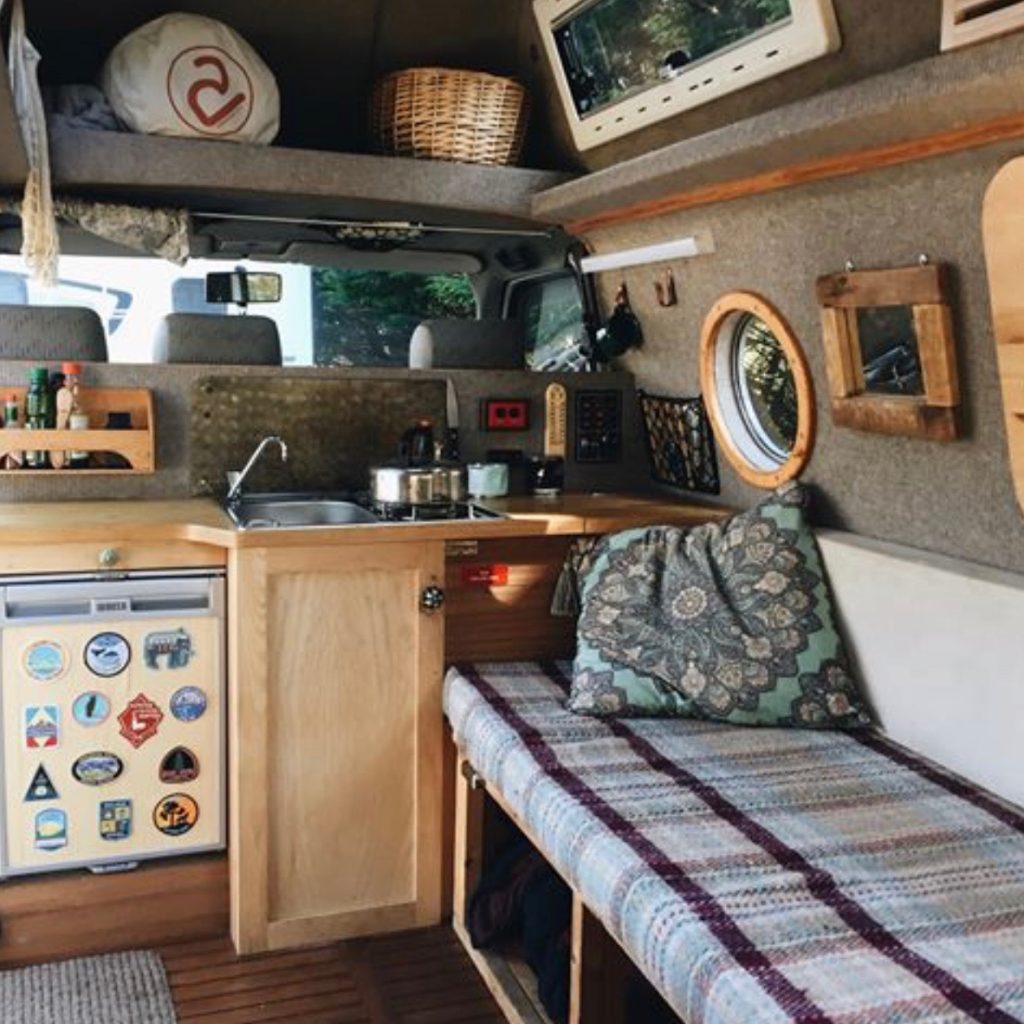
When you build a campervan, this stage is certainly one of the most exciting as, once complete, you can really start to sense what your individual tiny homes will look like, a metal can it is no more! To build the walls, simply attach your chosen material to the wooden frame- be it cladding or wooden boards. Remember that this is going to be visible (unless you are covering your walls in auto-carpet) and so needs to be really neat. Take your time, especially around the windows and doors and work with the shape of the van. Once your walls and ceiling are complete, you can really get a sense of what your new tiny eco house will feel like!
Building Out The Interior ‘Furniture’ of Your Van
The next step is highly individual when you build a camper as it really depends on the design and layout you have chosen. All of the chosen components of your modified camper need to be built and/or fitted. The kitchen area will need to include- as a minimum- a sink, tap, water storage, hob, cutting space and storage space for food and your top cooking accessories. You may also want to consider including a fridge or cool box, an oven or space for drying dishes. Some people want a full bathroom in their campervan, with a shower and toilet, others just want a toilet hidden within a bench, while some are happy with neither; this is up to personal preference, but if you are building an internal shower area then you will need to make sure it is completely watertight.
One thing that cannot be argued over is that a campervan is not complete without a bed, but there are many different ways to install a bed. You could build a fixed bed, a rock and roll bed, or one that converts back into a seating area in a different way. Whatever style your bed is going to be, make sure it is big enough, comfortable, and sturdy so you can have a good nights sleep in your campervan. There are many other things that you may want in your campers: drawers for clothing storage, a seating area, a table, extra passenger seats, surfboard storage, a garage area, bike storage, heating or air conditioning, a log burner. The list could go on. Just remember that sometimes less is more and that it is nice to have some space to move around in when inside.
Finishing Touches
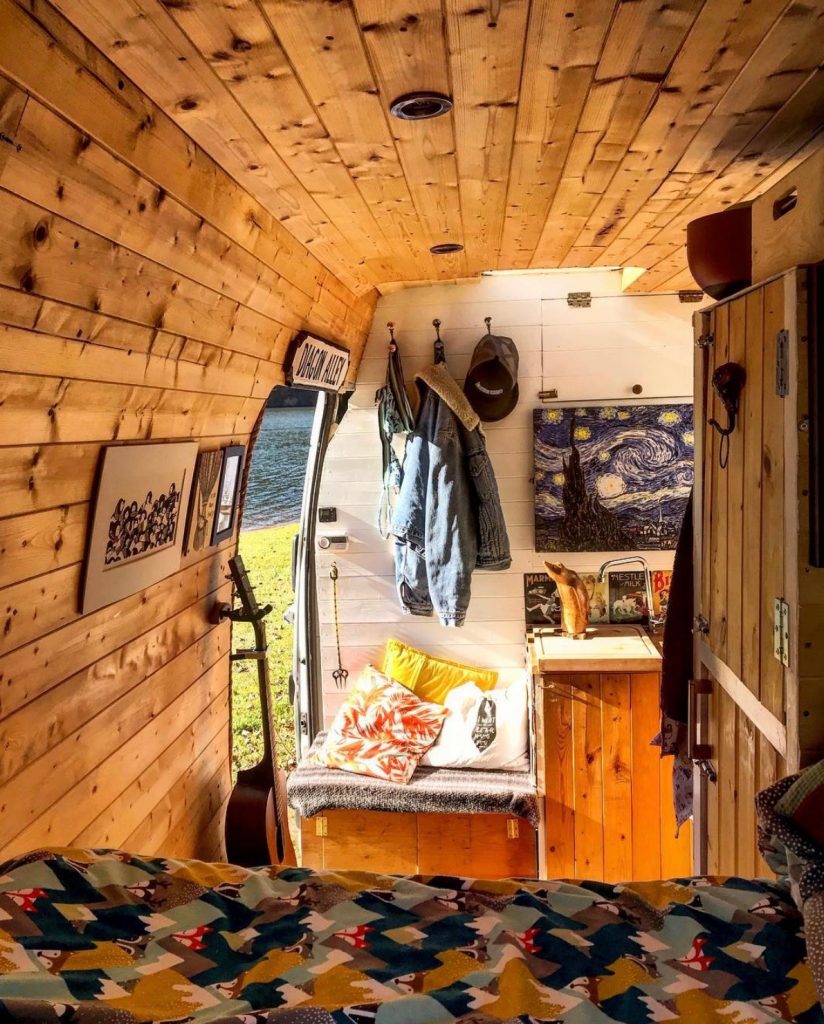
When you carry out a campervan conversion from scratch, you want it to feel like a miniature home so don’t skimp out on the things that make it feel so. Add some fairy lights, scatter cushions or buy a new bedding set. Secure some artwork to the walls, stick up your favourite photographs or paint some detailing onto your walls. When you build a campervan you spend so many hours and put so much time into the build you feel as though you want everything in it to be beautiful. It’s important to like the space you’re in, after all, you will (hopefully!) be spending a lot of time in your hand-built home!
Final Thoughts…
We hope you’ve found this miniature guide to be a good starting point on how to build a camper yourself. If you are planning to start your own build we’d recommend doing some further research, especially around the electrical side of things, before you get started. If you want a step by step guide of how to fully build a campervan then check out our e-book, which is just £4.99, for everything you need to know. Good Luck, and happy building!
More Content From The Van Clan Team
- If you’re one of our American readers, then you need to check out the Owl Car Cam.
- Take a look at 12 of the best Ford Campers that we’ve ever seen!
- Ever get that sinking feeling? You won’t in the CaravanBoat!


COMMENTS
Please note that all comments will be checked by our team before being approved.