How To Insulate A Camper Or RV In 10 Easy Steps
We get asked how to insulate a camper on a regular basis; it’s one of the easier steps of the conversion, but if done incorrectly it’s one of the hardest to put right! We’d also just quickly like to congratulate you for taking one of the first steps of your campervan conversions.
It’s an exciting time, and we’re happy to be here to help you through it!
10 Tips on How to Insulate a Camper
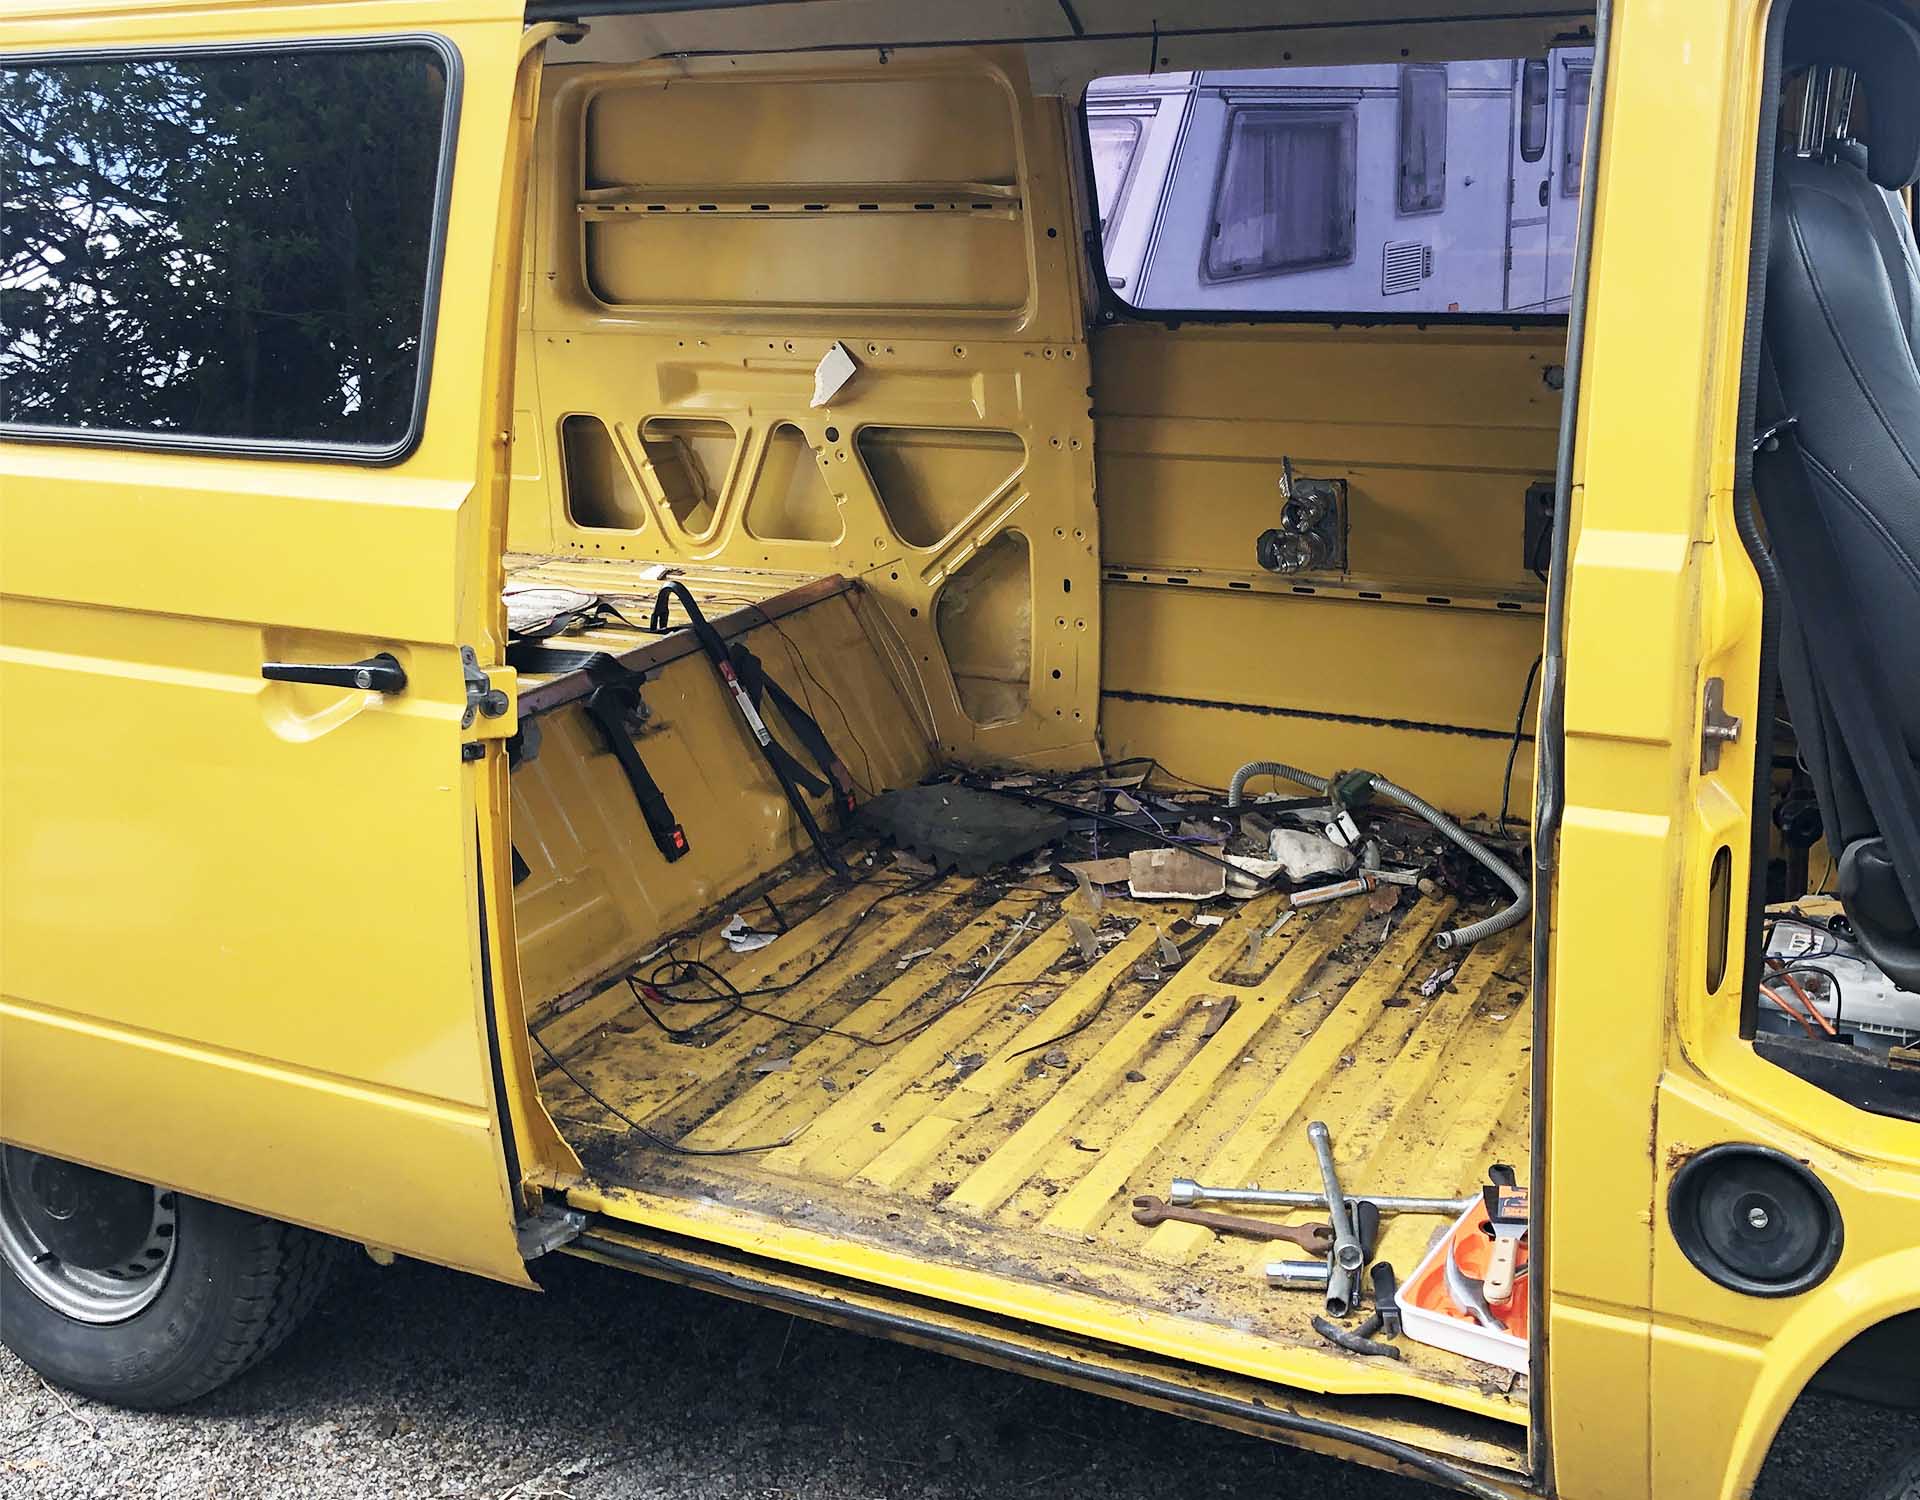
So before we jump in you’ll need to strip your van, we’re presuming that you have done this already, but if not just make sure to remove any old insulation, rust and wood that may get in the way.
We prefer stripping right down to the metal; this way it’s a clean canvas and you’re starting a conversion from scratch, which always helps when working out potential problems further down the road.
So, let’s start insulating!
1. Buy The Correct Tools & Materials
Using the wrong or cheap materials just
Below are a few things we suggest you pick up.
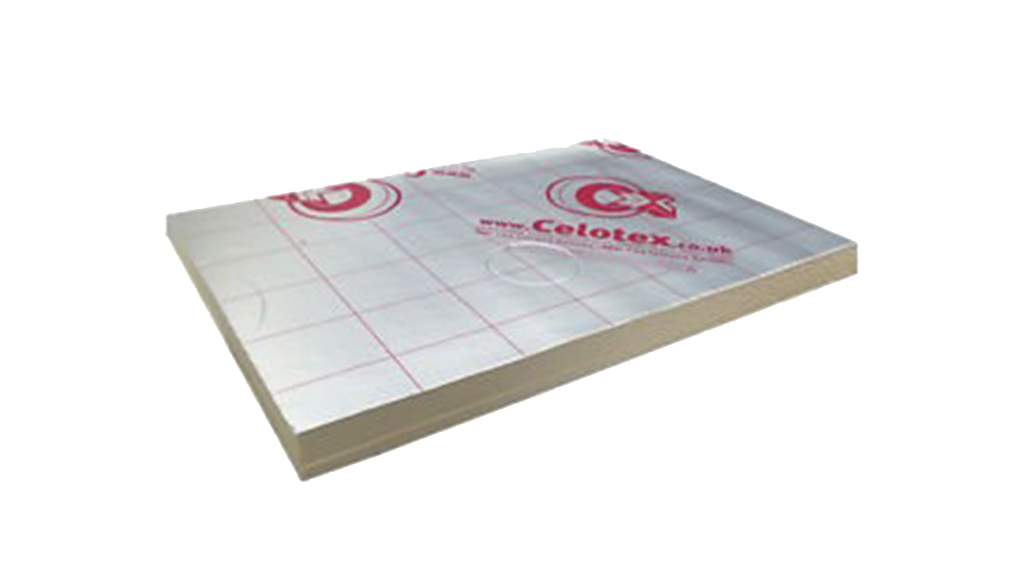
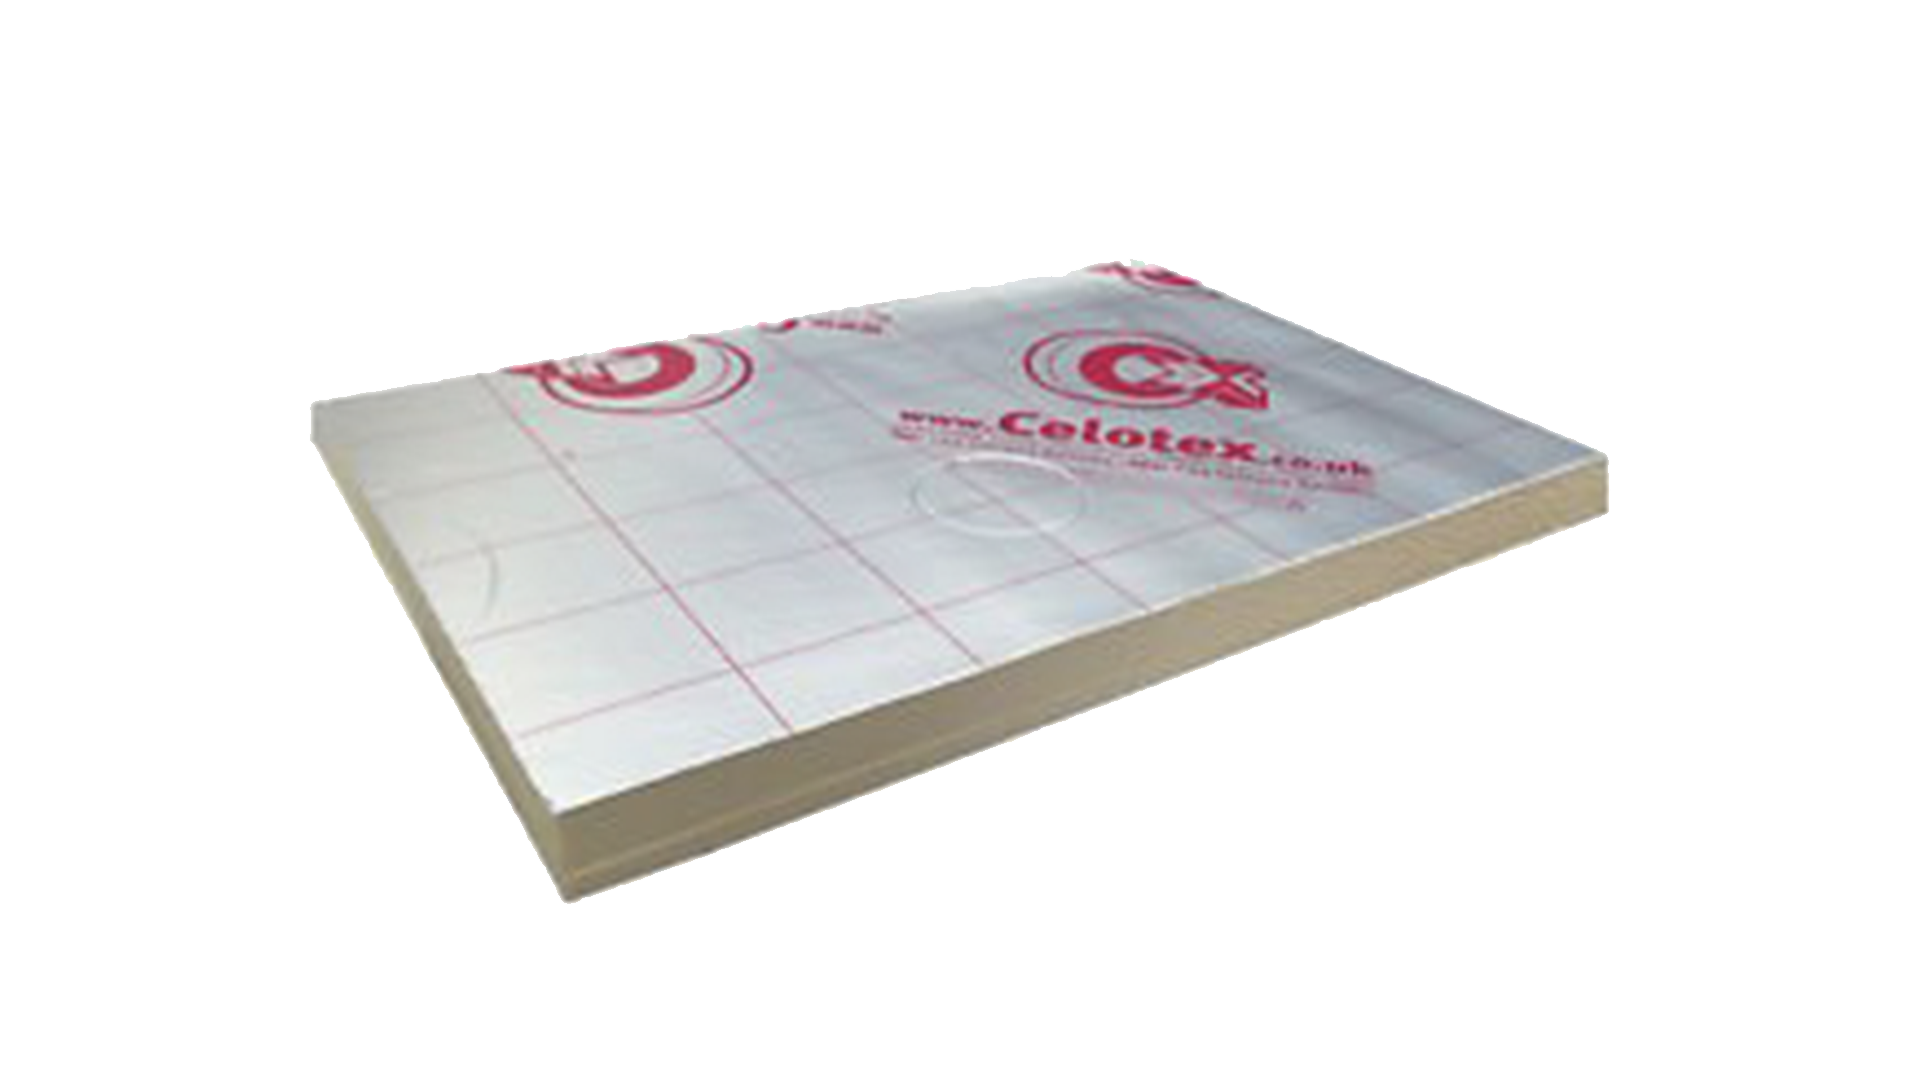
Celotex For Panel Vans
If you have a large panel van, then we advise going for Celotex 50mm. This is thick enough to keep you warm and cosy at night. It comes pre-cut so that you can just slide it into the slots of your van, or if you need to cut it it’s very easy to do so yourself. Just make sure to use a large knife and wear some protective gloves.

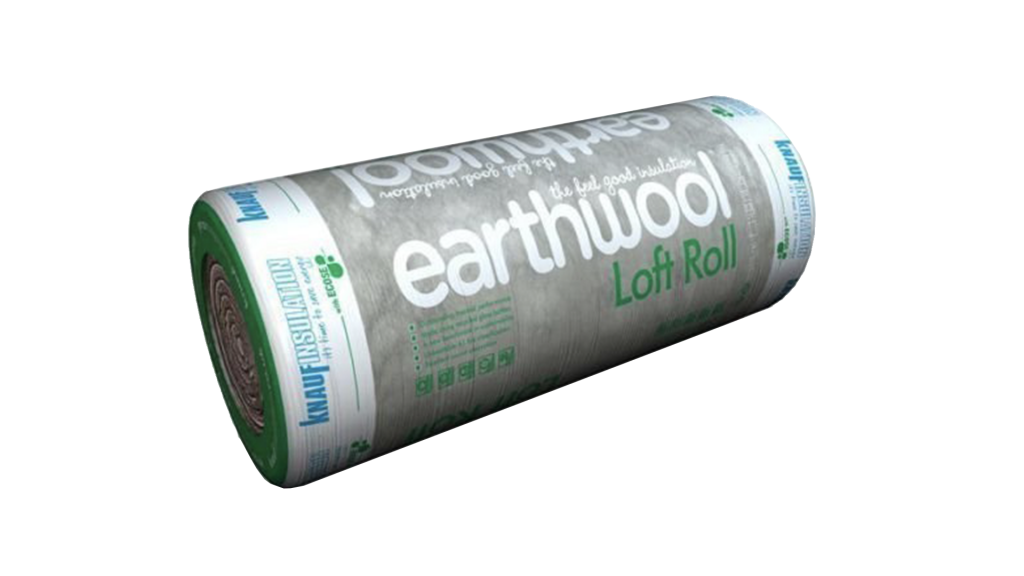
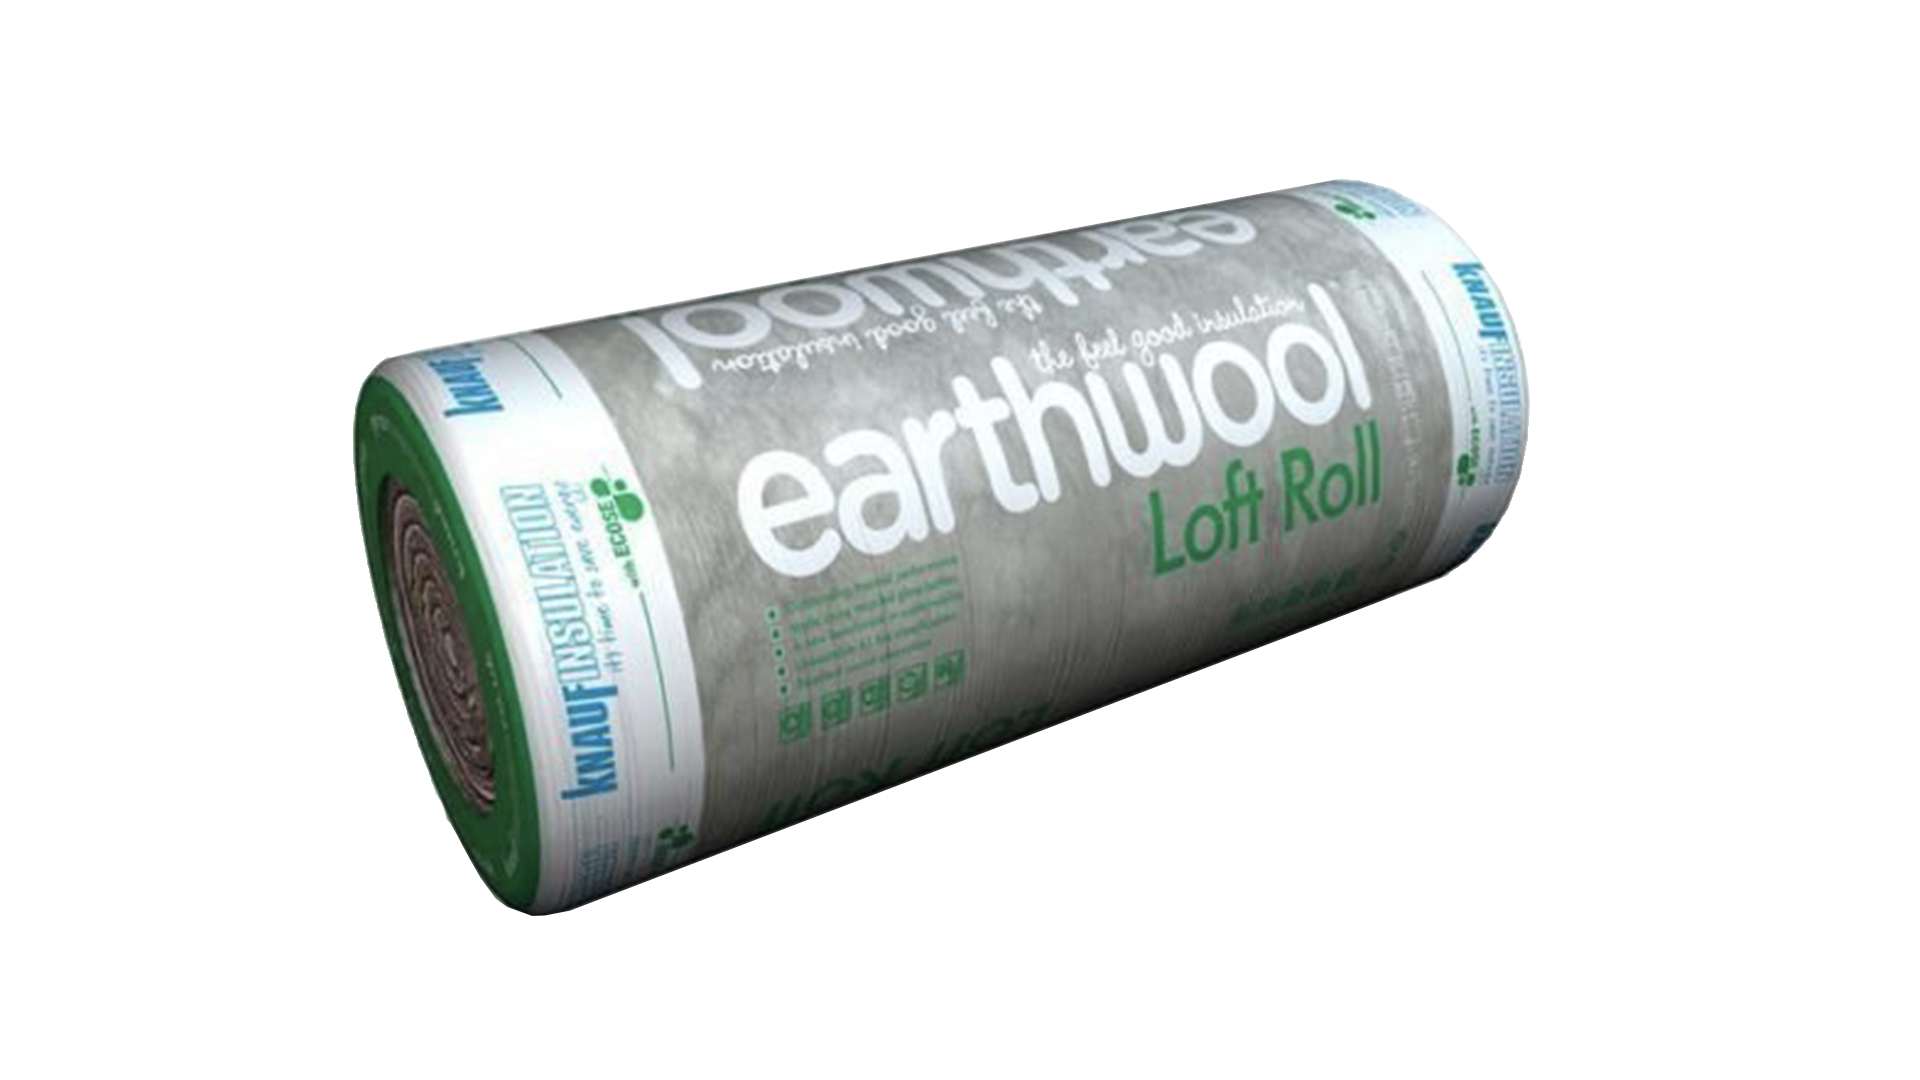
Loft Insulation For Small Campers
If you’re into micro campers, then you might not need to invest in all of that Celotex; cheap loft insulation will do the job. If you can’t get it off friends or family for free, then this stuff is great. It’ll do exactly what the Celotex does but can

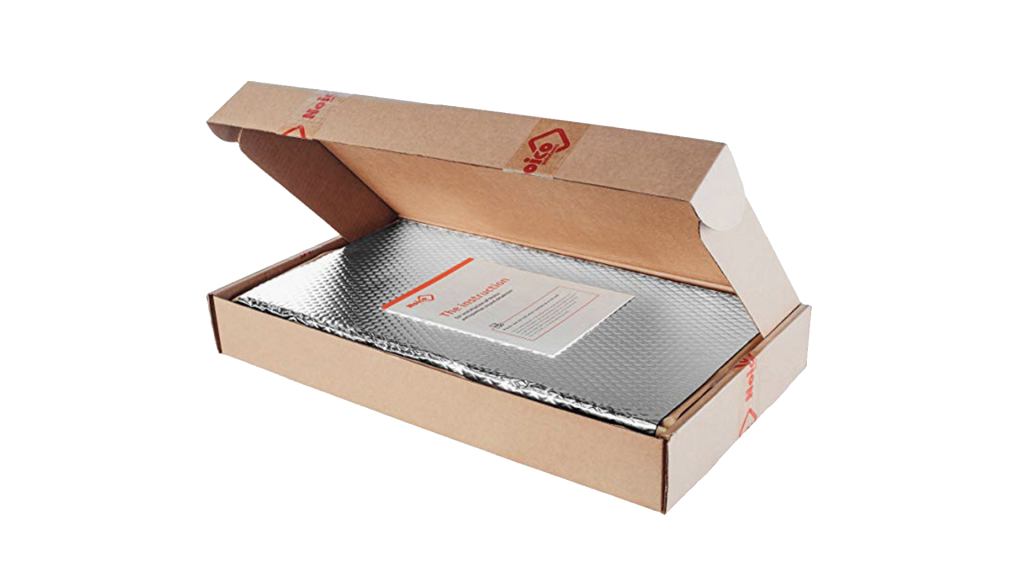
Sound Deadening
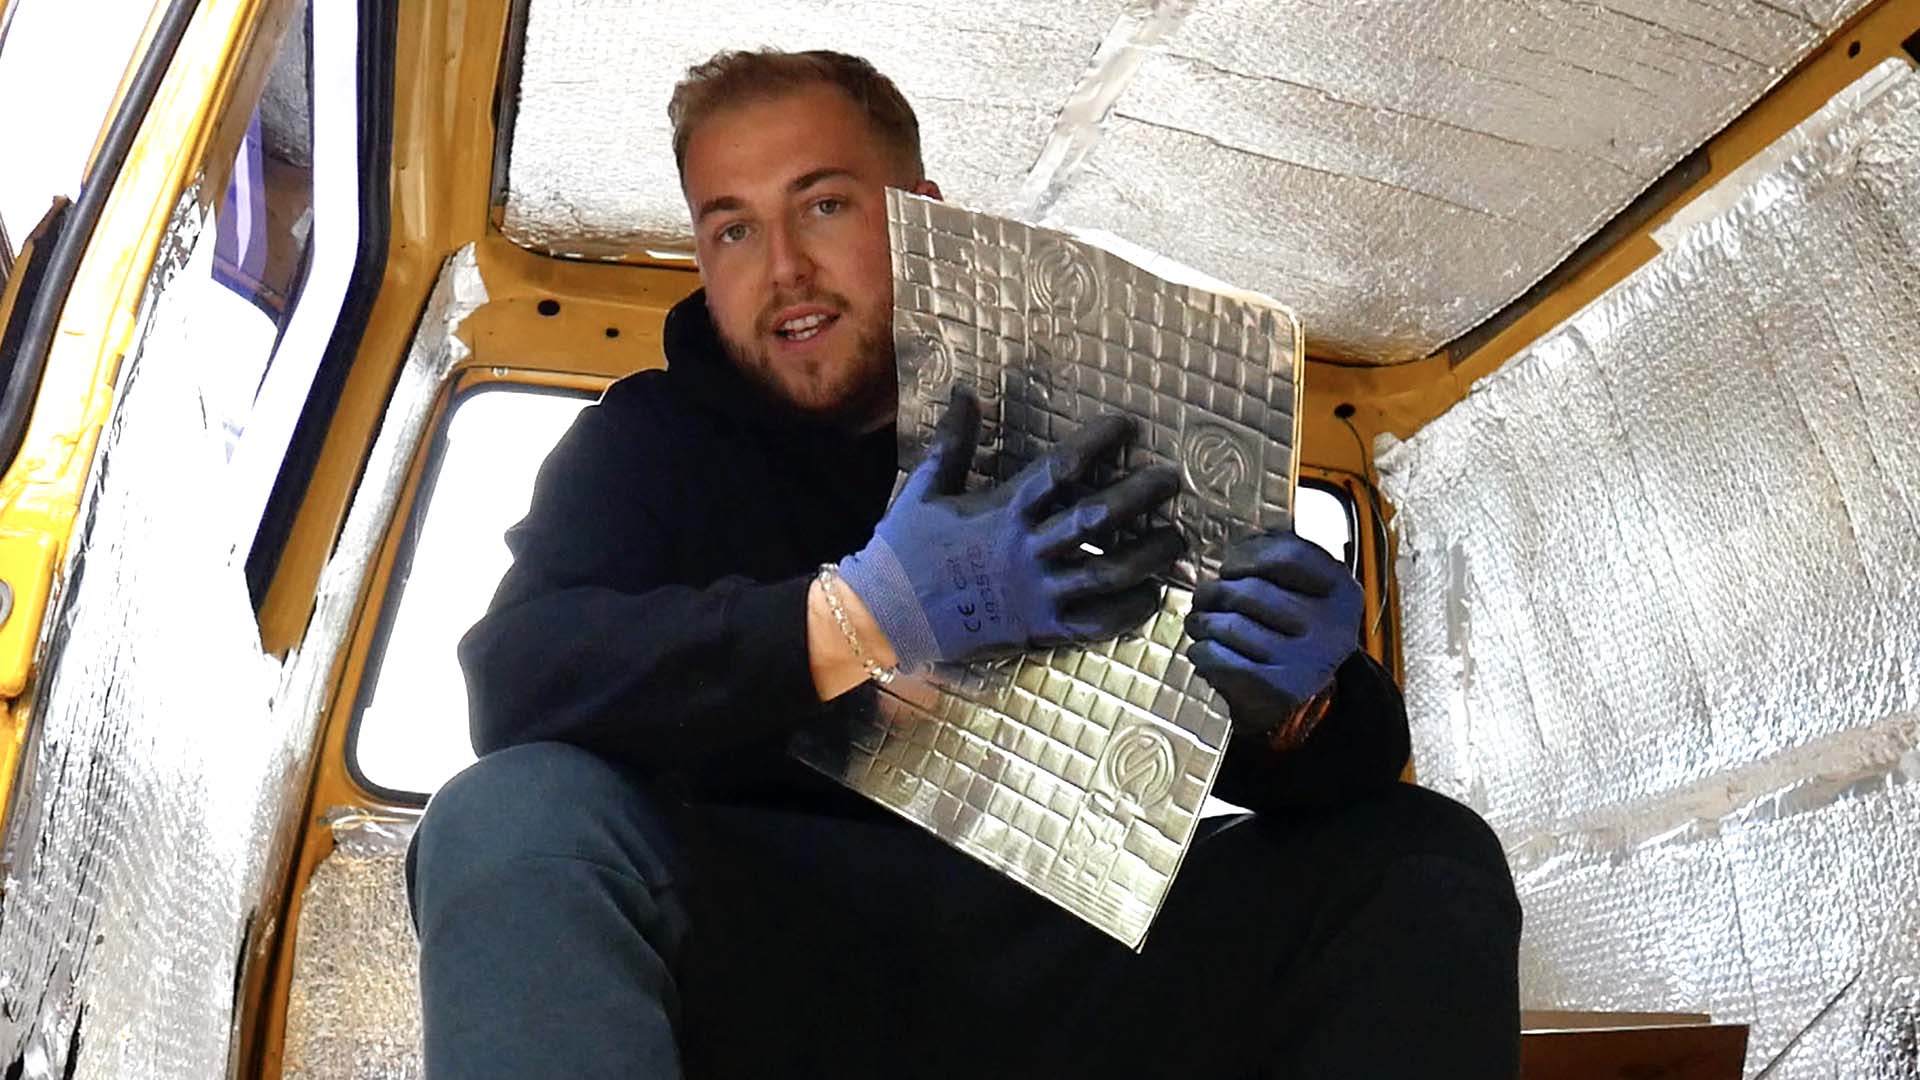
In our own camper conversion we have installed Silent Coat sound deadening. This helps keeps sound out, sound in, and it deadens the sound of your engine.
For those of you that have old campers, this stuff works wonders. We installed it on a 1985 VW T25 and now the engine purrs in the back. This stuff simply sticks to the metal of your van before you add the insulation.

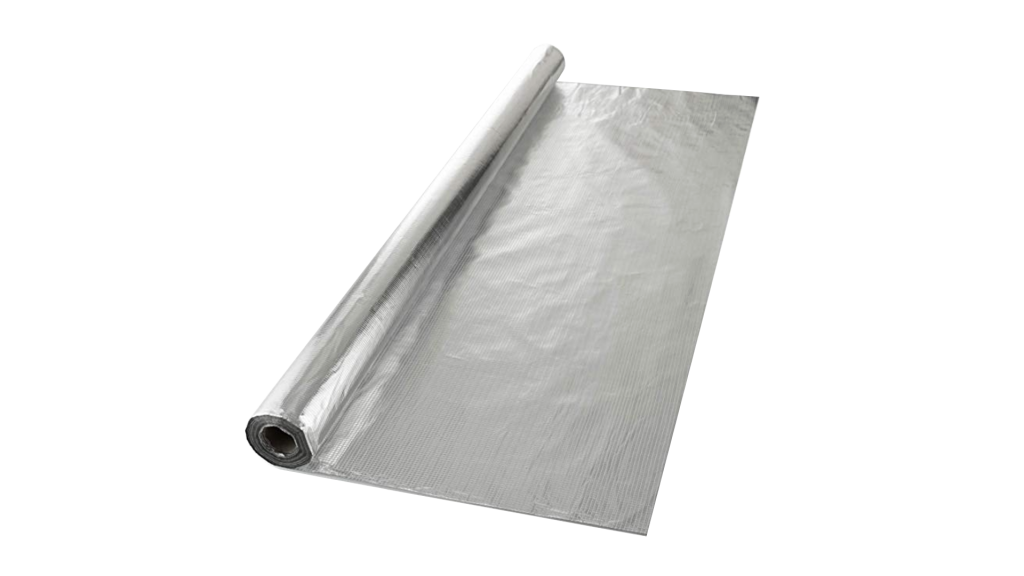
Moisture Barrier
The last thing you want is for moisture to stay between the van and the insulation. This causes a build up of wet sections which can turn into bad smells, insulation damage and possibly rust. If you’re moving between hot and cold climates all the time, then make sure to get some of this.

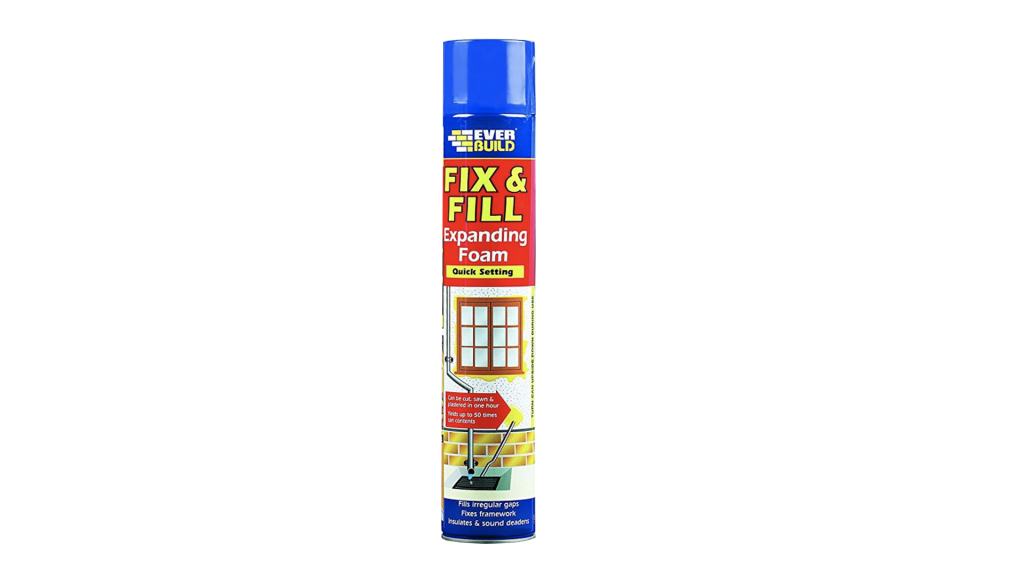
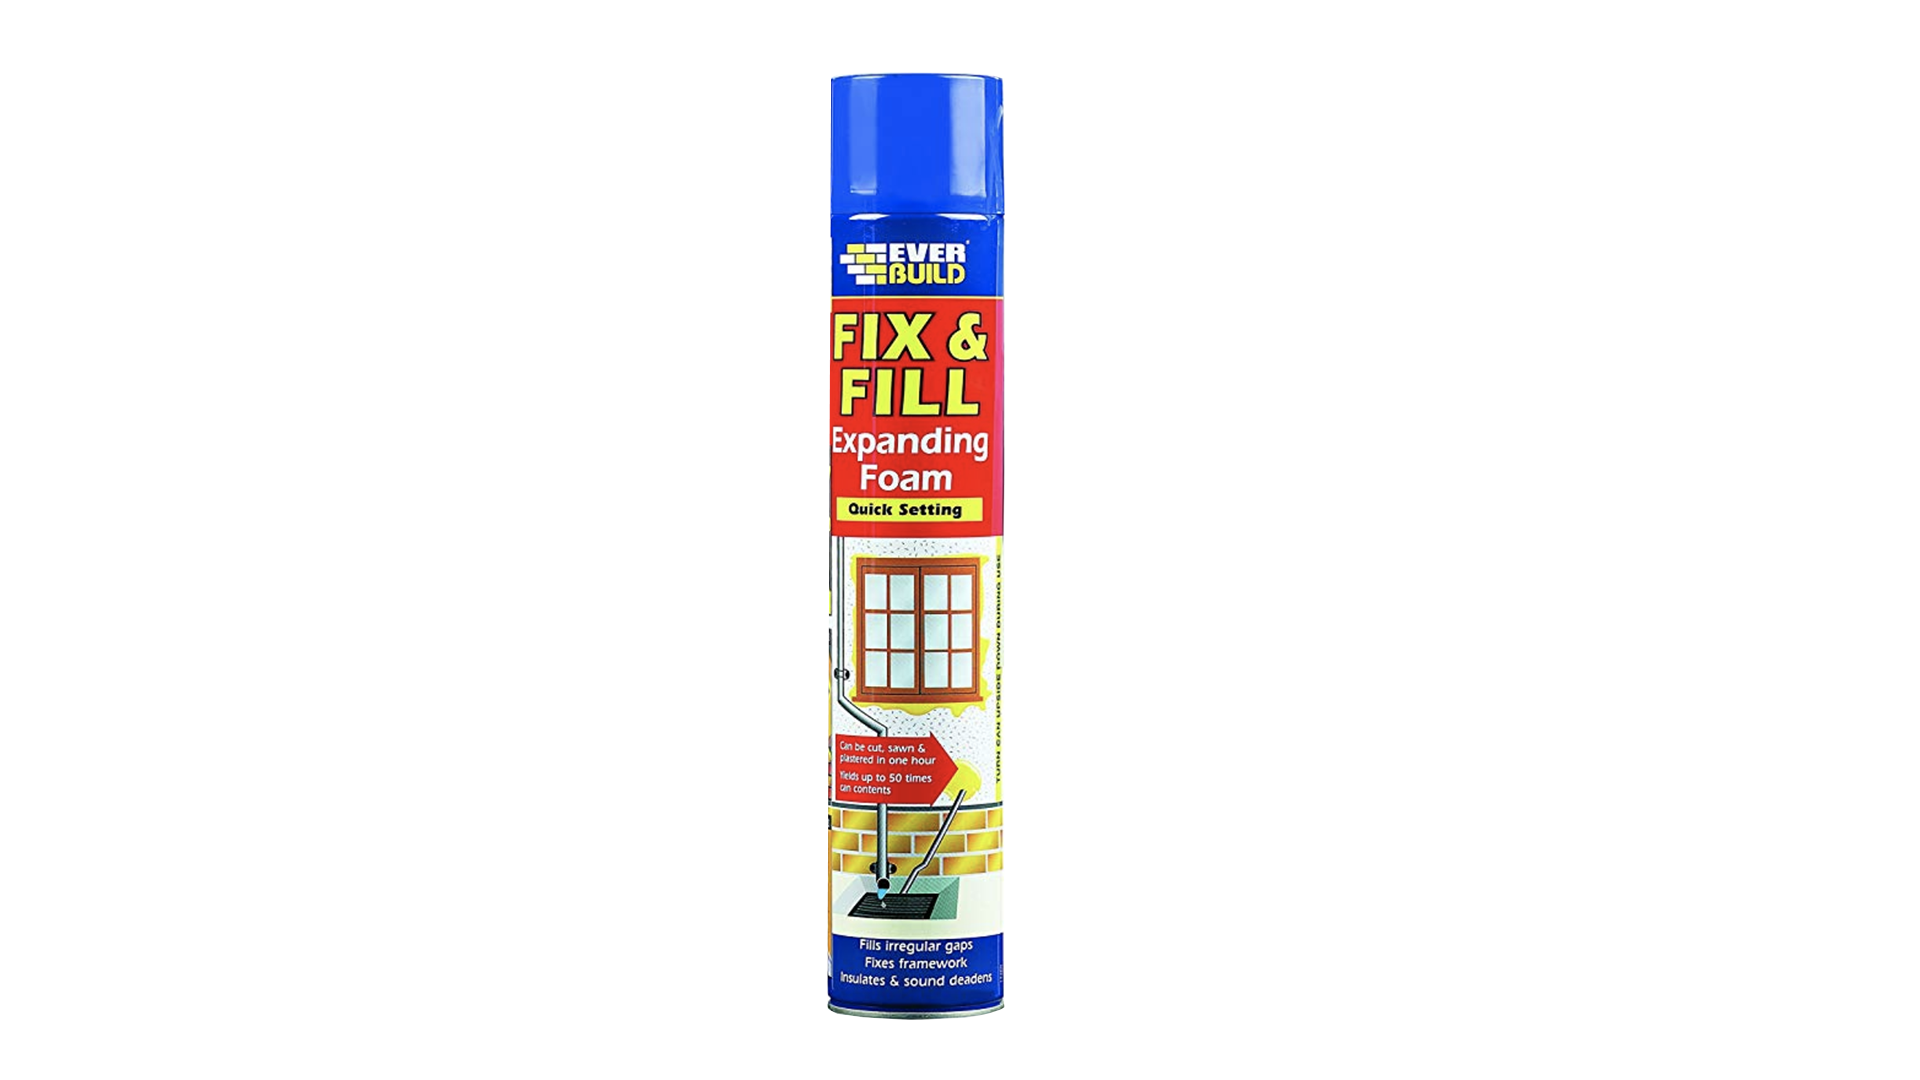
Expanding Foam
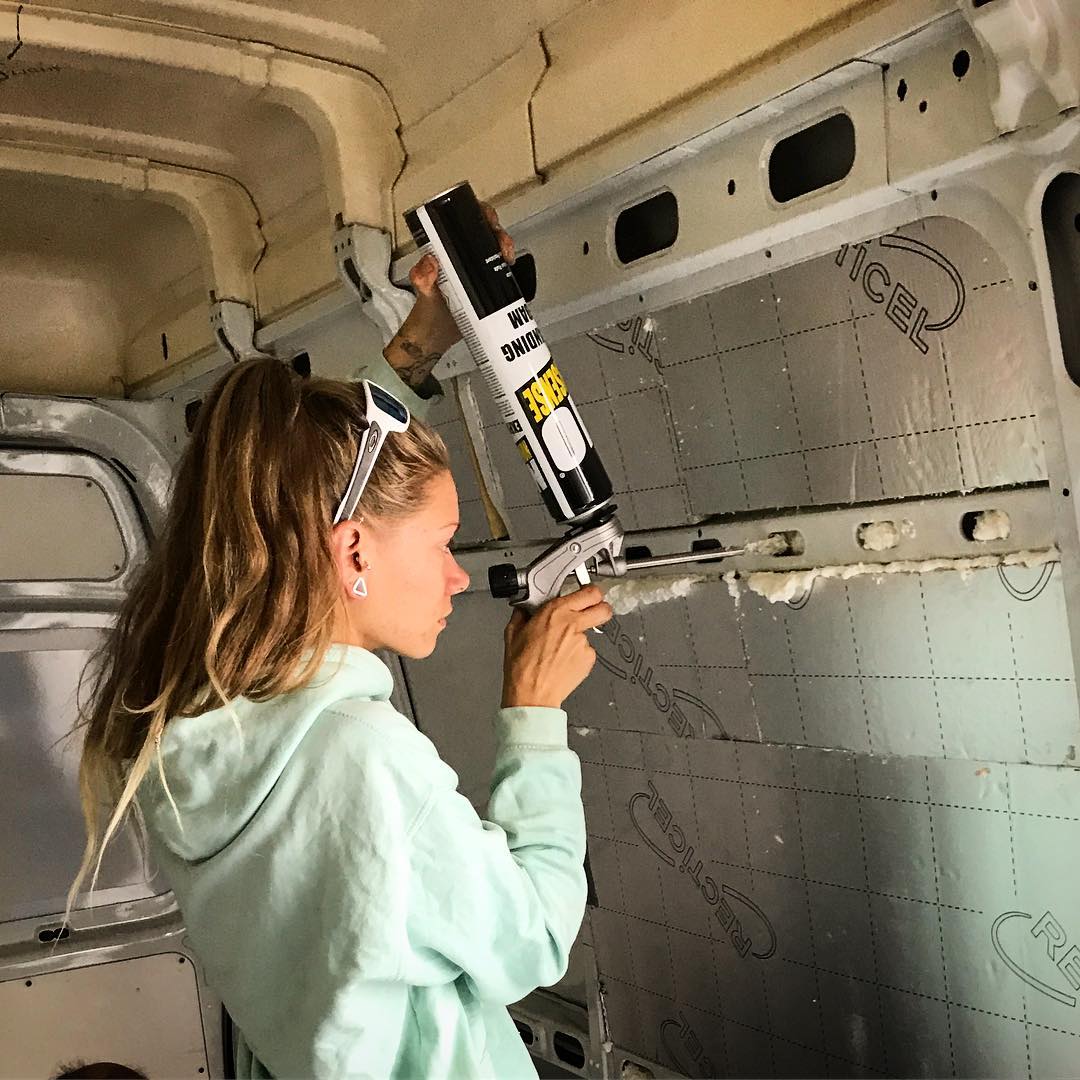
When you ask yourself ‘how to insulate a camper’, you probably know it’s about to get messy, right? Well, the expanding foam is the product to blame for this. You’ll need this to fill all of the loose spots that your insulation can’t get too. Don’t go crazy with this; just fill in sections as needed and try not to cover your electrics.

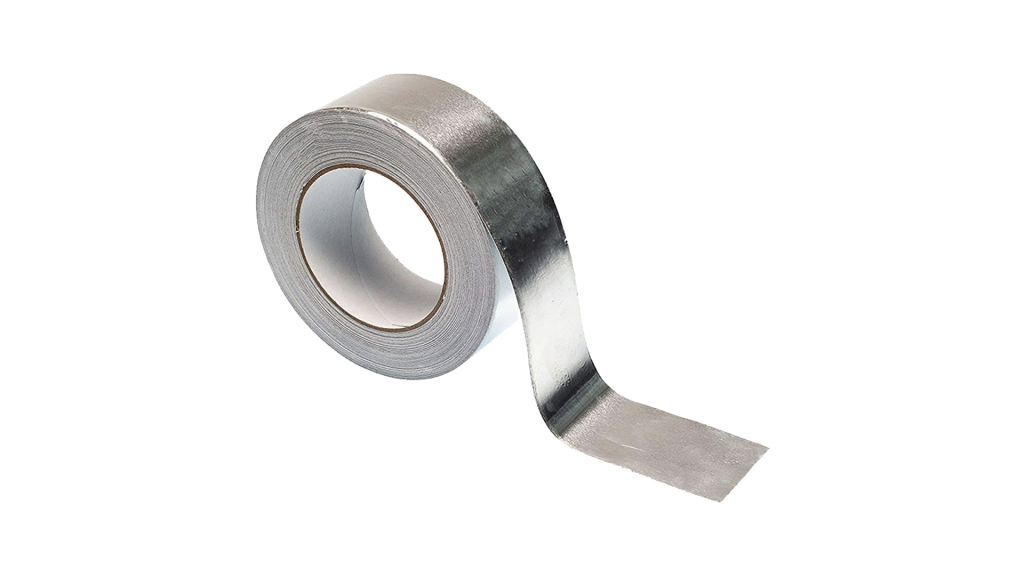
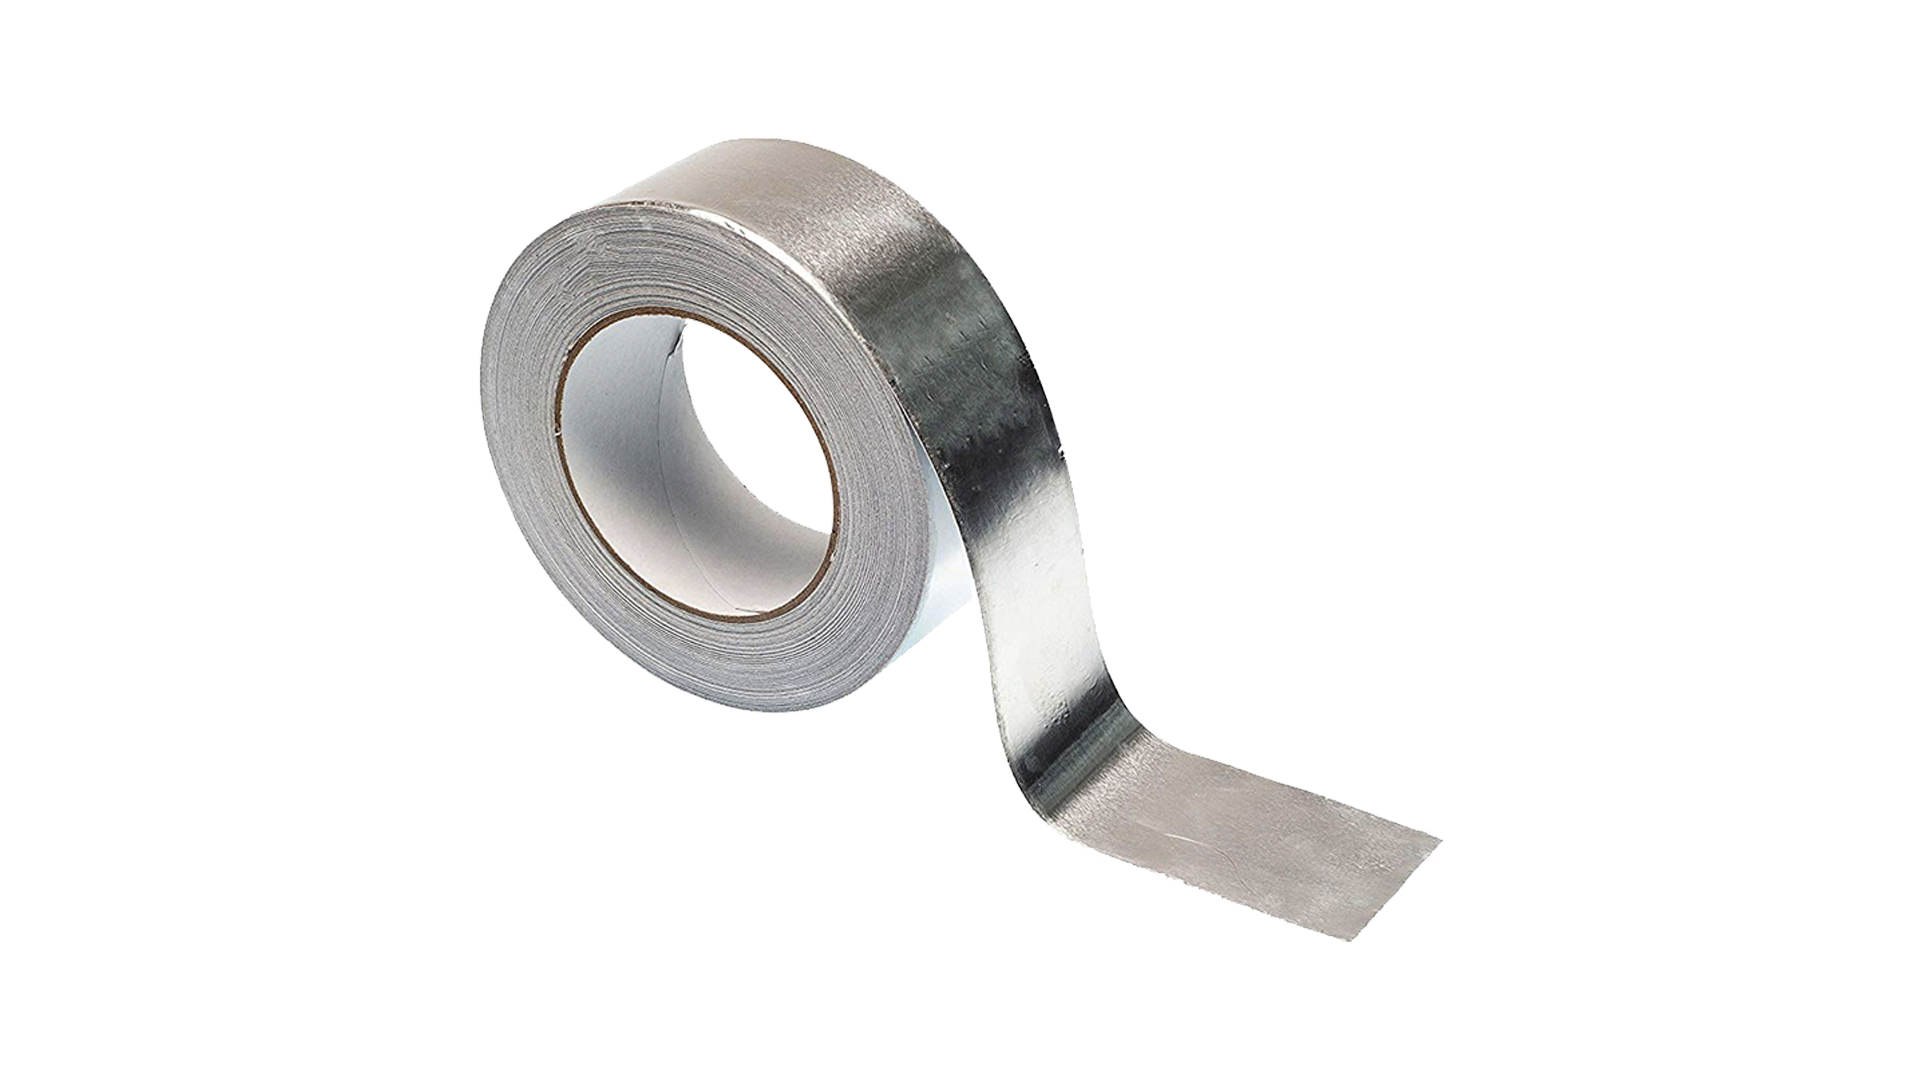
Foil Tape
Foil tape is a handy van life essential when insulating your camper, especially for those of you that are using the loft insulation. This can be used to organise and stick clumps down, but its primary use is as a seal over joints to properly block the transfer of hot air particles to the colder temperatures outside. Cheap and cheerful!

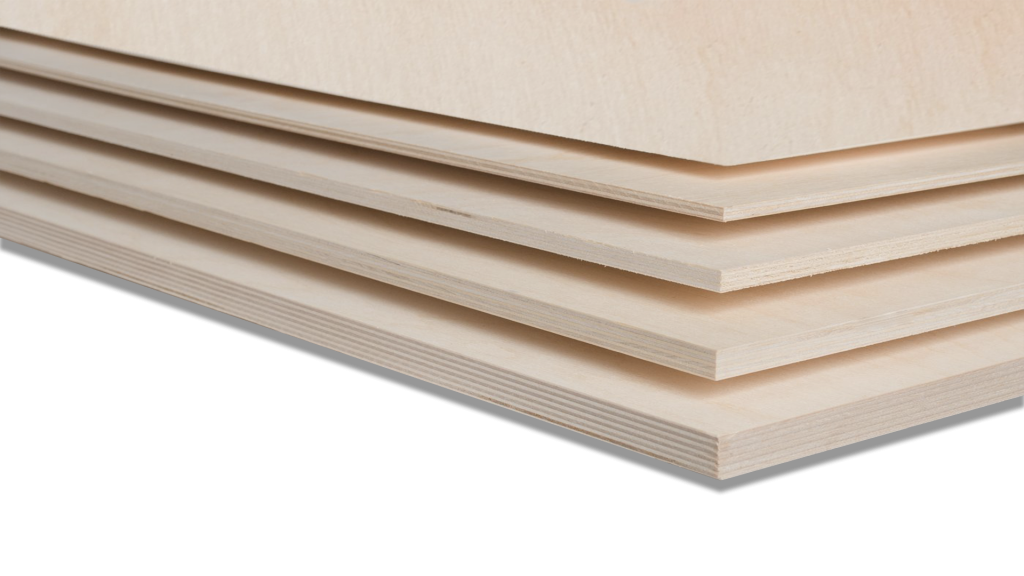
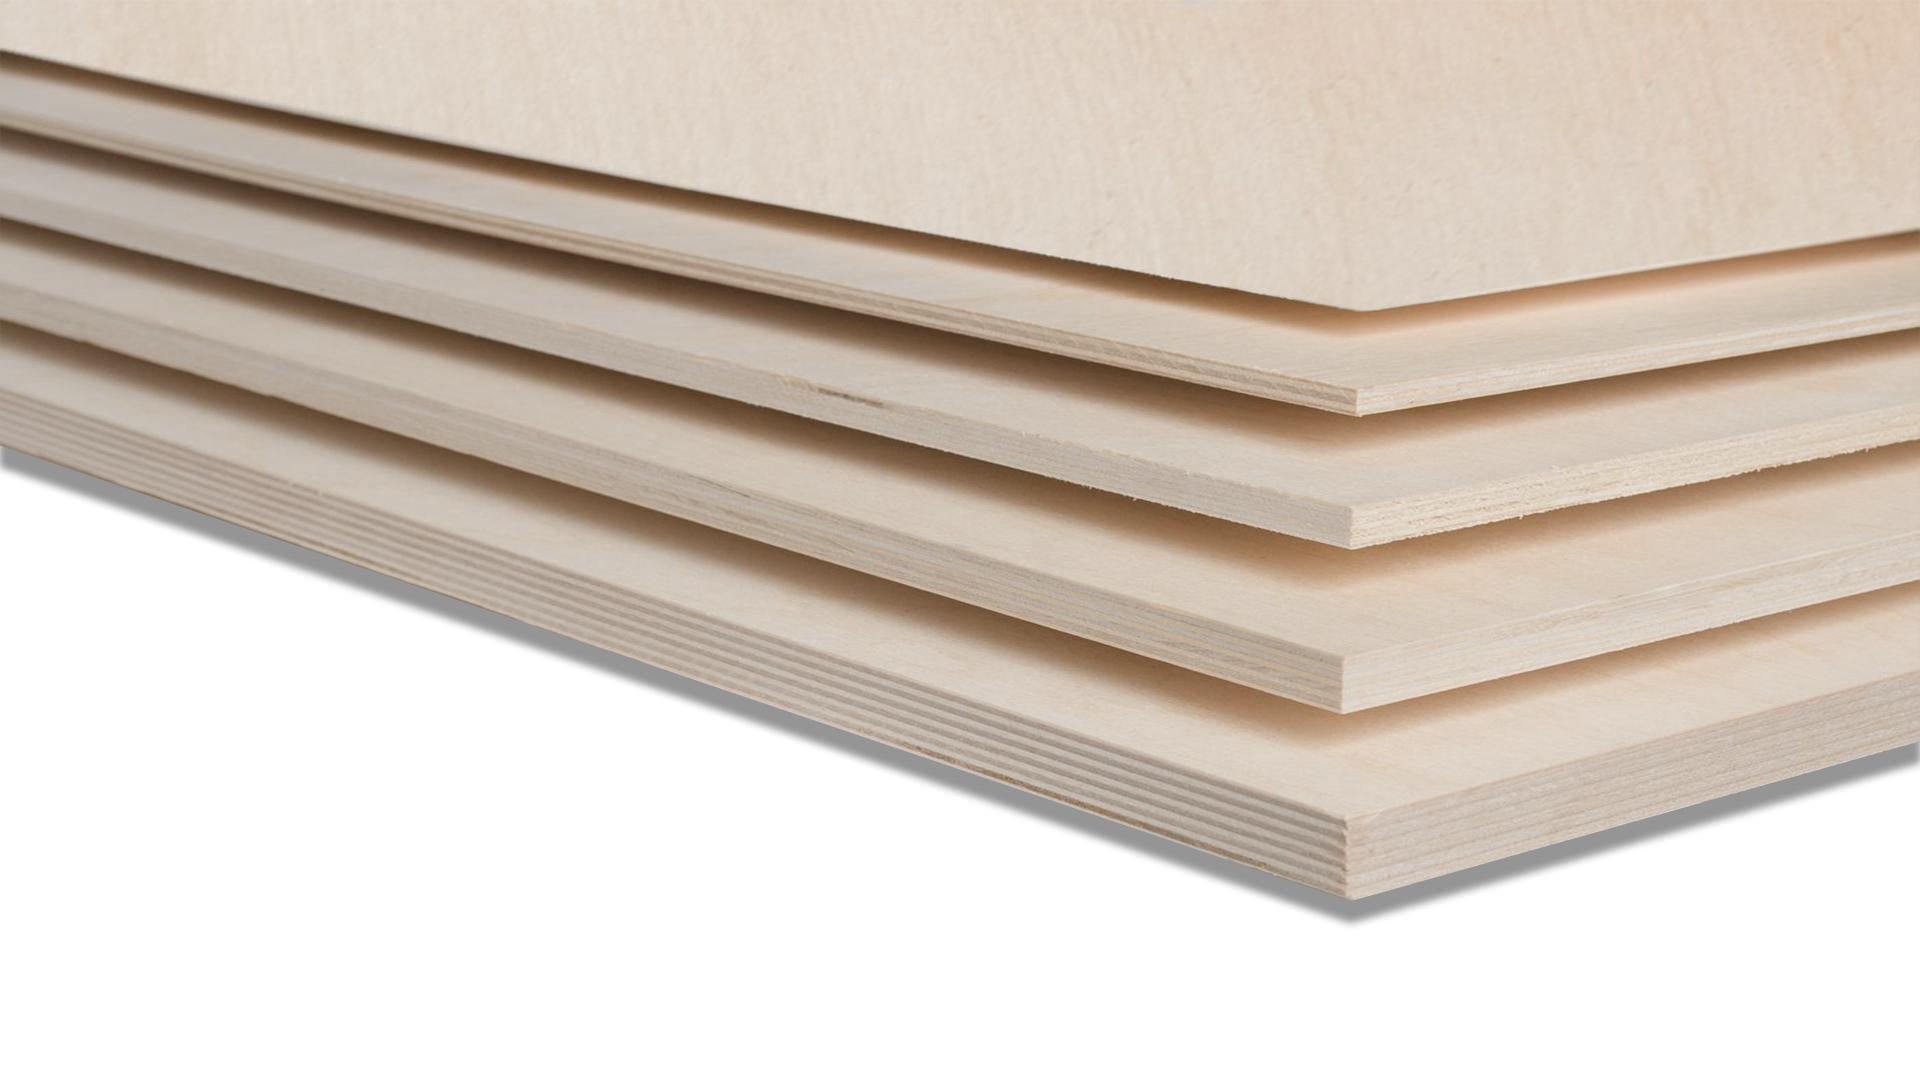
Marine Plywood
Plywood is used to

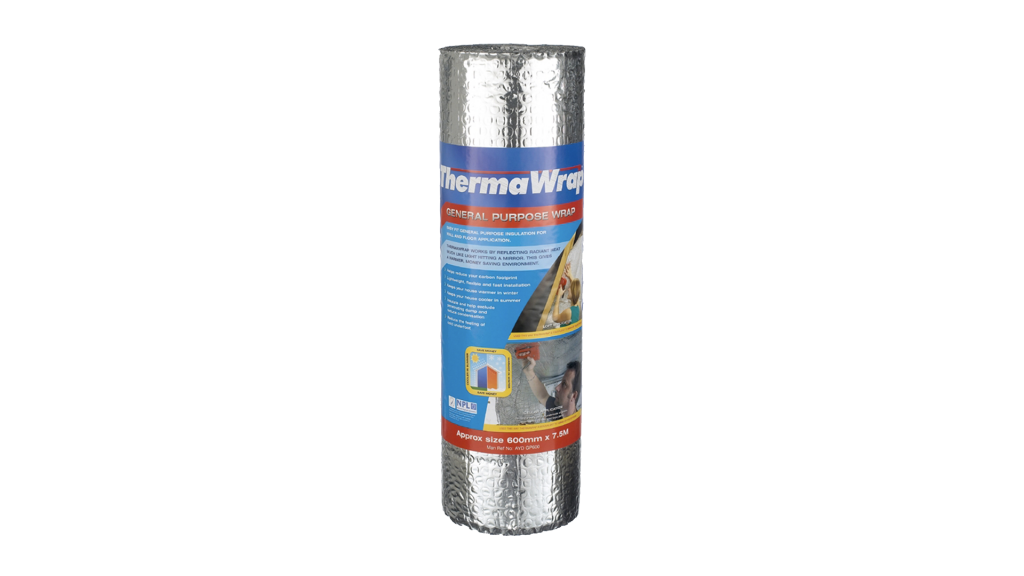
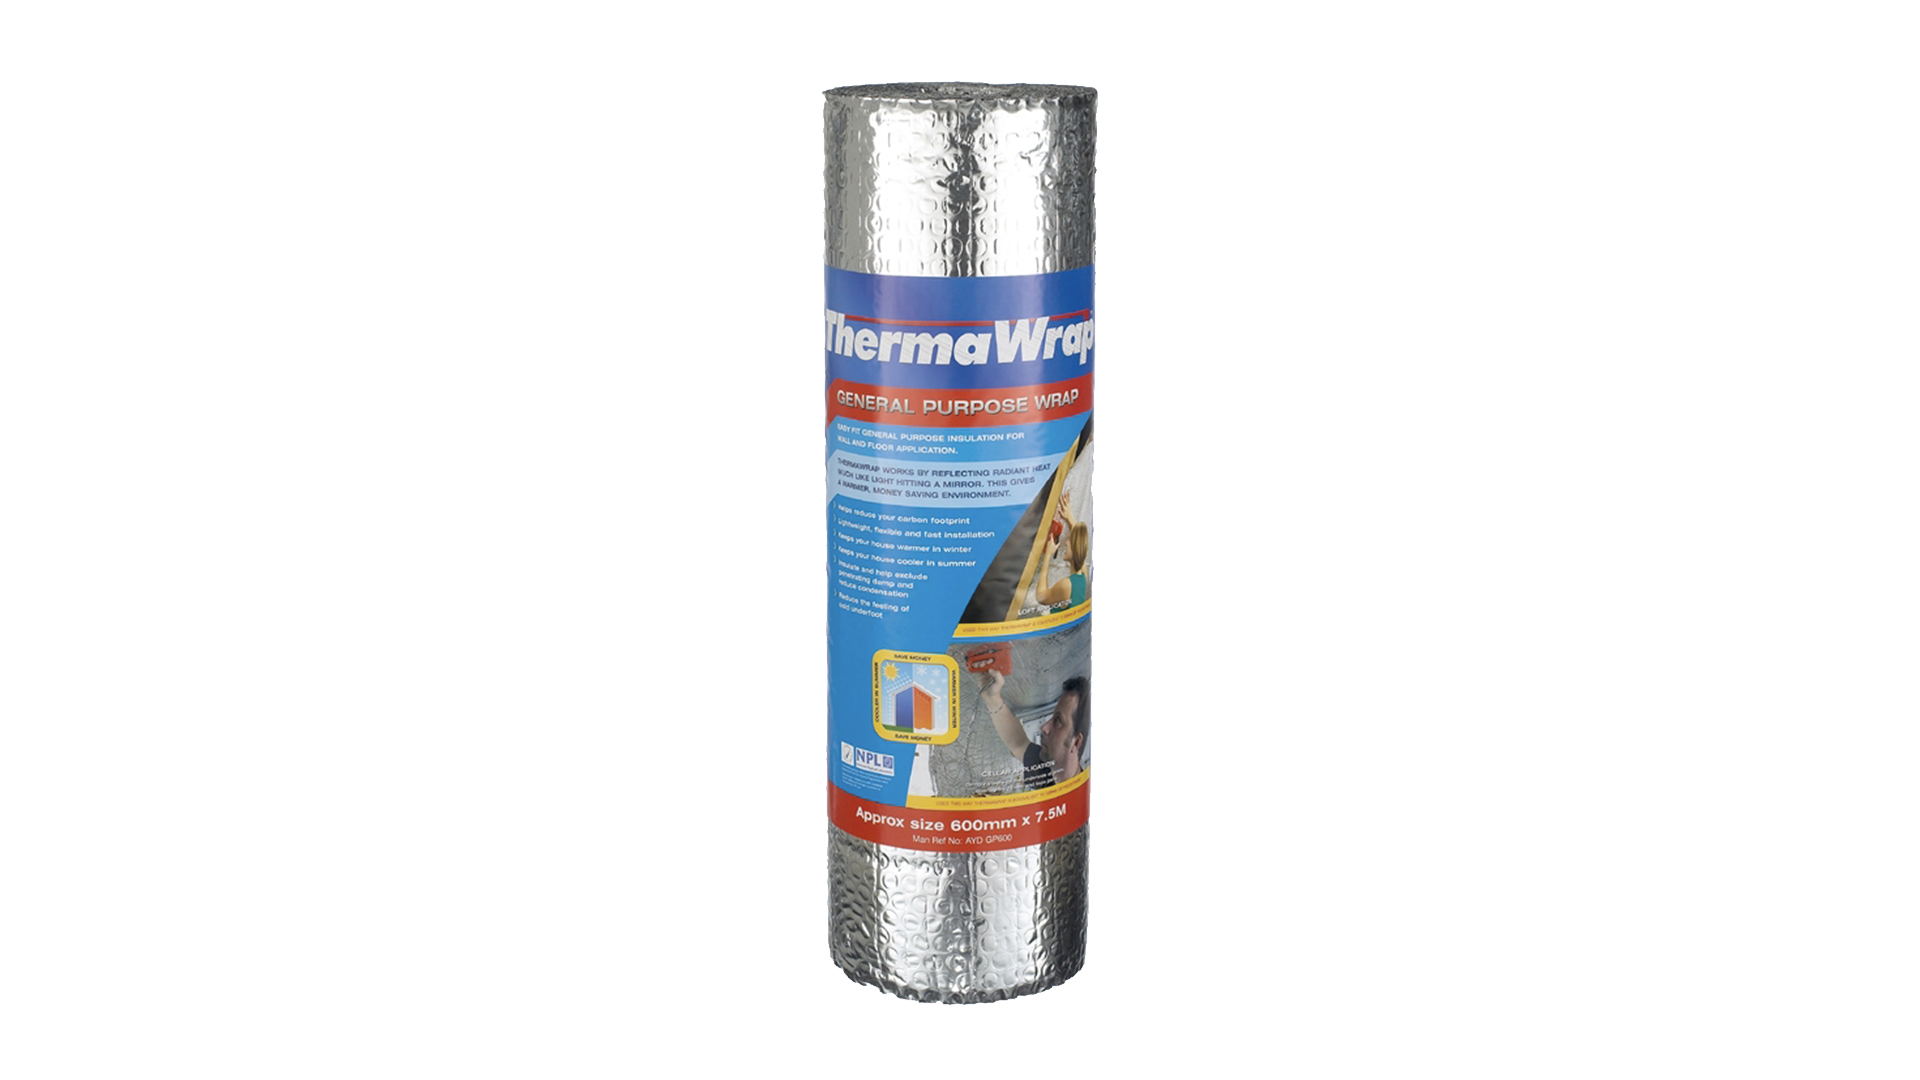
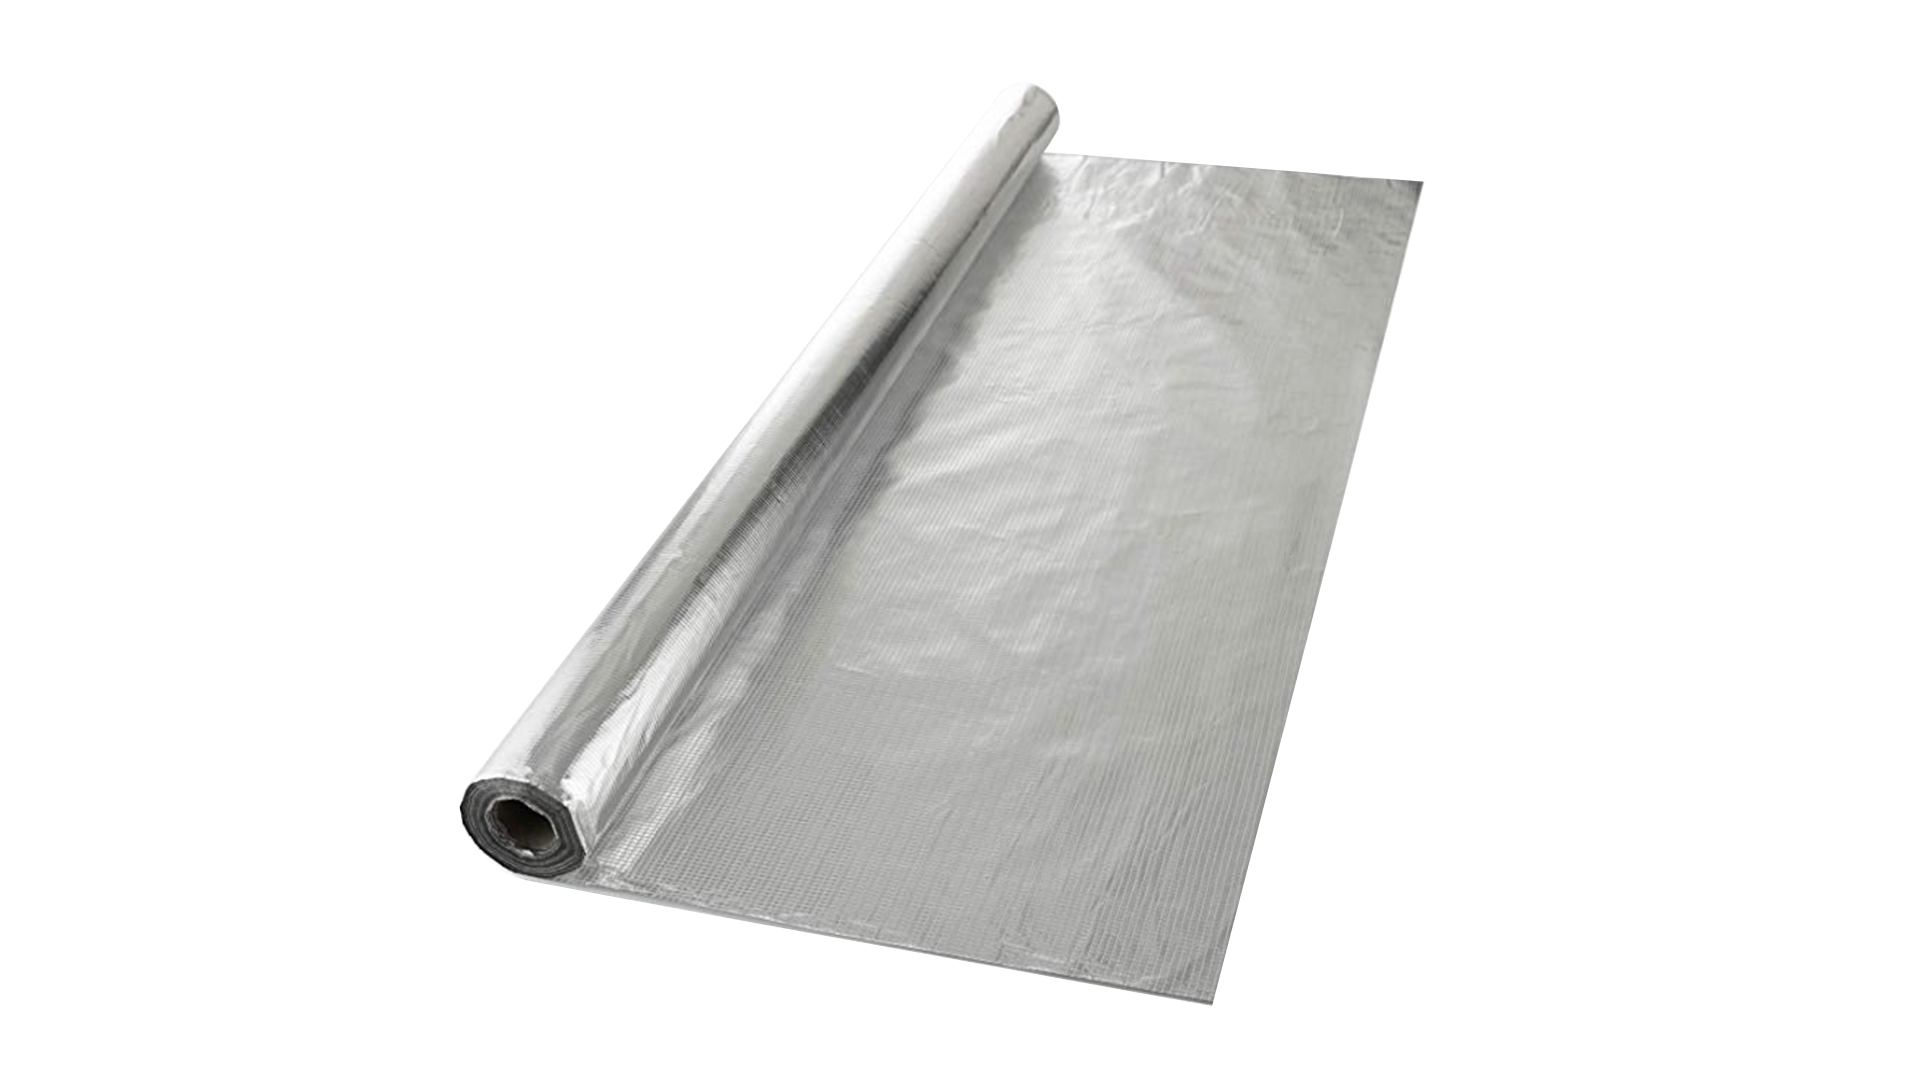
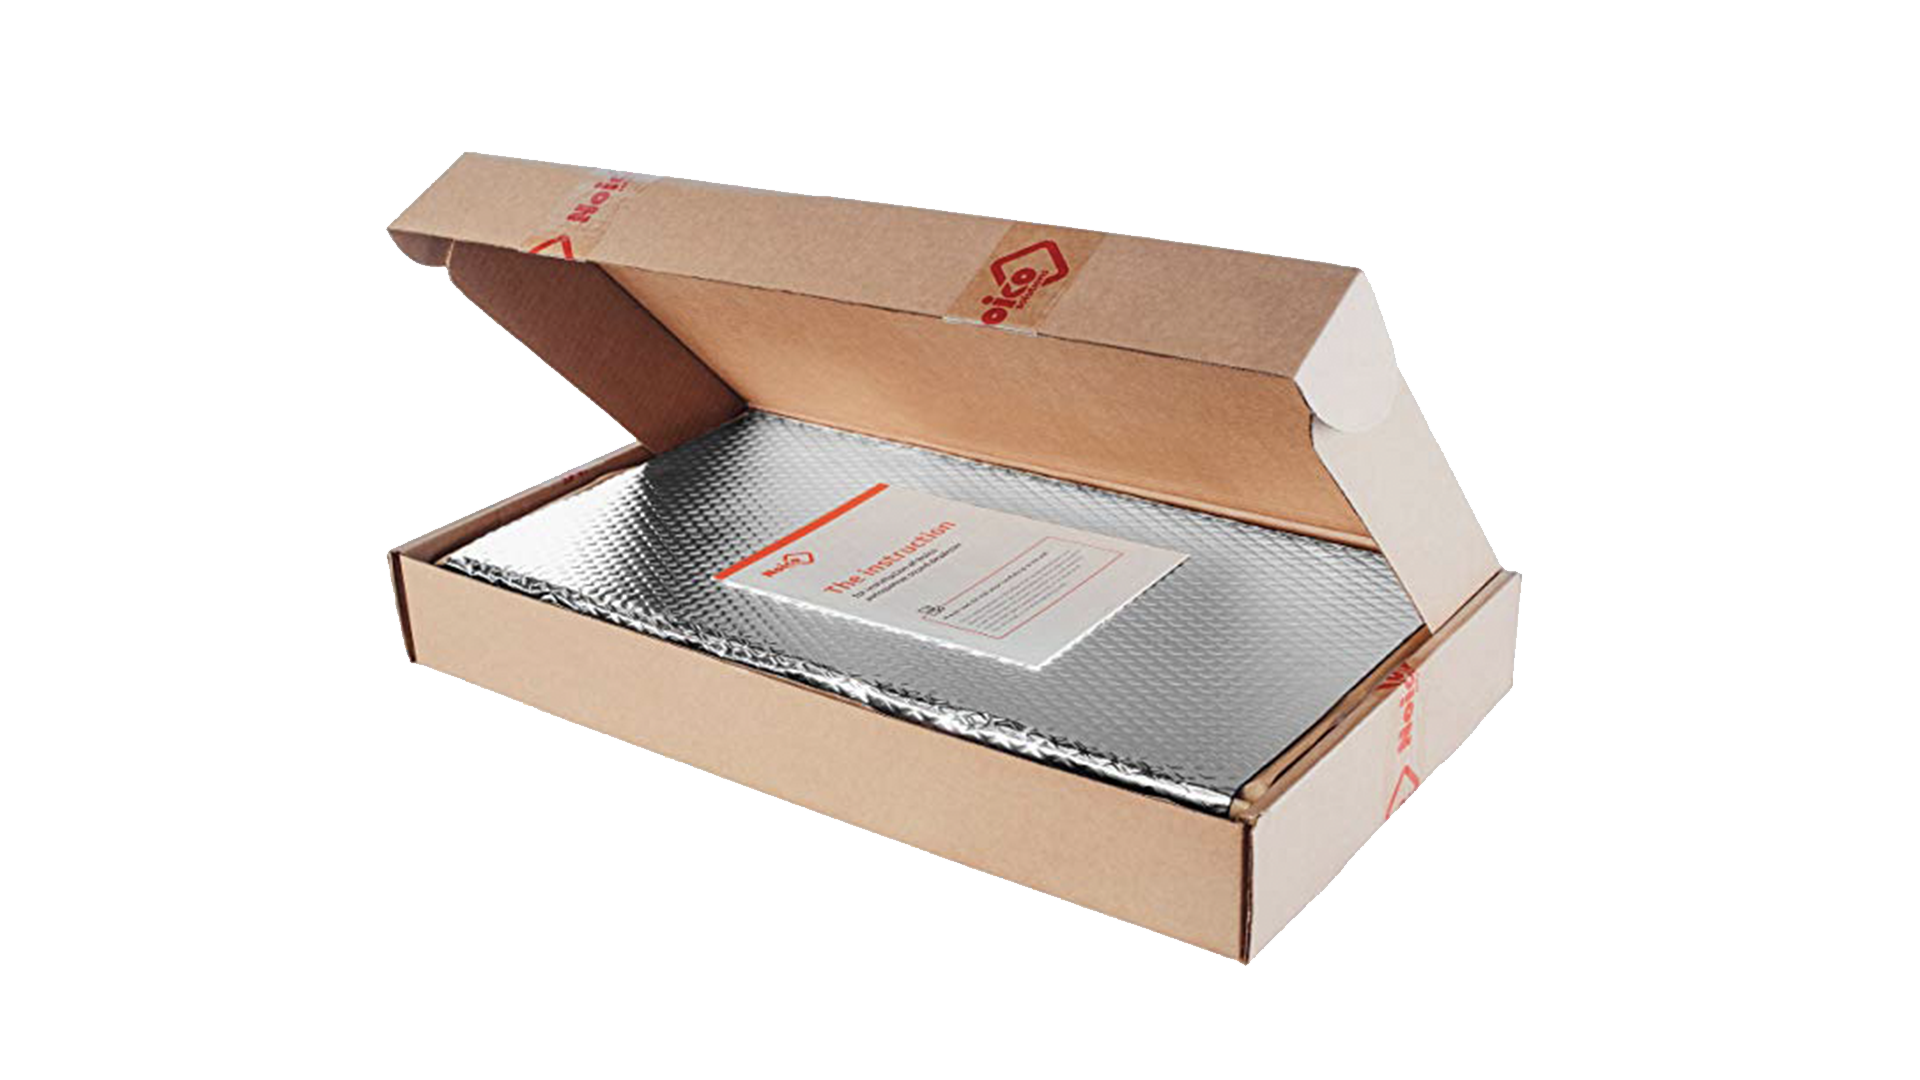
Therma Wrap
This is a helpful product to pick up, especially those of you with a small camper. This is used to go over the top of your insulation for increased temperature control. It’s
This can also go on the floor of small campers instead of using thick Celotex which saves you a couple inches of head space.

2. Clean Your Camper
It’s a simple rule when you ask how to insulate a camper, but it’s imperative that you clean your camper or luxury RV before you start insulating. Get rid of any extra nails still in the metalwork, remove any rust you may see, fibreglass over any cracks, and simply get a bucket of clean, soapy water and start scrubbing away at the metal work and flooring.
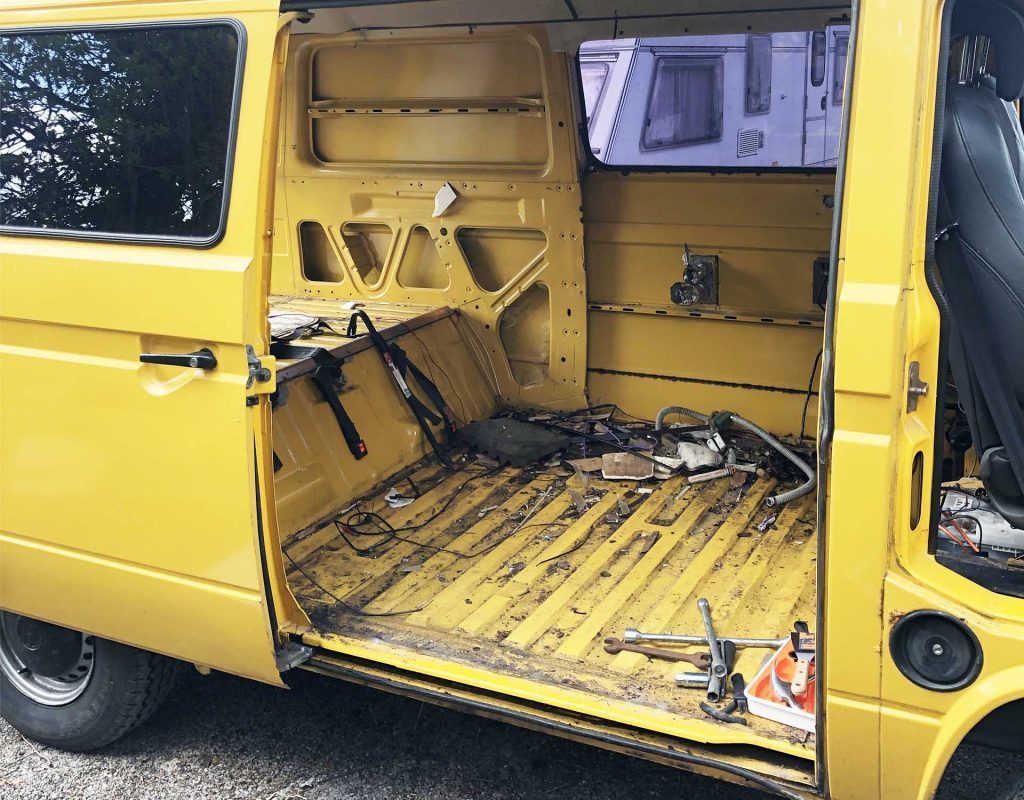
You’ll be very surprised to see how much dirt and residue is on the metal work; just look at the bucket of water after a couple of minutes and it’ll murky and black! Replace the water, and repeat the cleaning process until you’re happy that it’s clean. You don’t have to spend hours and hours on this, but a quick clean around for an hour will do the job!
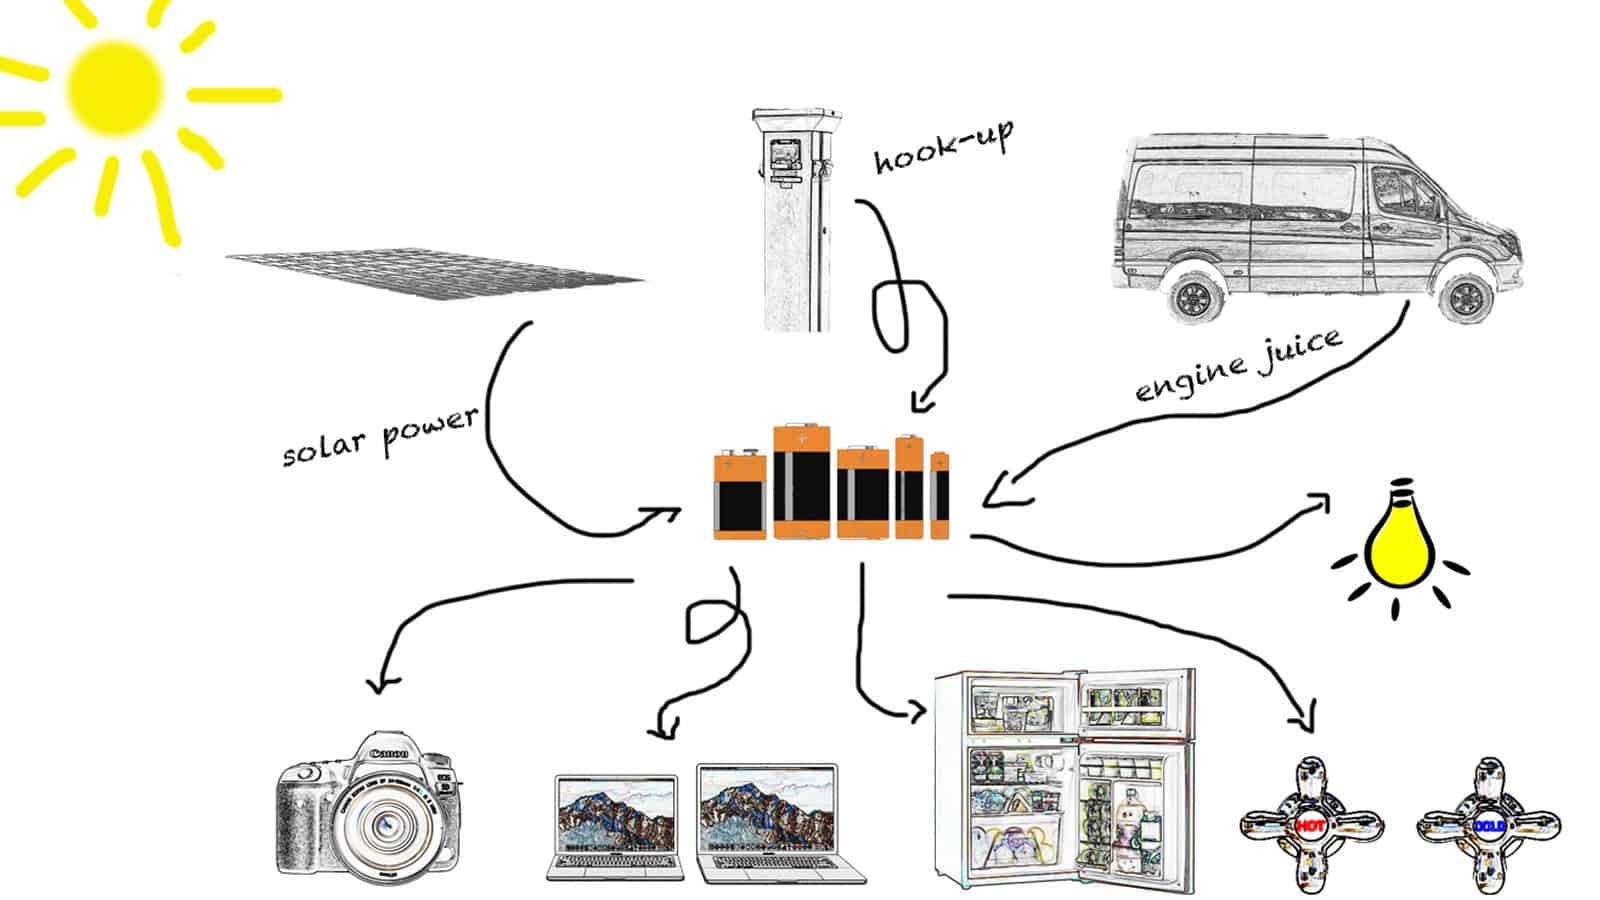
3. Plan Your Electrical System Before Installing Insulation
A lot of van life beginners forget about this when they ask how to insulate a camper, and it’s very easily forgotten. Believe us when we tell you that it can be a pain to work around the insulation when you’re organising all of your fiddly wires.
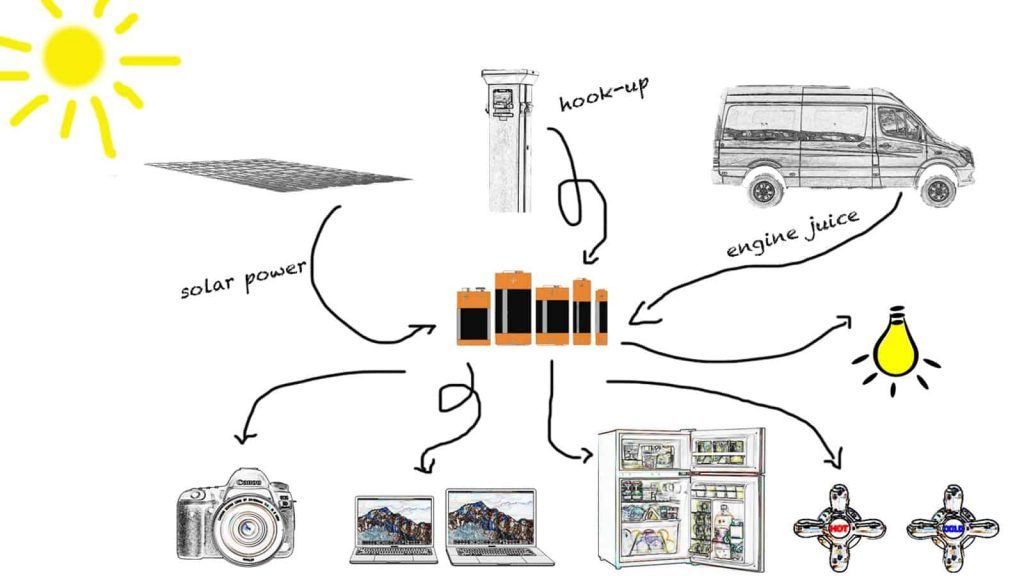
We recommend organising all of your wires, lights and any other electrical systems you may want to use before installing your insulation. You may find that the wires will have to go behind the insulation itself, so this is good to know early on instead of when you’re finished and the plywood has been already nailed
And to go with this, don’t over-use the expanding foam as you might be filling up a potential wire route. Fill what you need to, not every inch of the van. Take it easy and you’ll be fine. If push comes to shove, you can always remove the filler – it’s just a pain in the backside!
4. Install Sound Deadening
Some of you reading this how to insulate a camper guide may already own a modern camper, so this step might not be for you. If that’s the case, then feel free to skip to step 5! But, for those of you that are converting an older vehicle, this might be of use to you. We didn’t know we needed this until we installed it and it’s changed our living in a van experience for the greater good. (Yes, that’s definitely a Harry Potter House reference).
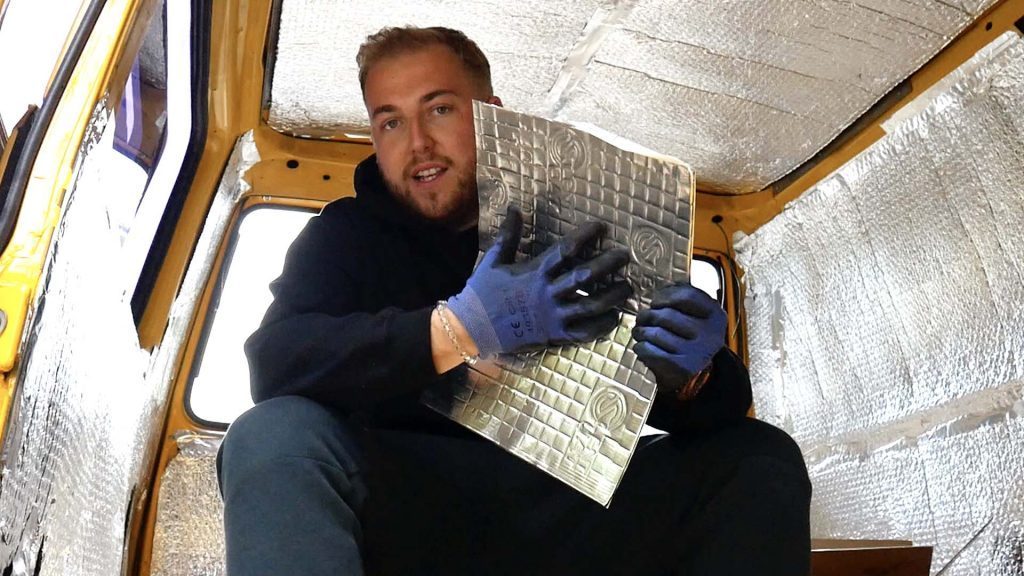
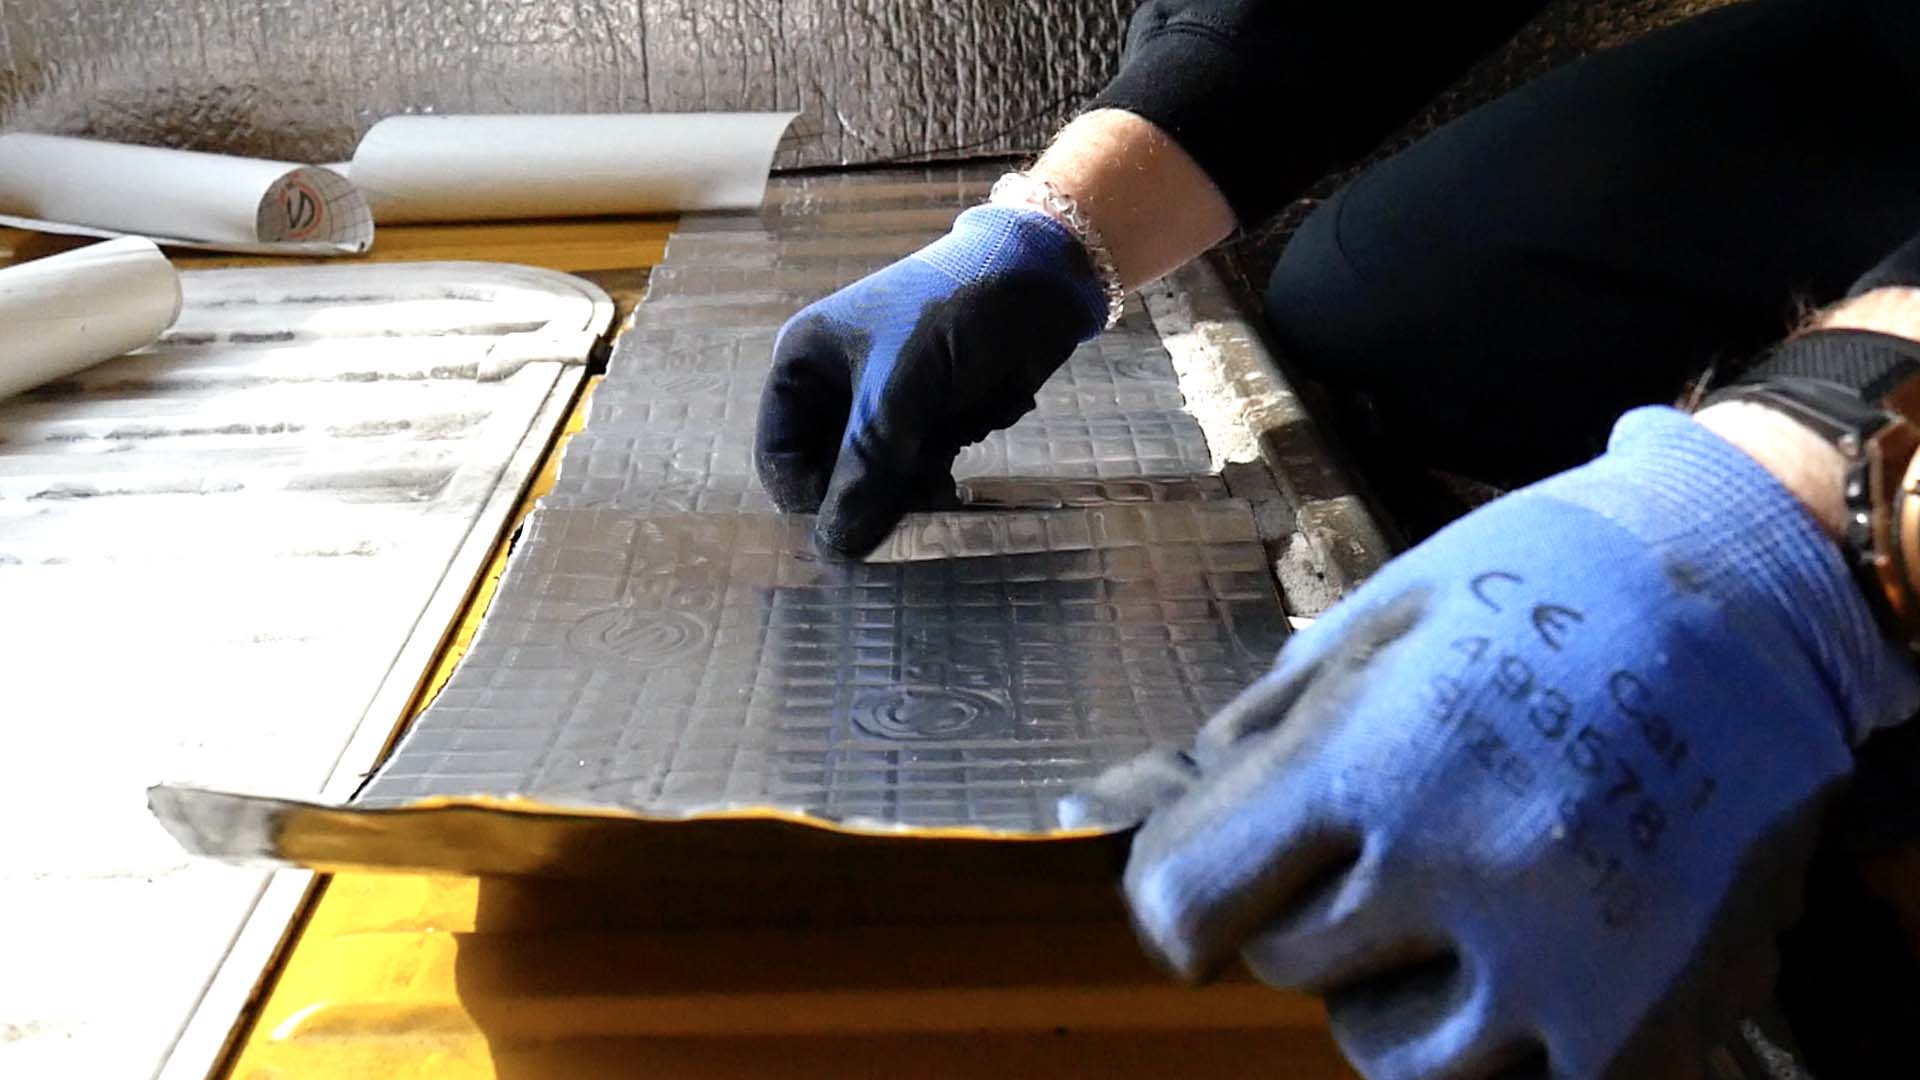
Sound deadening is basically a material that you peel and stick to the inside metal work of your vehicle. This will reduce vibrations and sounds that come through the body of your van, leaving you to enjoy a rattle-free ride. We have a 1985 VW Transporter, and with our new engine it gets very loud very quickly, so the guys over at Silent Coat hooked us up with a
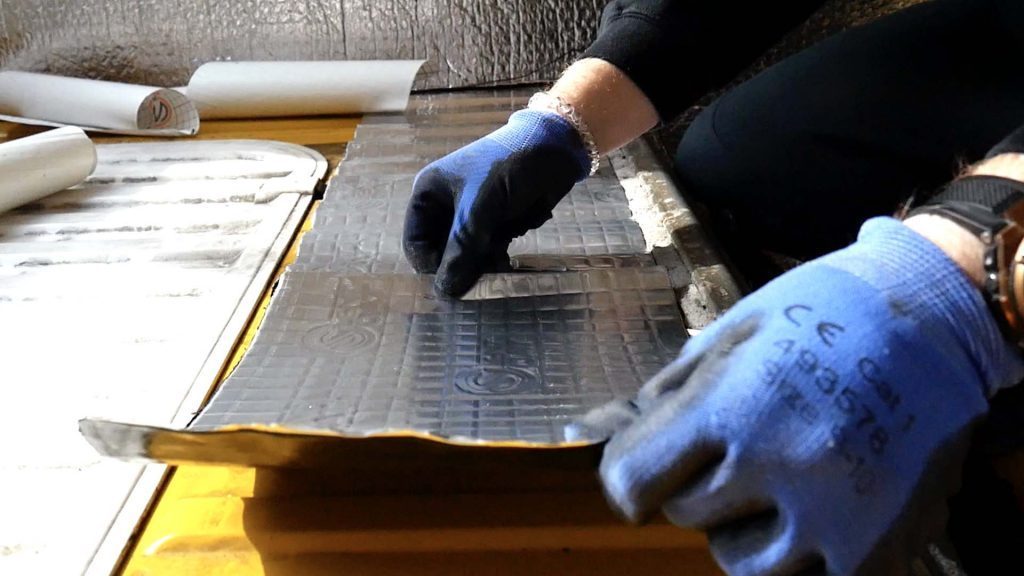
All we did was stick it on our walls and the floor of the van before installing our insulation. We placed it all around the engine area, all the way up the walls towards the front of the van, on the doors, and on the floor itself. It works wonders, and this stuff produces some high-quality results! You’ll hear a huge difference when you first start up after installation.
The only downfall to this step is that it can be quite expensive, so only use it if you really need it. It’s mainly used by VW and Mercedes in their high
5. Install The Insulation
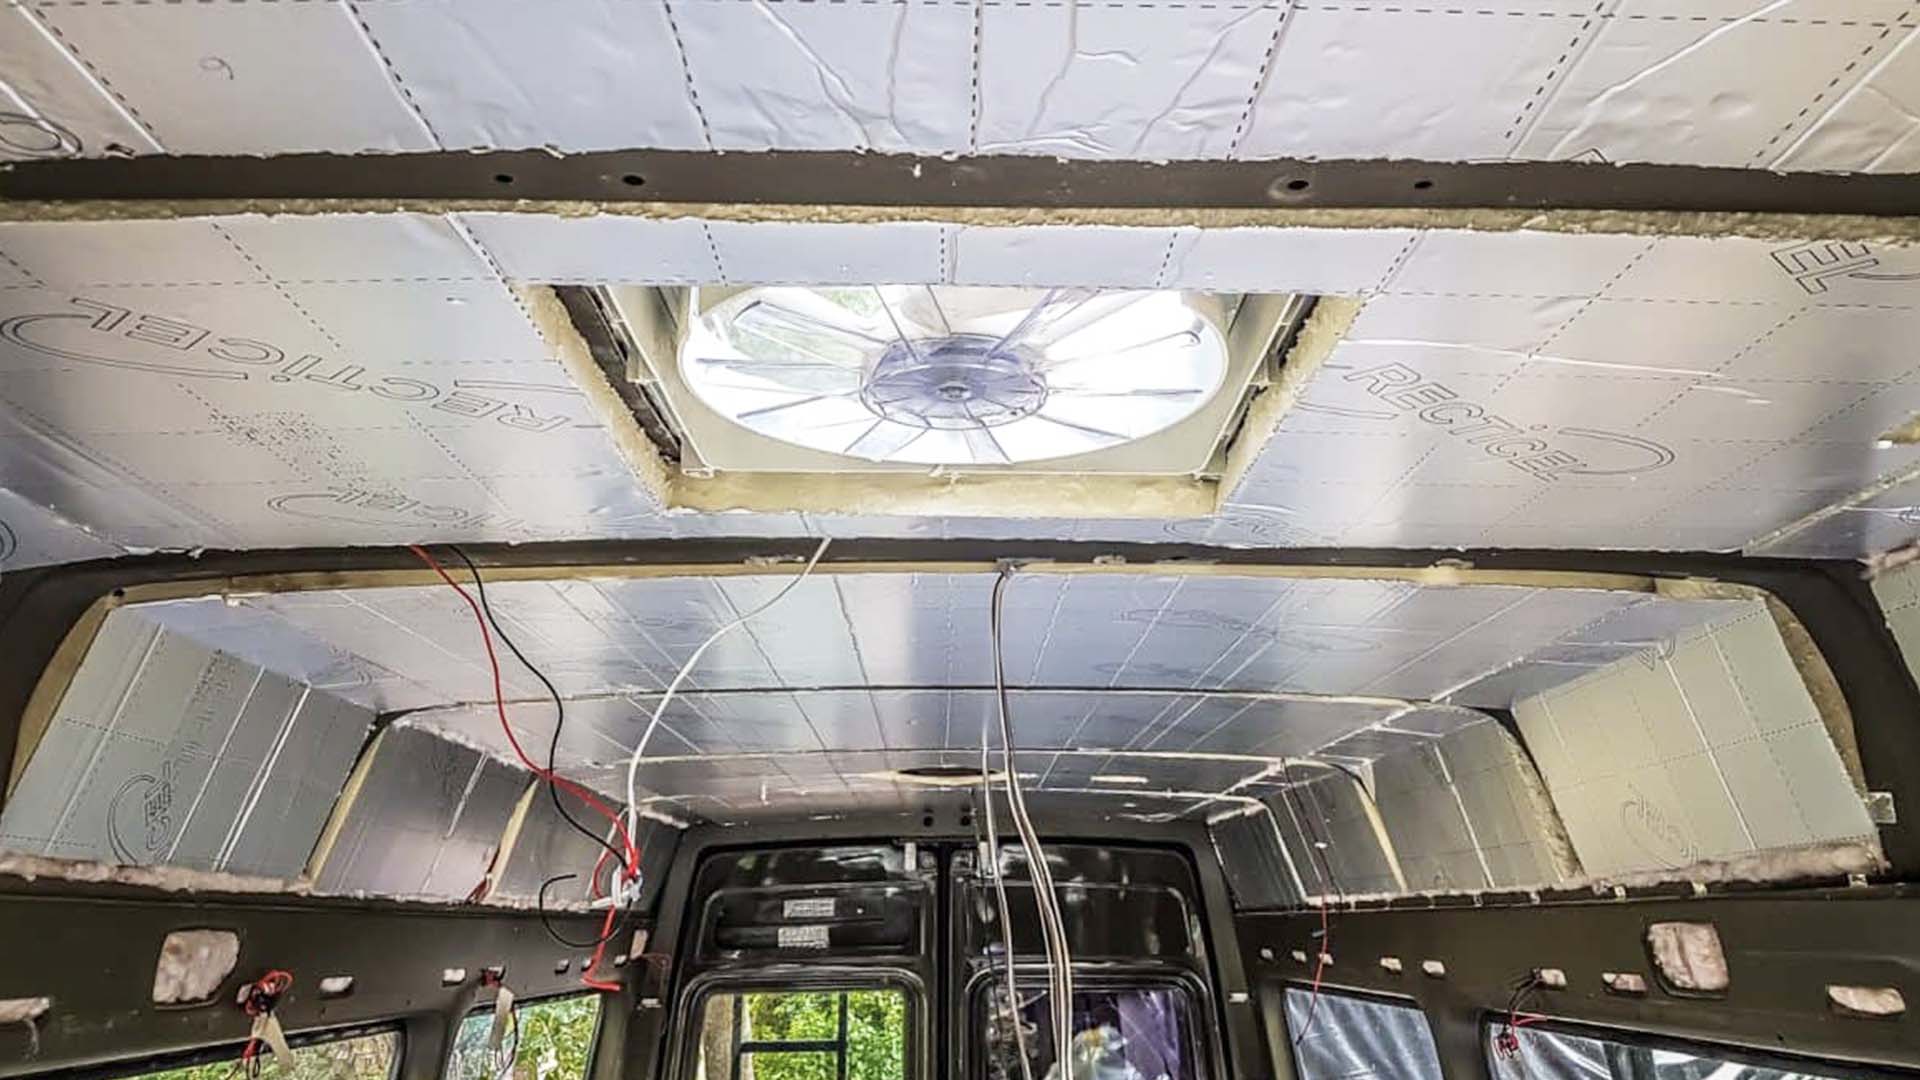
This is the part of our how to insulate a camper guide that gets enjoyable; it’s time to insulate! For those of you using the Celotex, simply measure out the sections of your van that you’d like to insulate, and then cut out the parts of your insulation to size and place it like Lego! If it doesn’t stay in, then you can place
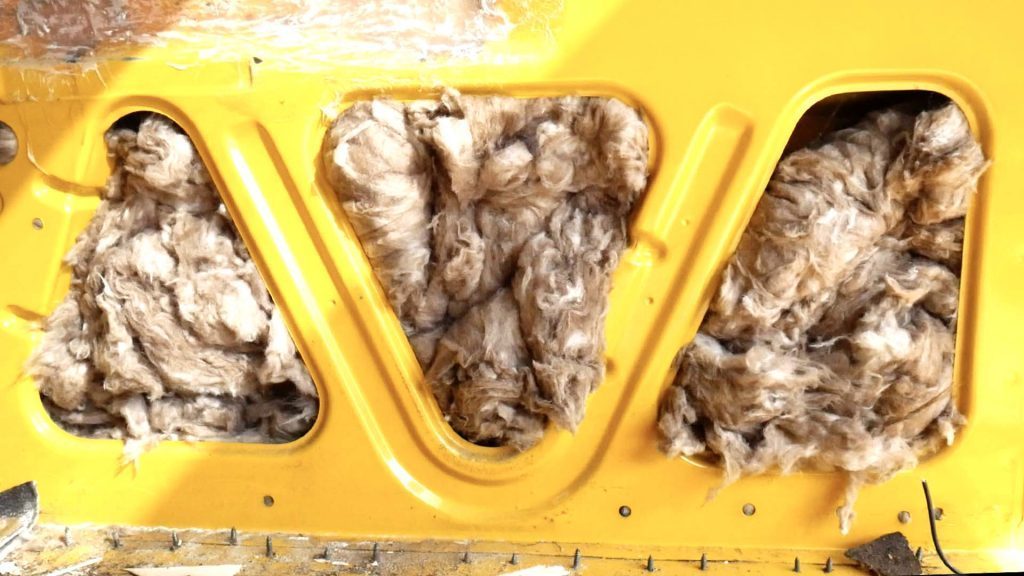
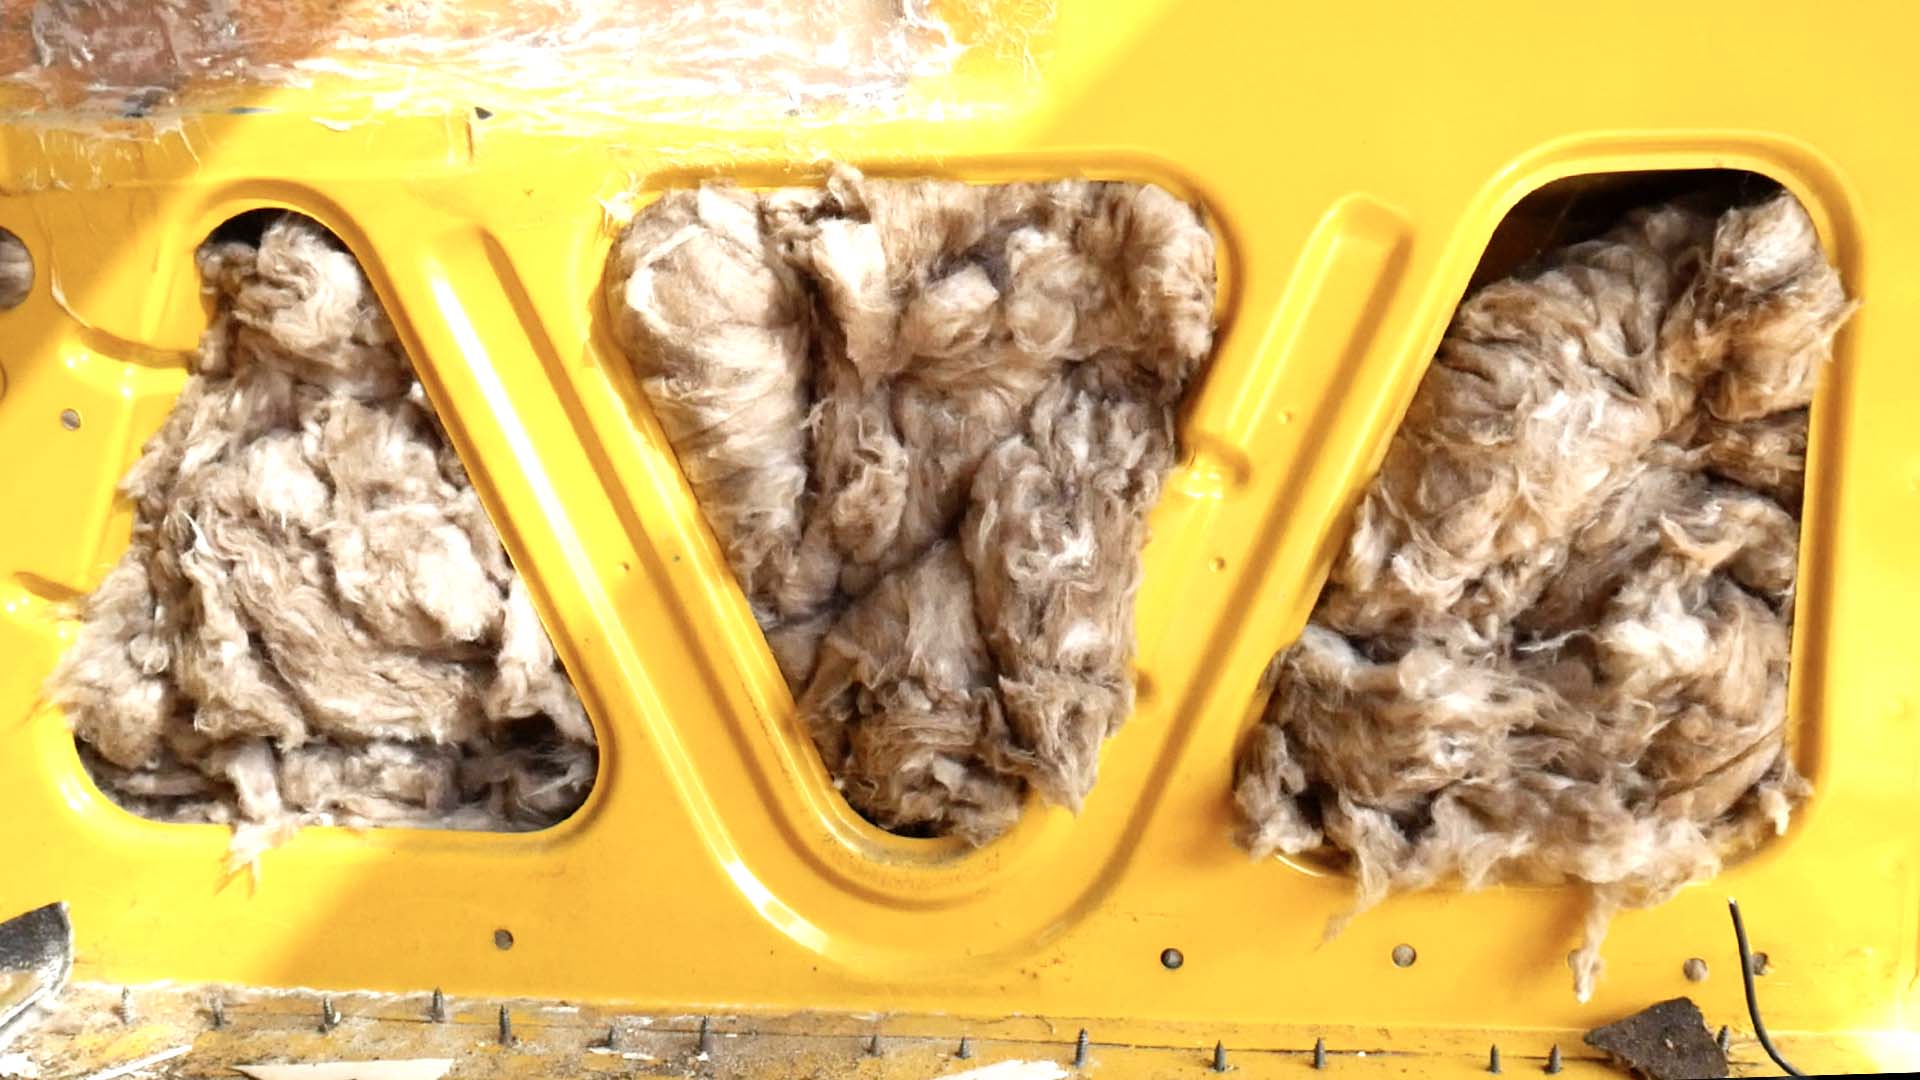
For those of you using loft insulation, start cutting out large strips and sliding it between the metal frame. You’ll need LOTS of insulation. You will think the section you cut out will fill the hole perfectly, but oh no, you’ll need lots more; this stuff shrinks! Make sure to really cram it in there!
The walls are the easy part, but the floor can be a little trickier. Some of you may want to simply use some
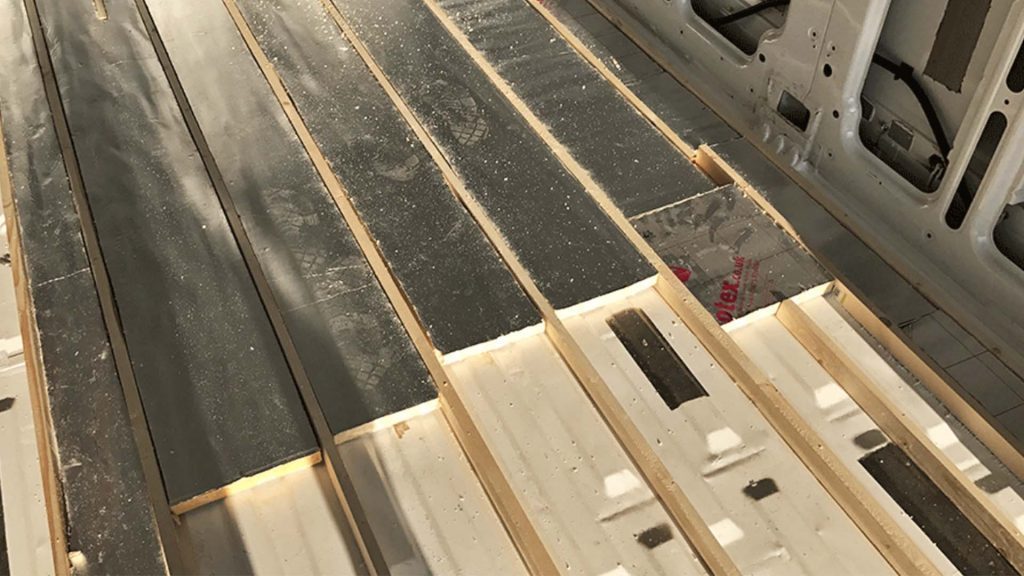
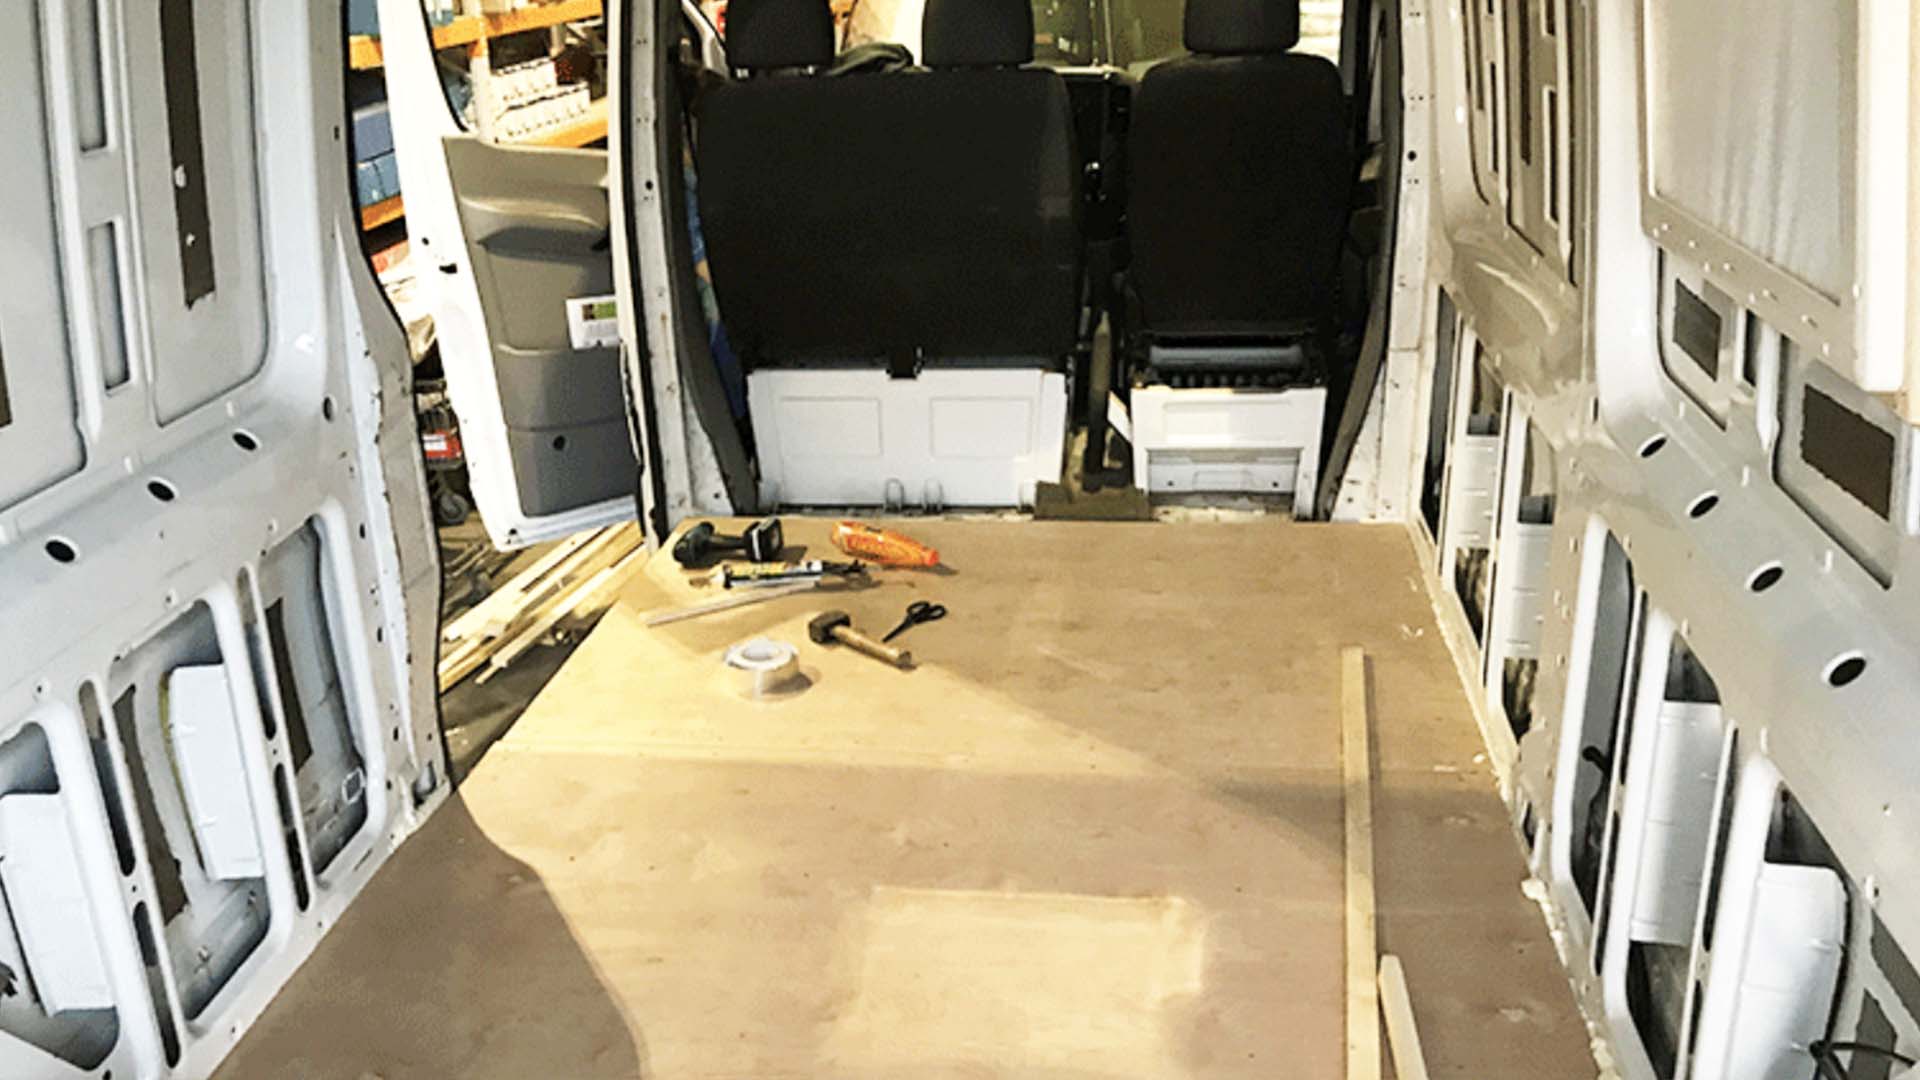
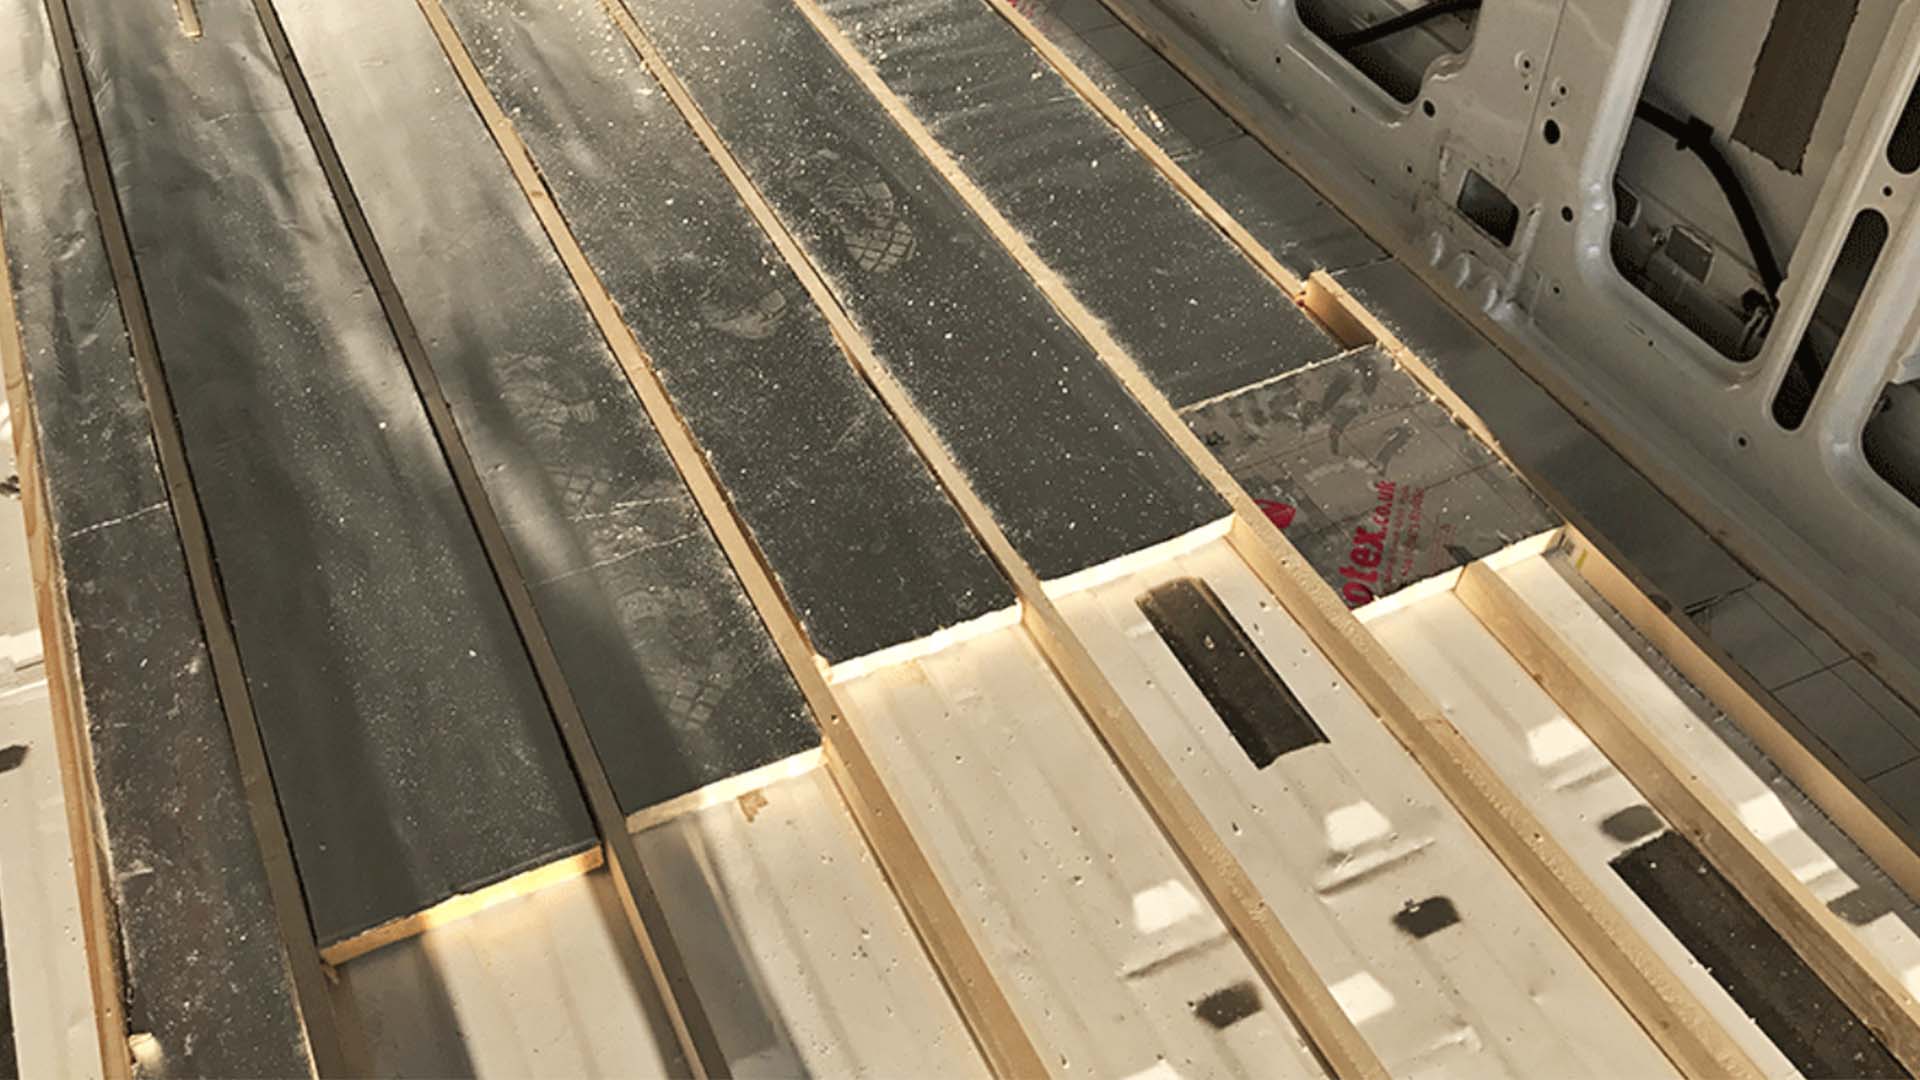
For those with panel vans and larger vehicles, you will most likely want to insulate your floor properly using Celotex. This and the plywood combined will add a couple of inches of thickness to your floor, but again, it will keep you very warm at night. You will need to cut out big panels for your flooring, and you’ll soon notice that you’ll have bits sliding around everywhere. It’s best to place down wooden batten supports that section out your insulation; this also allows you to nail down your plywood on top correctly. The image above gives you an idea of how it should look. This will also help straighten everything over the flooring bumps!
6. Fill Out Any Small Sections With Expanding Foam
For all of you panel van converters out there, you’ll most likely notice sections of your insulation that have gaps, that’s perfectly normal. You can either cut out small bits of your
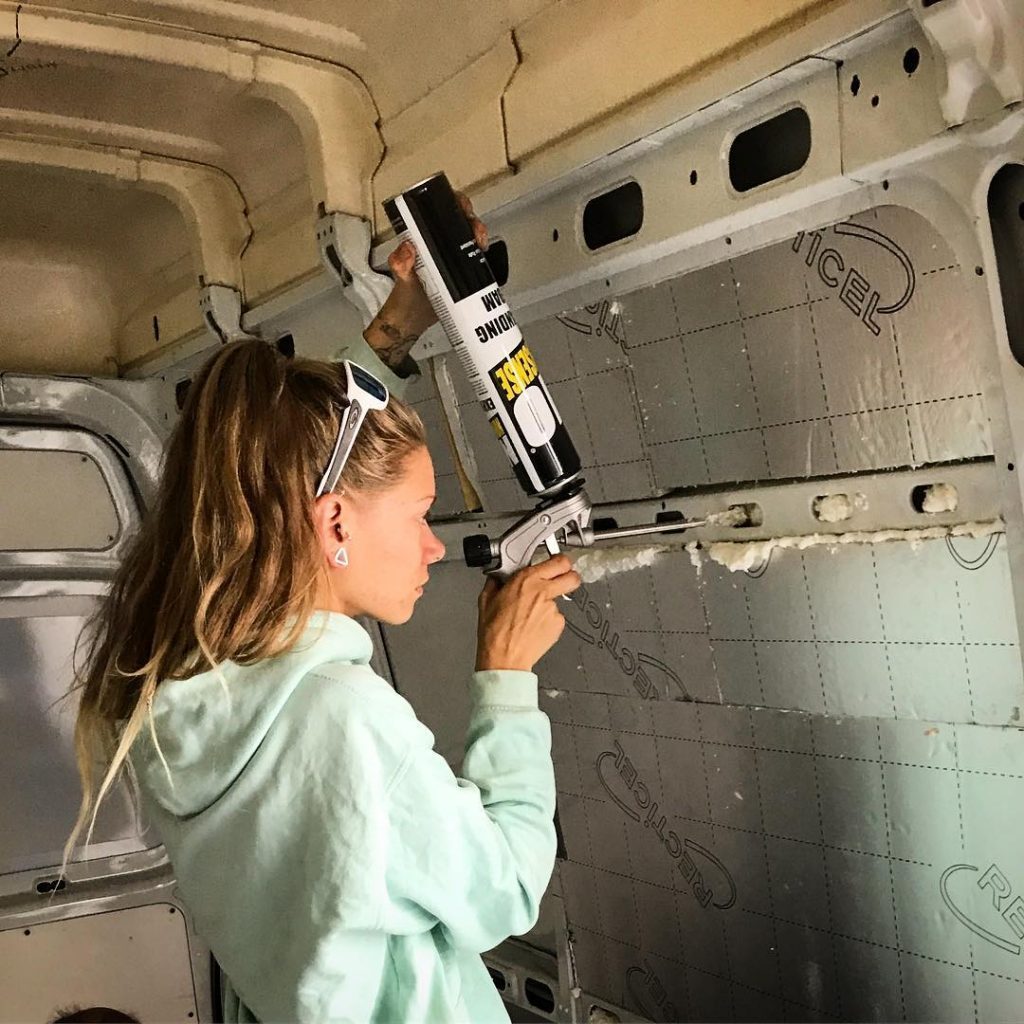
This is fairly simple to do, just make sure you’re not filling in holes that wires are meant to come through. If you’re smart, you would’ve pulled the cables through already so you’ll know which holes are in use. If there’s only one piece of advice that you take away from this article, make it the fact that you should always keep your cable runs visible UNTIL they are connected to your electrical system. Don’t cover them up and leave yourself in a situation where you have to redo your entire wall!
The expanding foam will also help to stick your insulation in place, meaning less movement while you’re still converting. Once you have filled in all the holes, go have some lunch. You’ll need to leave it for a couple of hours to solidify, so relax and prepare to have a big clean up afterwards as this stuff goes everywhere!
7. Install The Flooring
This is when things start to look serious in
First up, get some space, get out your jigsaw, and get your plywood ready. You’ll need to take measurements of your flooring and then cut out panels of the plywood to fit the available floor space. Panel van and monster camper friends – you’ll need to cut multiple sections of your plywood. Don’t fear, you’re not going to get the perfect plywood fit, it’s practically impossible for bigger vehicles. Just do your best and take your time.
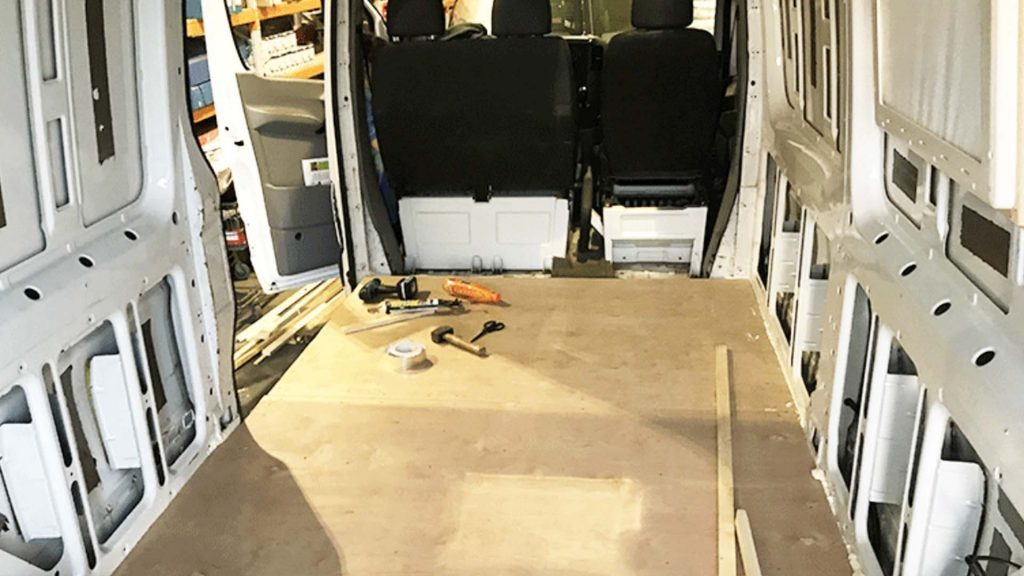
Small camper friends – you might be lucky. If you’ve got a large enough piece of plywood, then you might only need one section of plywood to fit your flooring.
But all of you will undoubtedly be taking the pieces in and out of your camper numerous times throughout the process. It’s all about trial and error, but the biggest tip to take away is to always cut less than you think. You can’t add bits of wood to your plywood once you’ve chopped them off, but you can always remove bits if you find out that you were a few millimetres off. Cut out your measured pieces and place them in the van. Doesn’t fit? Cut off some more, and repeat the process until it does!
You can either drill the plywood flooring into your wooden battens or, for small campers, through your insulation and into the metal is fine. Just don’t over nail; use minimum nail’
8. Don’t Forget The Extra Bits
Before going to the next step of the insulation guide, remember to think about your holes! You need to remember to work around your windows, your lights, your electric ports, and and any ventilation areas in your roof or bodywork.
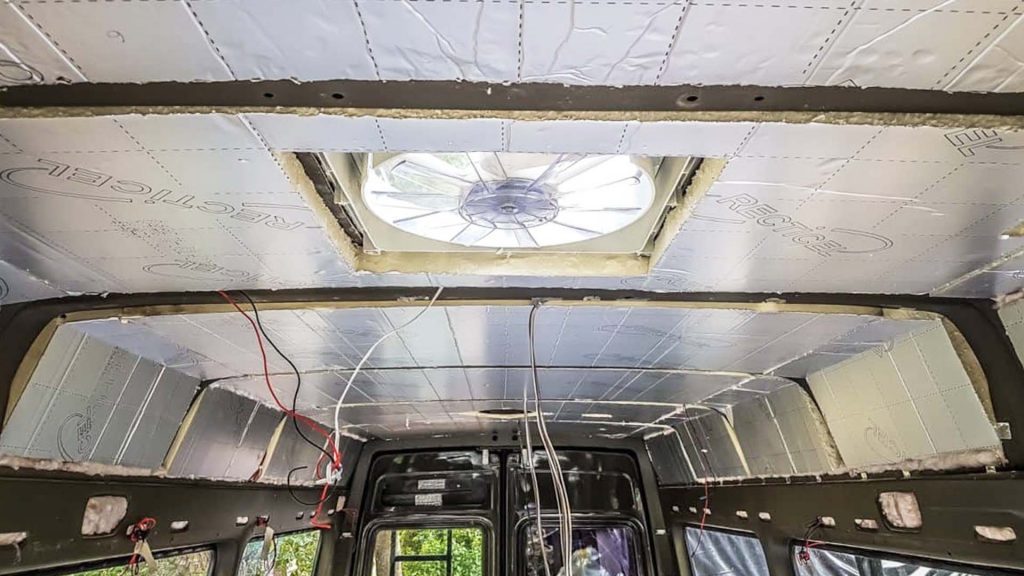
Don’t just install your plywood and hope for the best. Remember to make cutouts where necessary and keep any windows or ventilation areas cut out ready for you to simply place the plywood over. It’s always harder to cut out pieces once they have been installed, so just be patient and make
And finally, before you set about installing your walls, remember if you want to use the moisture barrier, then now is the time to do so. This is basically placed between the insulation and the plywood, so just stick this on with tape before you install the plywood walls.
9. Install The Plywood Walls
The next step of this how to insulate a camper guide is the walls! This is very similar to the flooring, but you’ll need to build a wooden rib cage for your van. This is made from stronger and thicker wooden beams that can be nailed to the metal frame of your van, acting as a rib cage for your plywood to be nailed into.
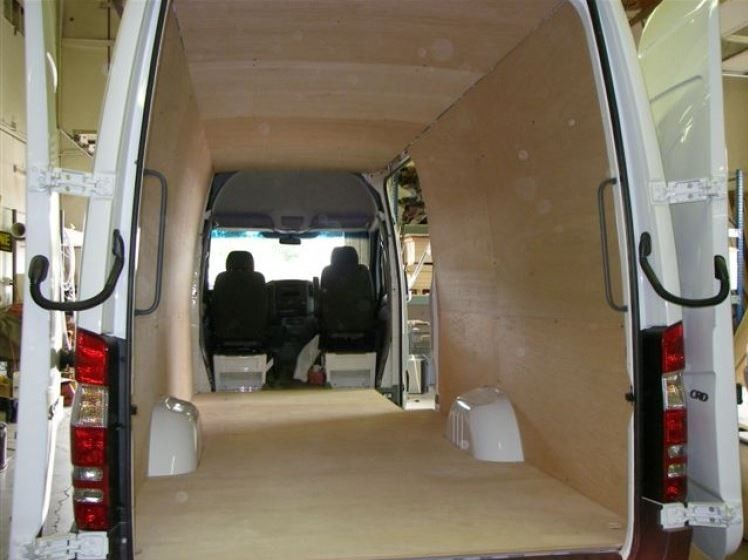
Some vandwellers skip the plywood part and simply nail in wood panels, but this addition of plywood will help with insulation, like a lot! Each part of your ribcage can be 1ft to 6ft apart, depending on what your metal work is like. You’ll see where a rib cage would fit naturally, so place it there. Once your rib cage has been installed on each side, this is when you can drill in your plywood and seal everything off.
There’s a lot more to go through in terms of making your walls and flooring for a camper conversion, but we’ll be honest; the best way to learn is by making mistakes. As long as you remember to cut out any light holes and electric ports and nail your panels into your rib cage, then you’ll be fine!
10. Enjoy Your Warm Camper And Prep
And finally, you are ready to stand back and enjoy the view of your brand new insulated campervan. Great job! You might find bits that need tinkering with such as wires, excess insulation and loose screws once you’re done, so it’s best to go over it and have another look just in case you have missed something.
So there you have it! Our how to insulate a camper guide in 10 easy steps. If you have any more questions, then feel free to message us on Instagram, or if you want even more help with further steps of the conversion then check out our e-book at the bottom of the page!
More Content From The Van Clan Team!
- Get Rhino Ready with the best survival kit on the market!
- These Vanlife Blogs should be on your reading list!
- Take a look at the top travel bikes designed to compliment van life.



COMMENTS
Please note that all comments will be checked by our team before being approved.